Removed the brake pad attachment brackets in the front. The anti-squeal spring is missing on both sides. Also removed the caliper on the left side, the adapter plates, the rotors, and the castle bolts and locking pins for the inner and outer tie rod ends.
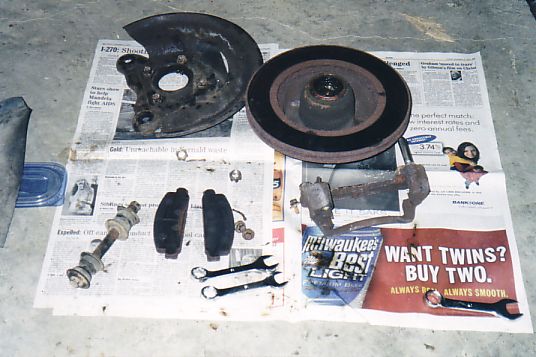
This is the right-side rotor, adapter plate, caliper bracket, brake pads, and control link.
They're in worse shape than this picture can show.
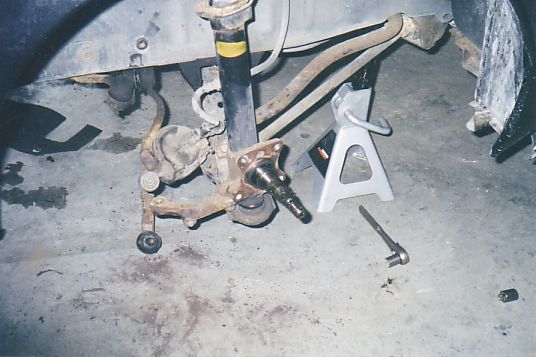
Both outer tie rod ends came out with a few taps of the tie-rod tool (the long wedged tuning fork type). For the innter tie rod ends, on both sides, the tool gets hammered in so far, and then it stops going in. The prongs aren't hitting anything, it just seems that the ends don't want to pop out. Tried beating on the end of the bolt to no avail.
Will pick up a gear puller and try that.
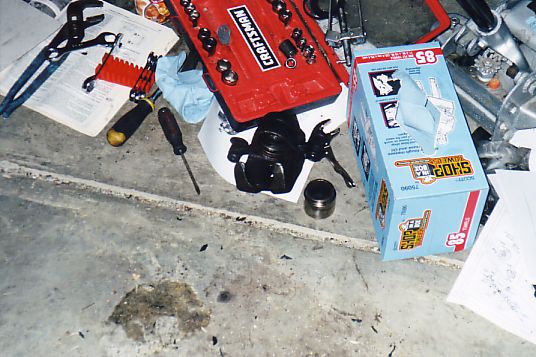
Since I couldn't get the tie rod ends removed, I decided to move on to something that I could make work: The caliper rebuild. I started with the left one, since it is already off the car. The dust boot was a disaster -- I had to remove it in pieces. Once it was gone, and the piston was exposed, I used a small air compressor (the $15 one from Meijer) and one of the cone-shaped tips to force air into the chamber. At about 25-30 psi, the piston popped out. There was a little bit of rust on it, but I got that off with a Scotch-Brite pad. It needs a very thorough cleaning before I try to reassemble. I'm also missing the grease packets that the Haynes books says is supposed to come with the kit.
Left side
Right side
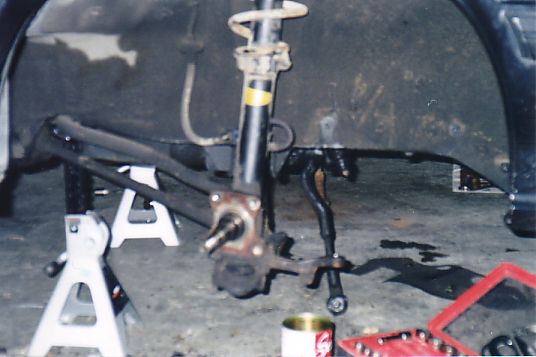
I know it looks like I'm hanging
the caliper by the brake line in that picture, but it's actually sitting
on the few bits of suspension that are still in place.
Got the right caliper removed and taken apart. Looks pretty good. The piston on the right is in much better shape than the left. I'm going to try them both -- worst case, I'm out $4 for a rebuild kit and have to buy a rebuilt caliper.
I also picked up a few things to try to re-finish the brake parts: Steel wool, emery cloth, and a sanding drum for my power drill. The steel wool got things a little cleaner, but didn't do much for the paint or surface rust. The emery cloth worked okay, but there's no way I'm doing all that work for these parts. The sanding drum, however, did a great job... but it can't get into all the grooves. So, I'm going to pick up some grit and use the sandblaster at my dad's shop this weekend. Once I get the grime, rust, and paint removed, I'm going to apply a few coats of 1200-degree manifold paint. Black, of course. I'm also going to clean out the wheel wells and the remaining suspension components, so that everything looks nice and shiny.
I got the bushing out of one of the arms, but the other is stuck in there really tight, so I'll just have the guys at Ky. Motors press it out when I do the new ball joints.
Ordered the new bushings from Suspension Restoration Parts in California, about $55 after shipping, should take about 5 days. This will be the control arm bushings, sway bar frame bushings, tension rod bushings, and end-link bushings.
Also got a line on a stock radio, speakers, steering column cover, cargo carpet & mat, window switch panel, and exhaust from someone in Cleveland. If that comes through, I'll pick up the parts in early Jan.
I also made arangements to pick up a used power antenna and a front valence. I'll get them later this month.