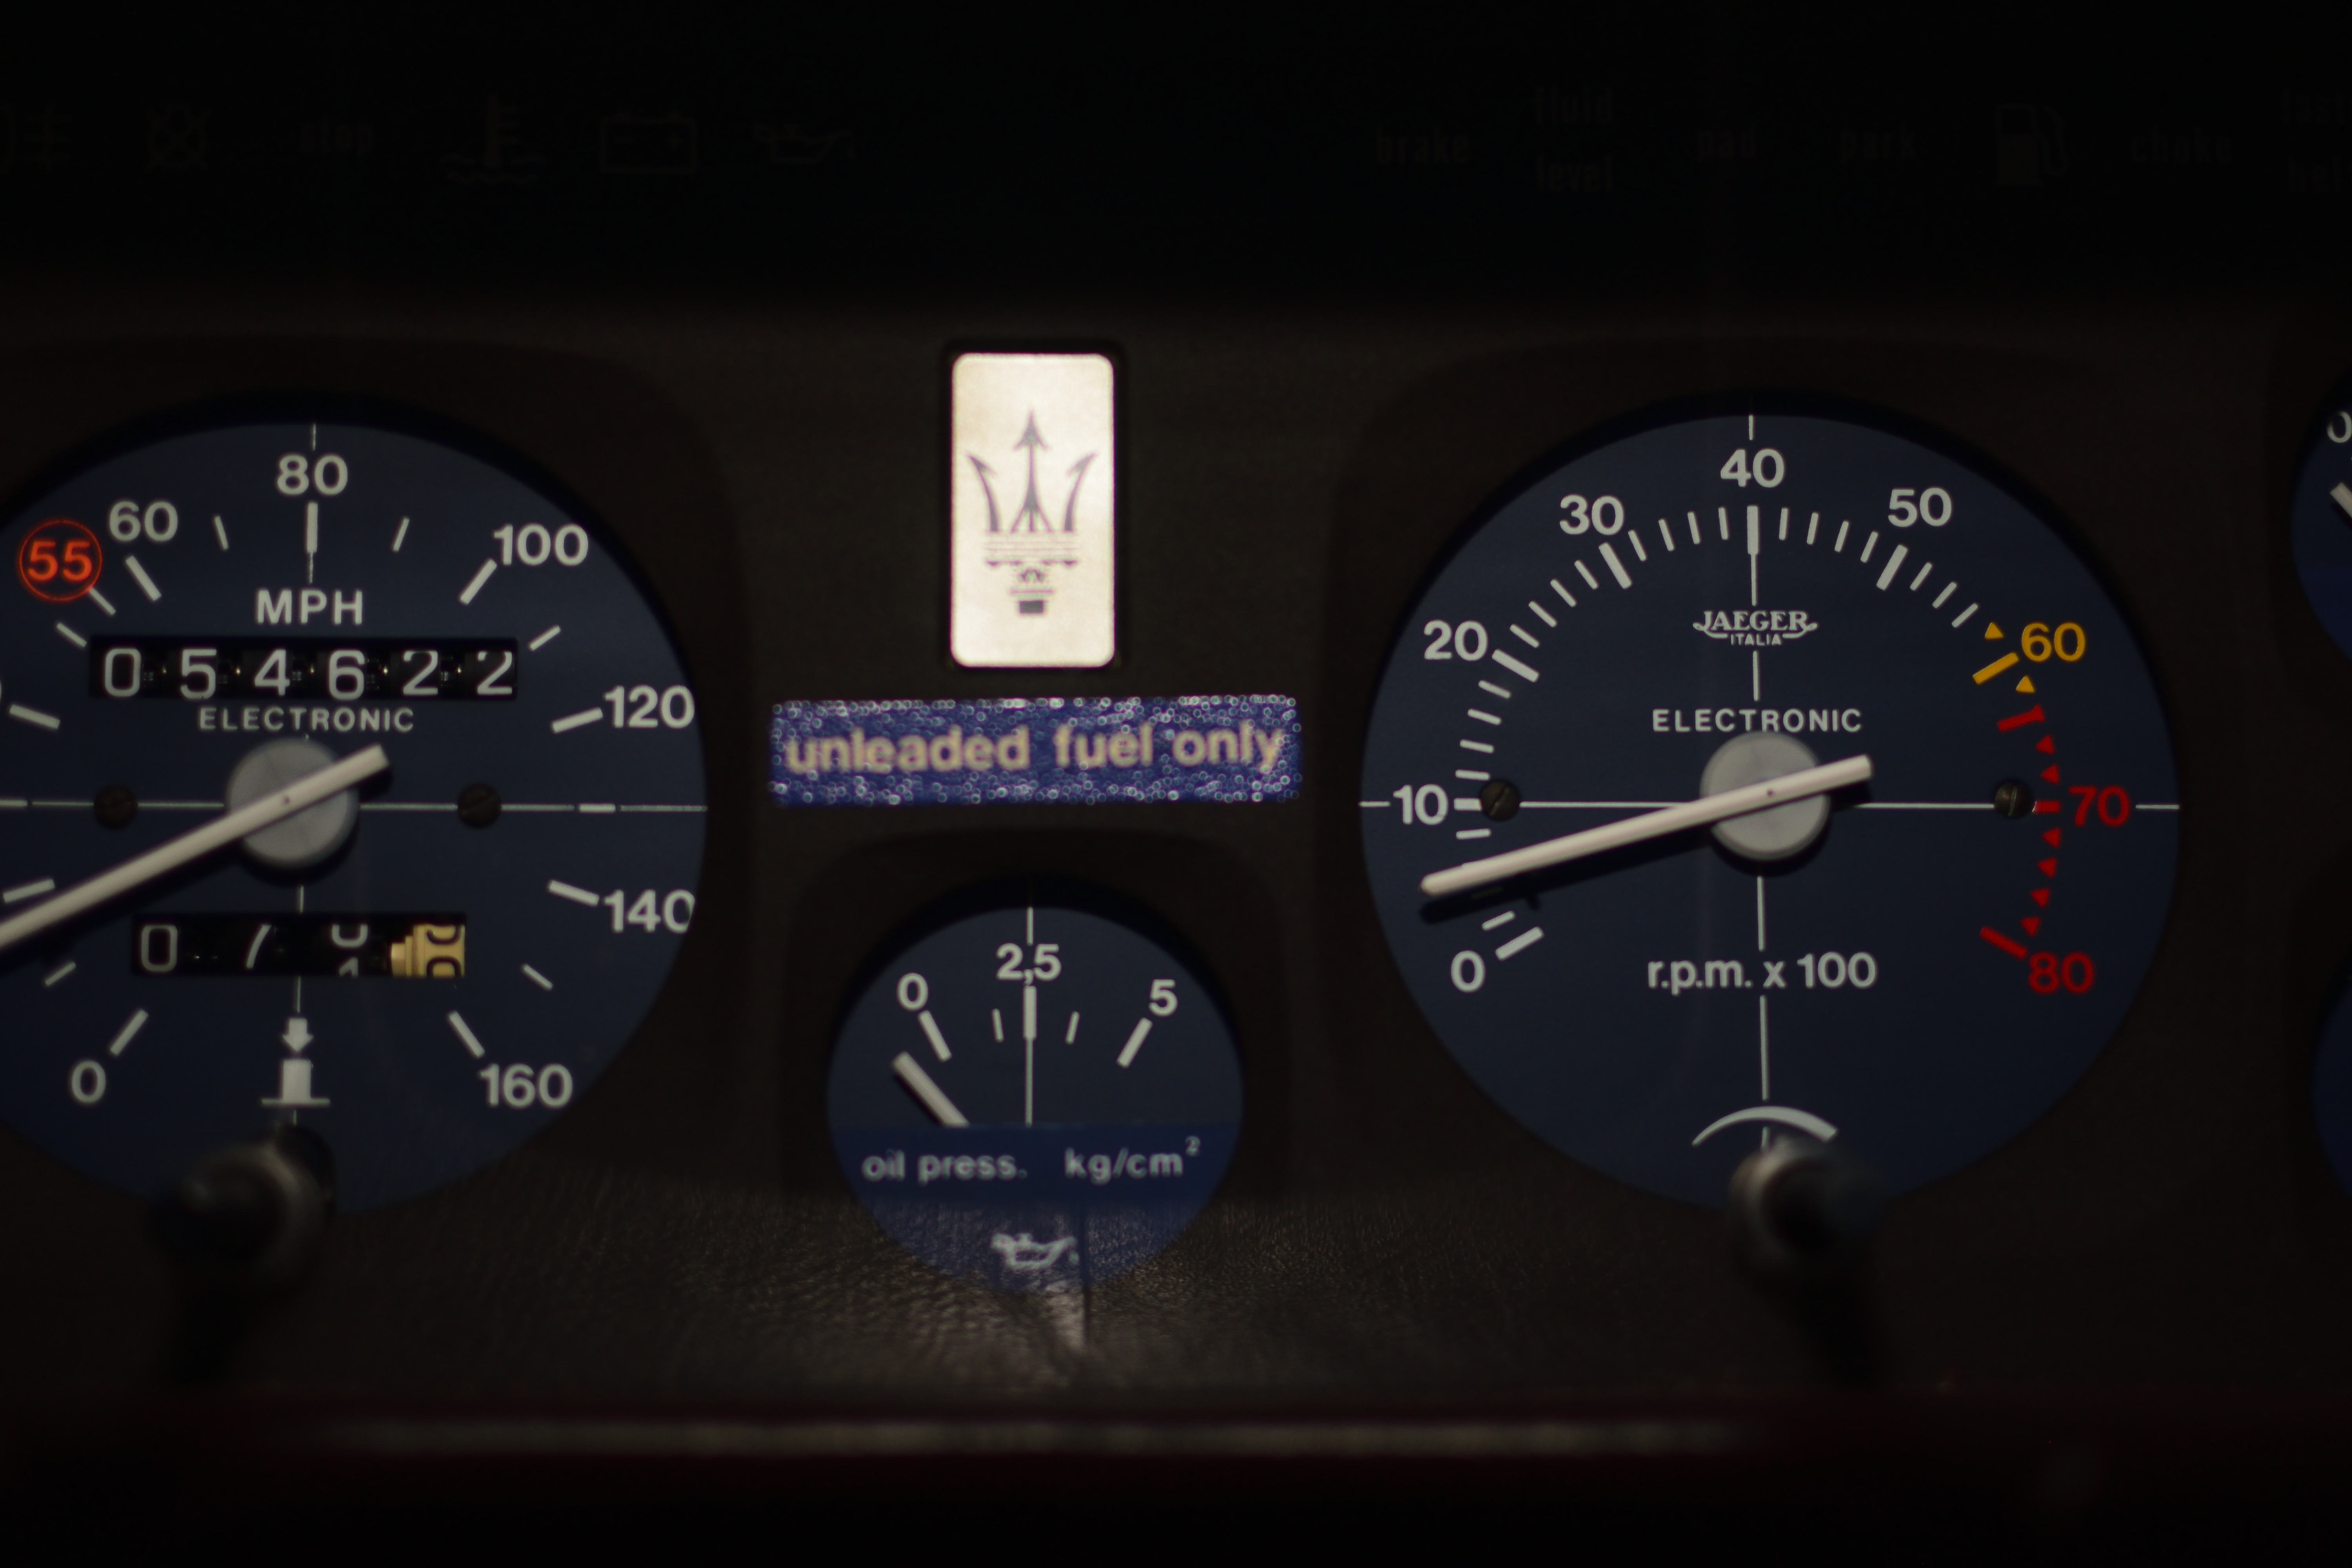
Things got fairly busy around here due to a couple unplanned projects that cropped up and consumed a few weekends. On the 10th of November, however, with the day off work, we set about trying to get the car to attempt to fire.
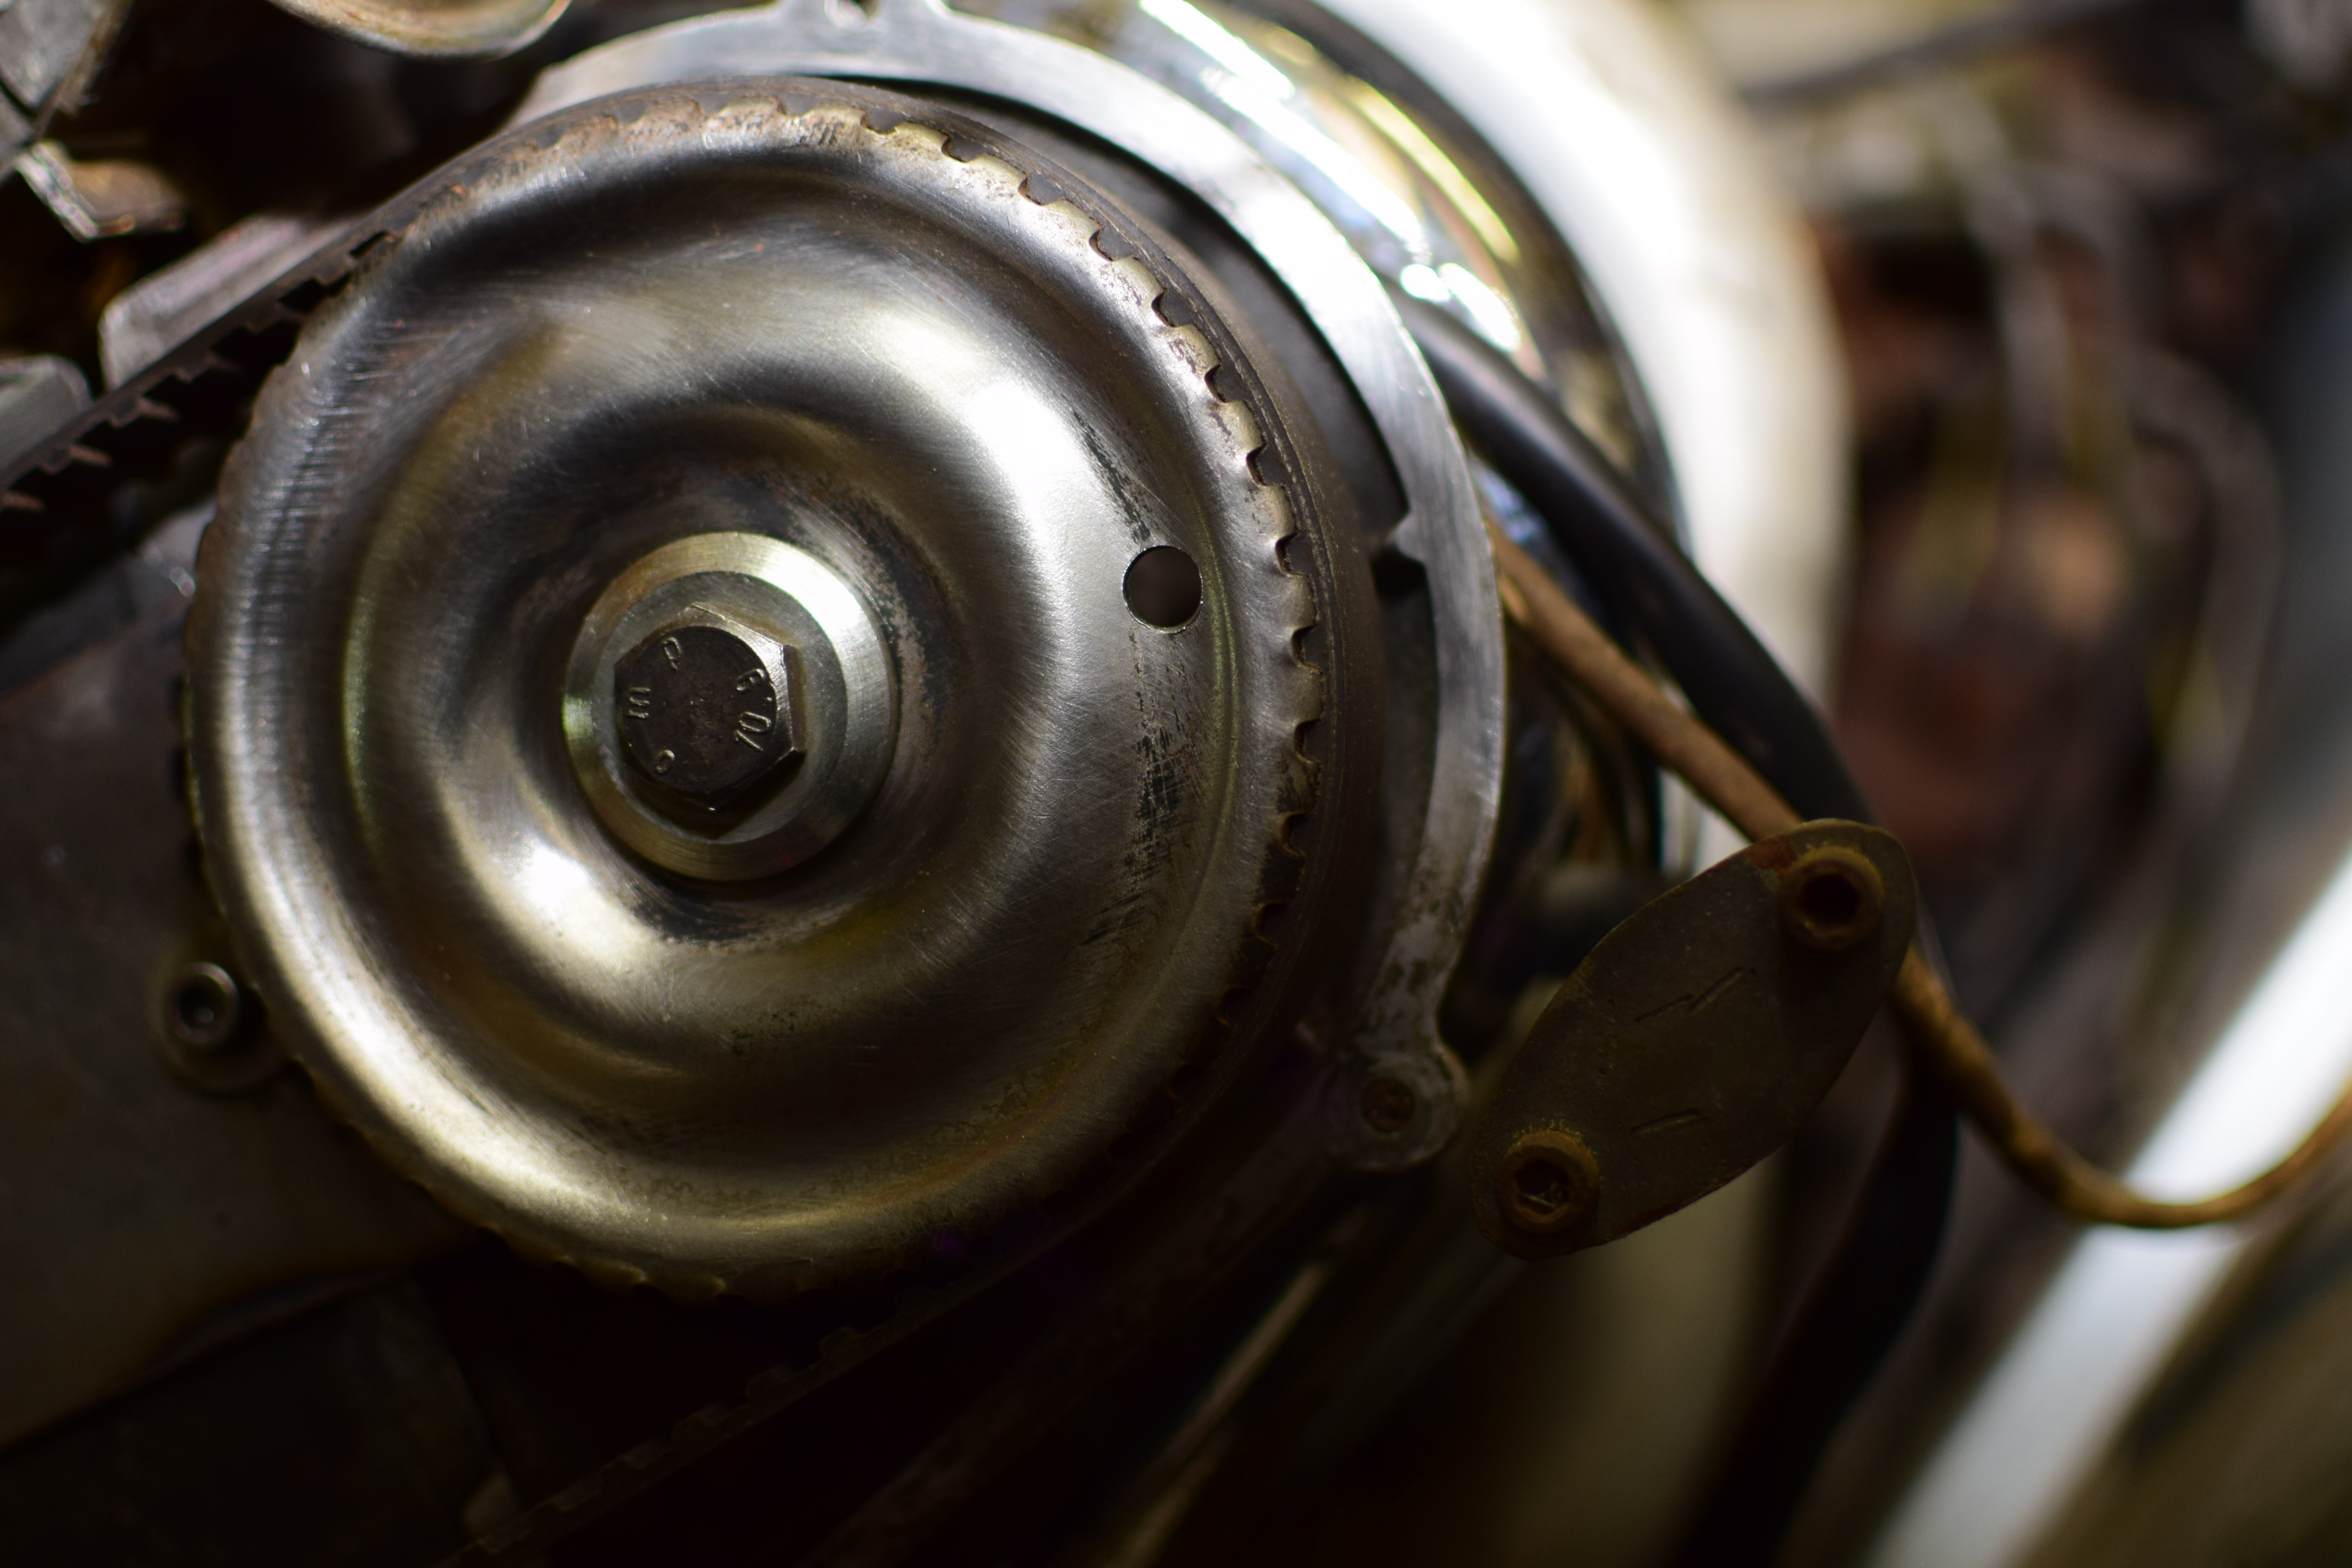
The cam pulley was spot on
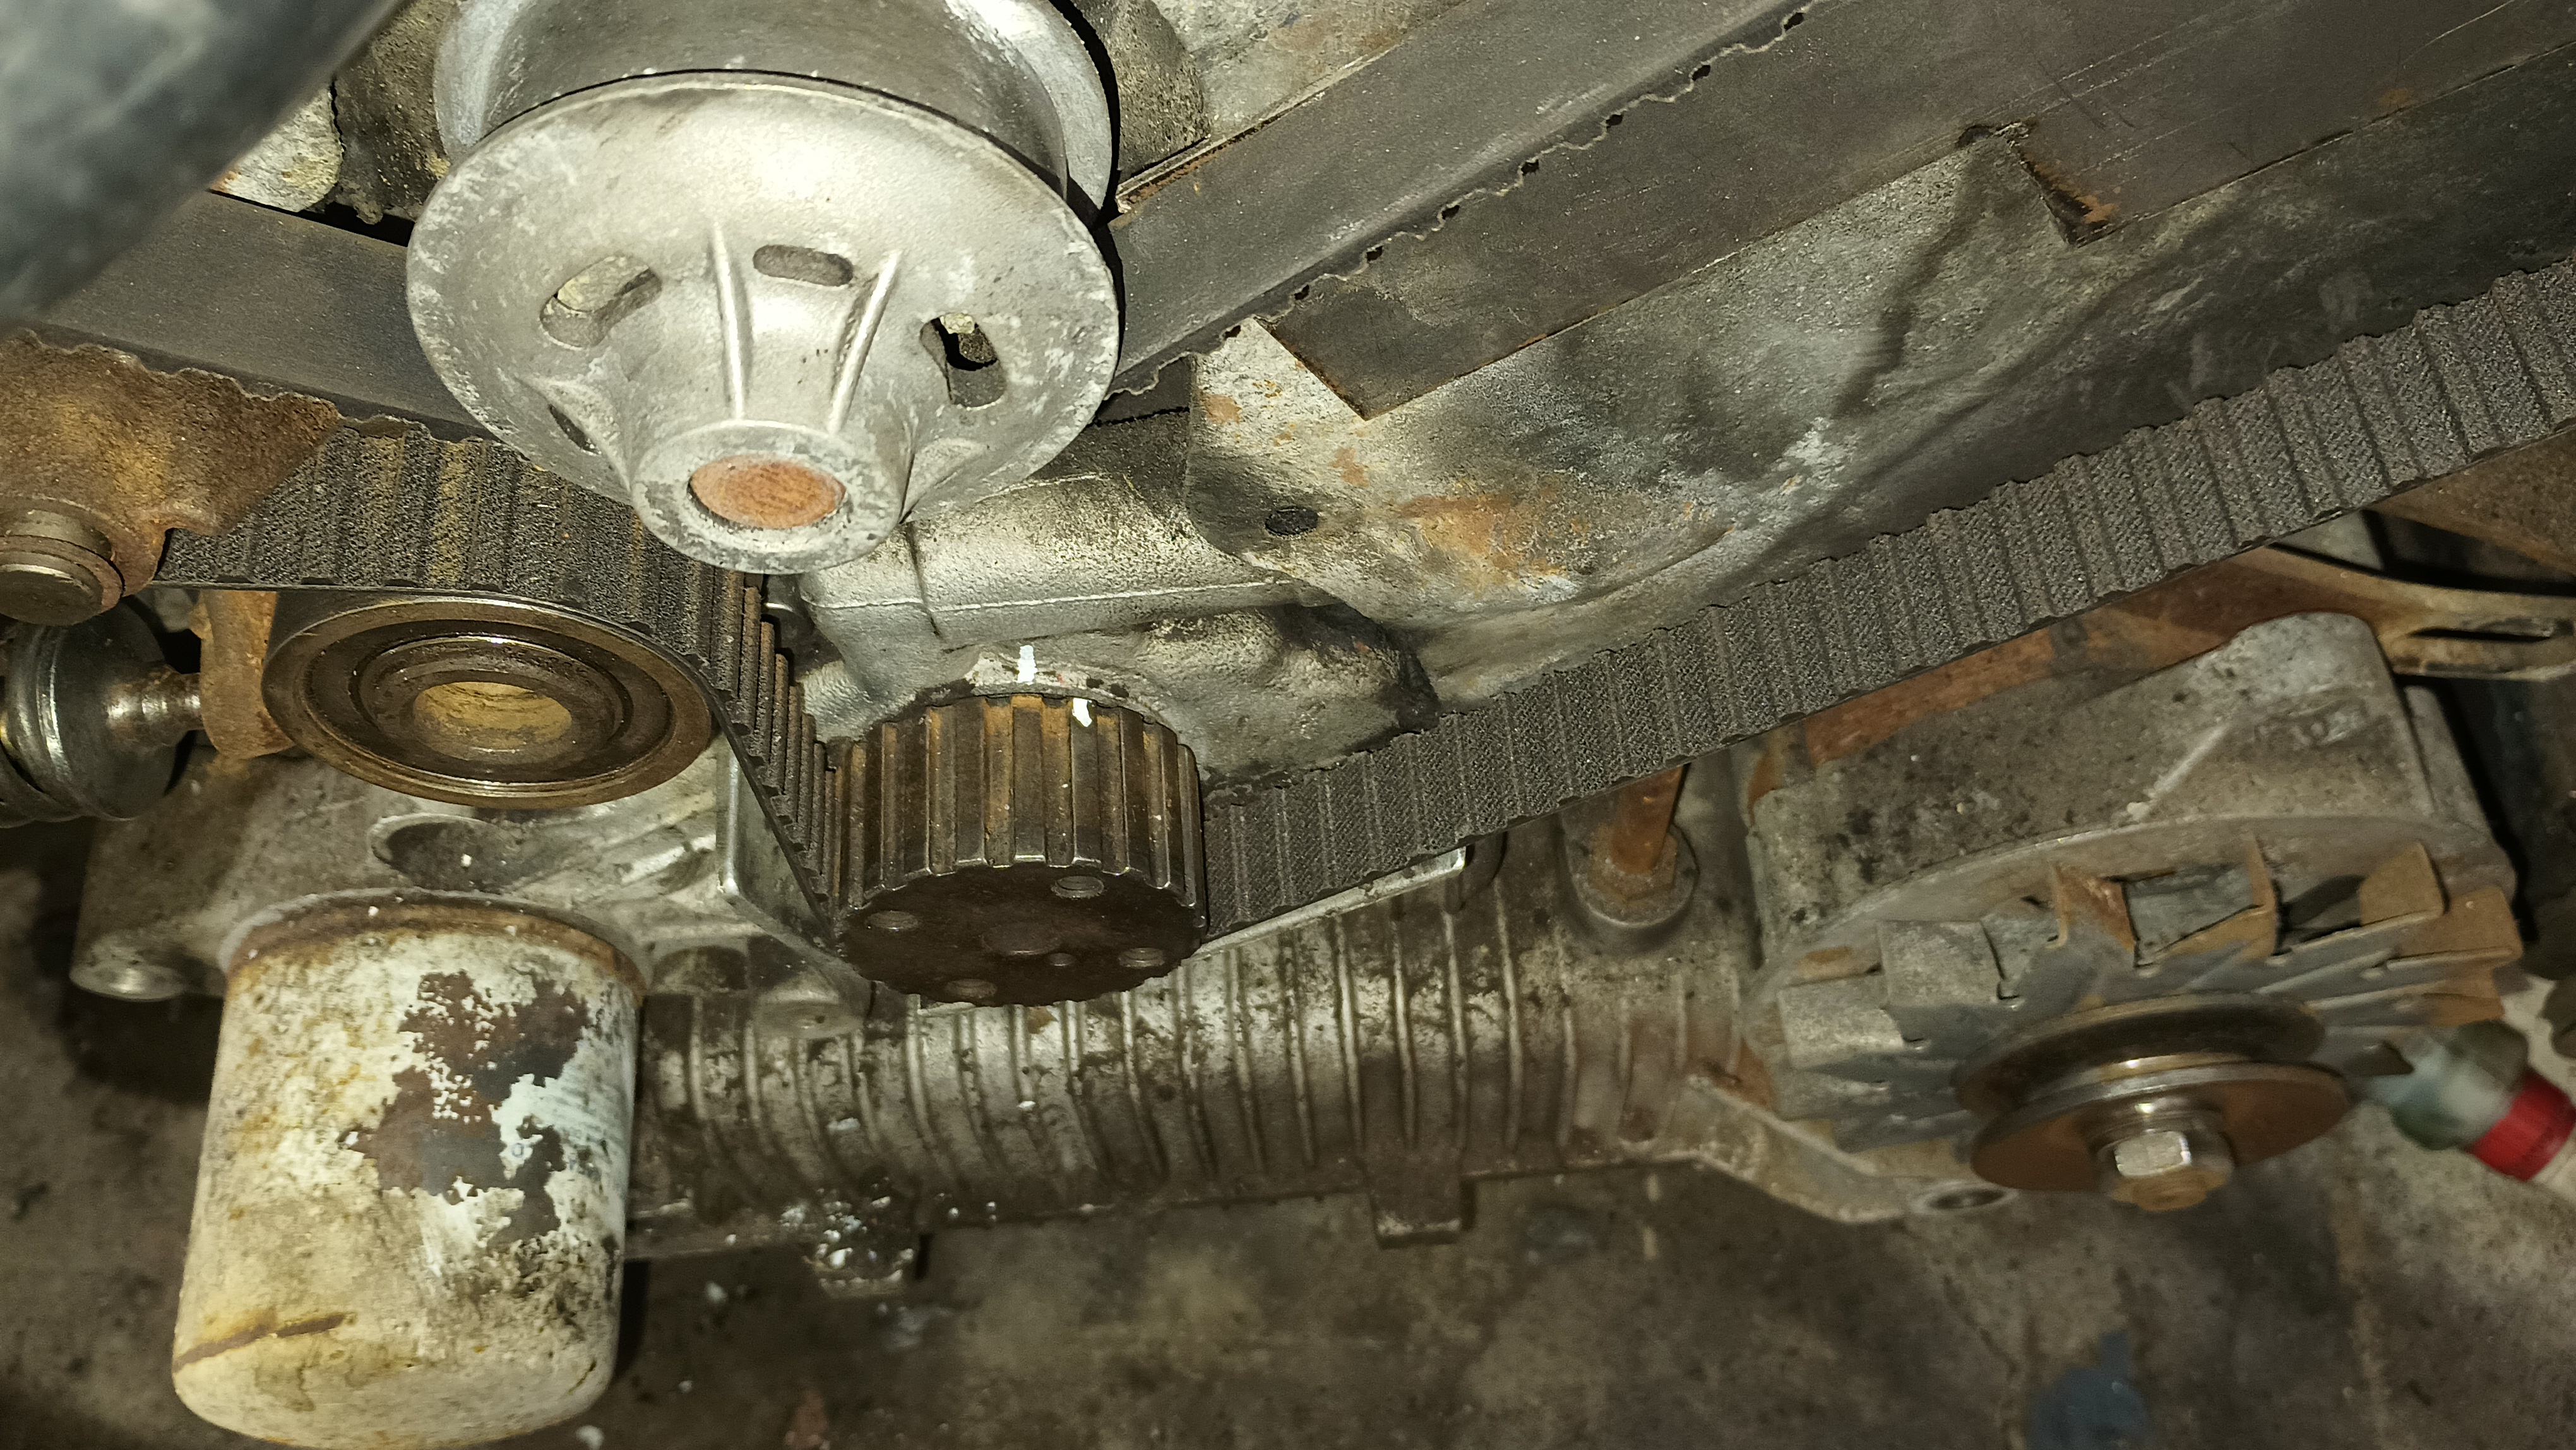
We knew that the fuel pump was out to lunch, so I bought a new Mr. Gasket 42S fuel pump to install in its place. Before installing that, though, we set about to get the timing corrected. The timing was off a full tooth at the crank, so I retracted the tensioner and pulled the belt off again.
The crank pulley, however, was off a full tooth.
Following the service manual’s instructions this time, I got the belt on starting at the crank then looping around the left bank timing pulley. To do that, I needed to pull on it quite a bit to get it to stretch into place. With the timing set correctly this time, we threw a battery on the car to see what would happen. Once there was a good battery hooked up, the starter easily turned the engine over with no strange noises.
The next step was to remove the carb box, spray some starting fluid down the carb, and see what would happen. Sure enough, it coughed to life and sounded fantastic! Of course, it didn’t run very long and we didn’t want to keep washing it down with ether, but we definitely had a running engine.
From there, we moved our focus to that fuel pump. The fuel lines from the tank to the filter to the pump were leaking if you touched them wrong, so I’m going to need to put new fuel line in. The car was basically designed with a desire to catch fire and I don’t want to make it too easy. Interestingly, the fuel in the tank really didn’t smell all that old or bad, and there wasn’t a whole lot in there. Once things were drained out, the next step is to go get some fuel line and then work out how to mount the new pump.
We got together on Friday the 13th to make some more progress. While it feels like we got a few steps forward, we didn’t actually manage to finish anything yet.
Currently, we’re working on three tasks: Complete the timing belt change; catalog the spares and parts in and around the car; empty the fuel tank of the old gas. None of the parts got cataloged, but progress was made on the timing belt and problems were found with the fuel system.
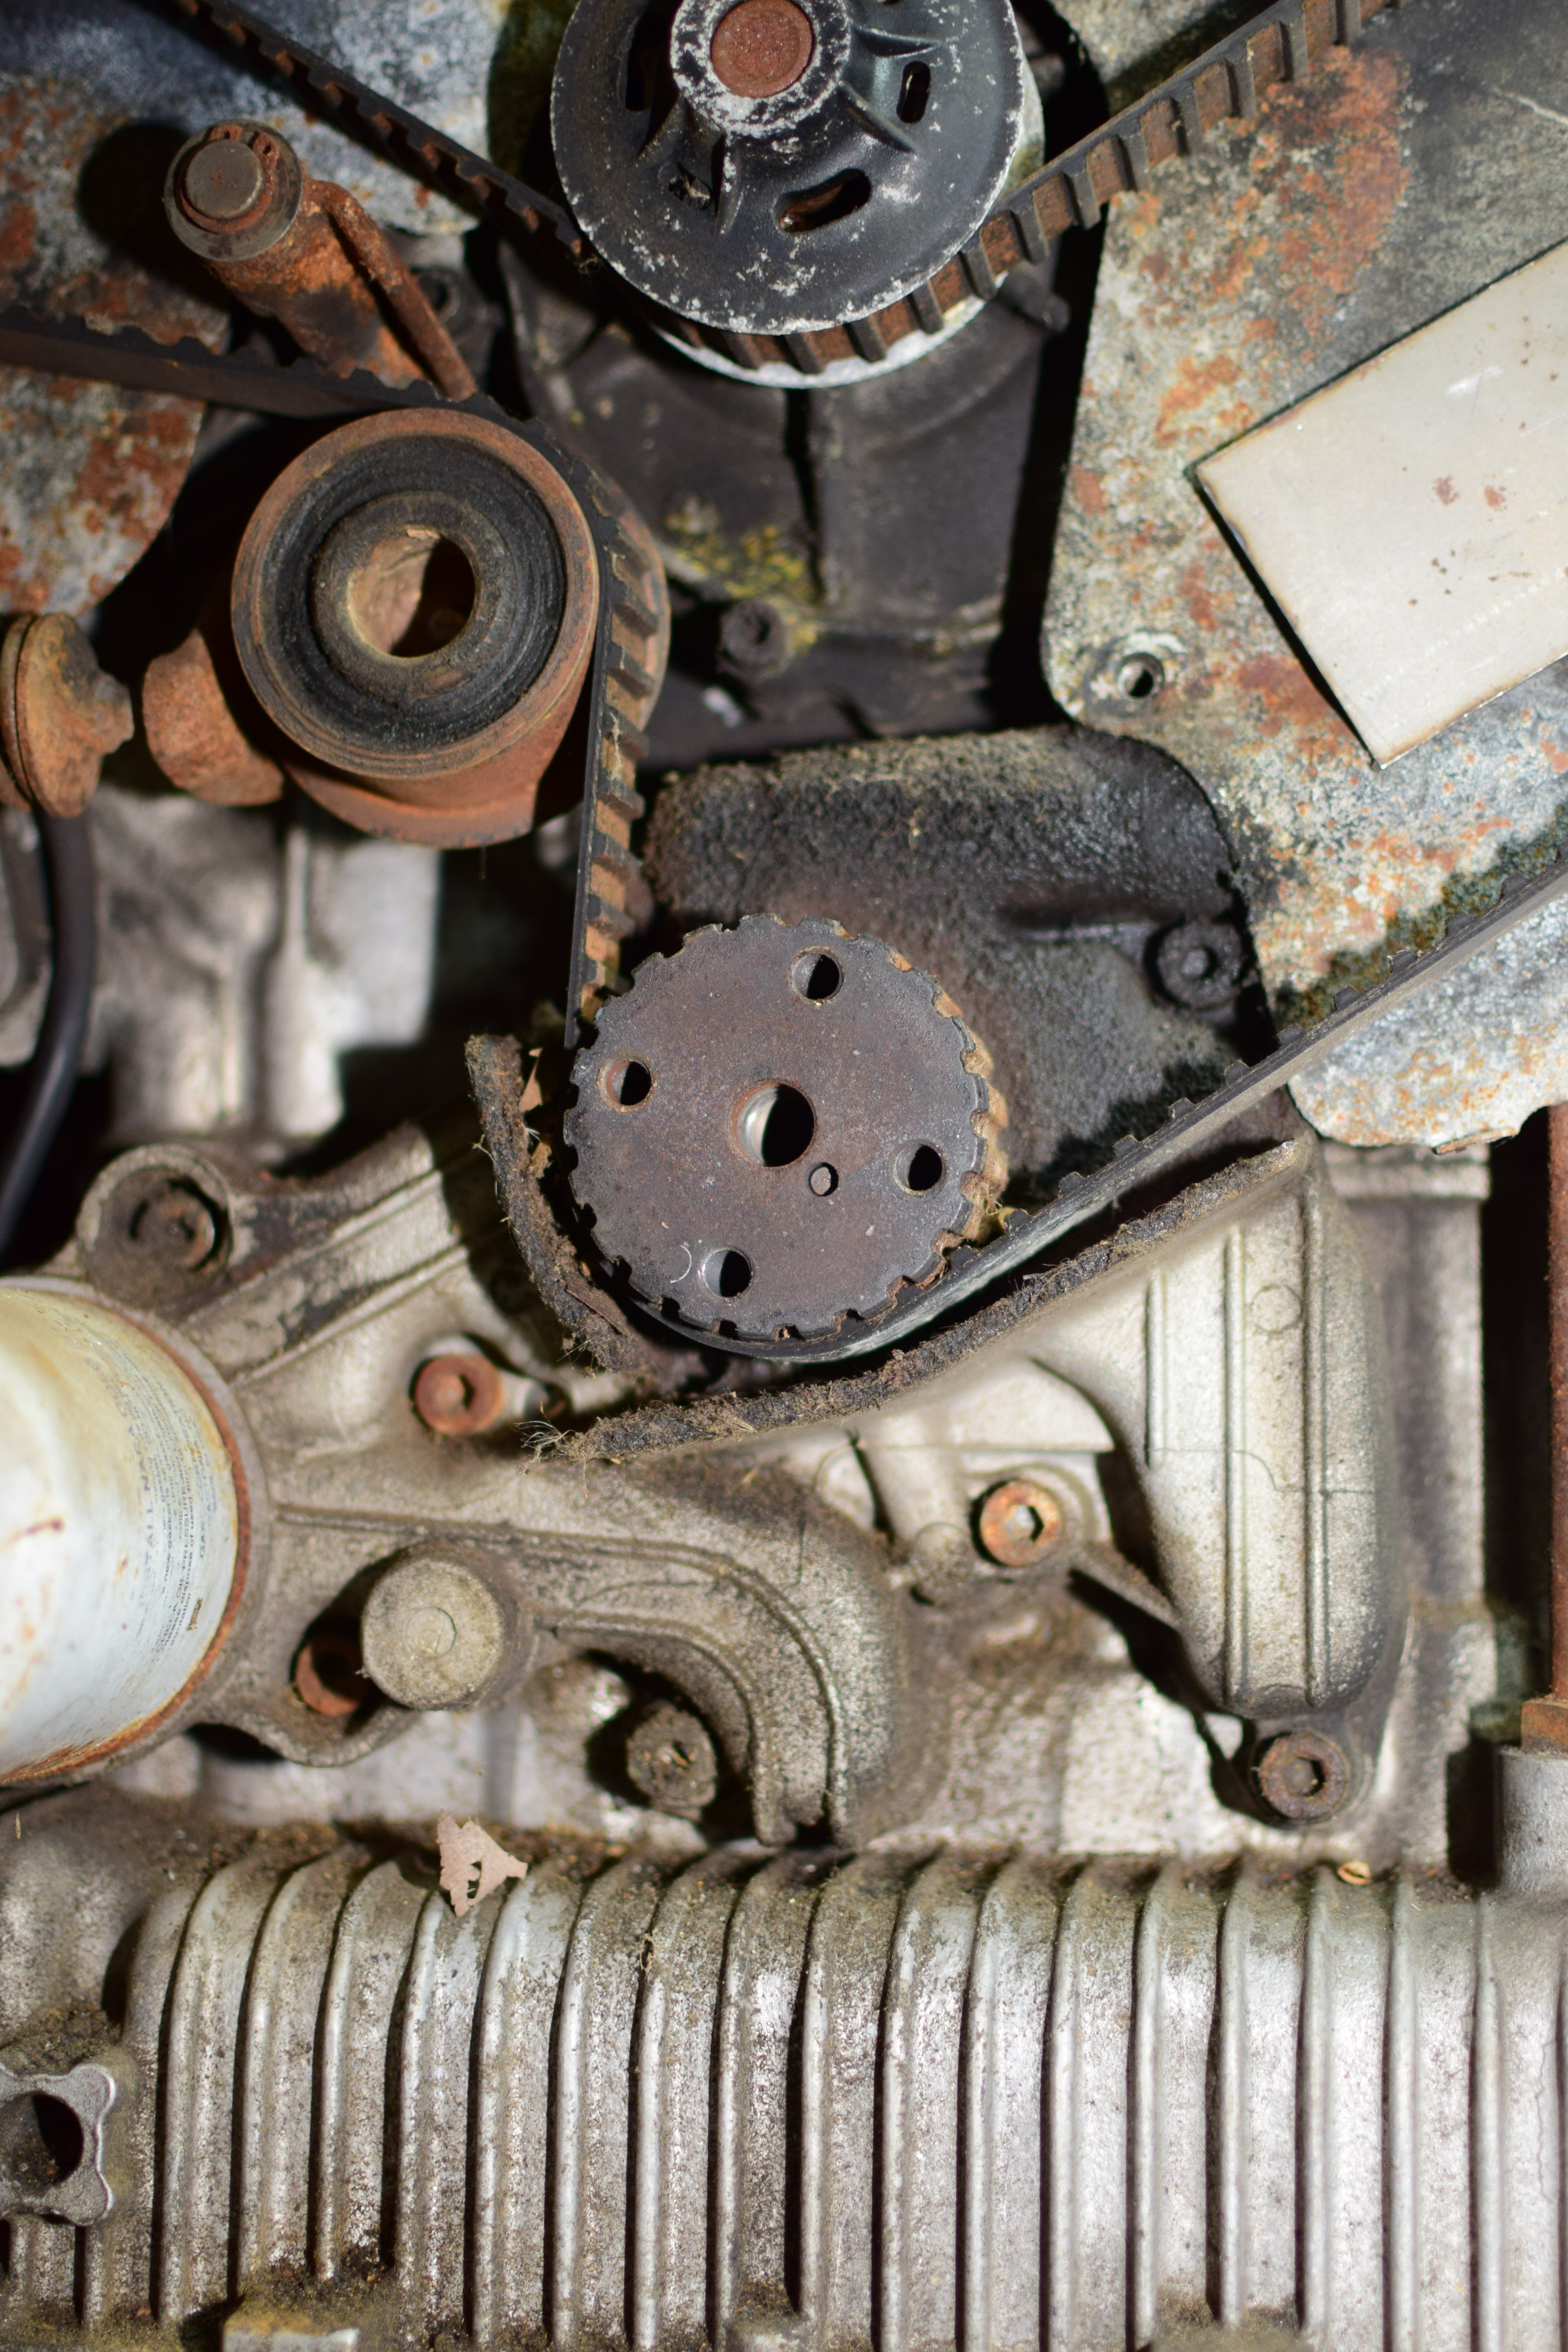
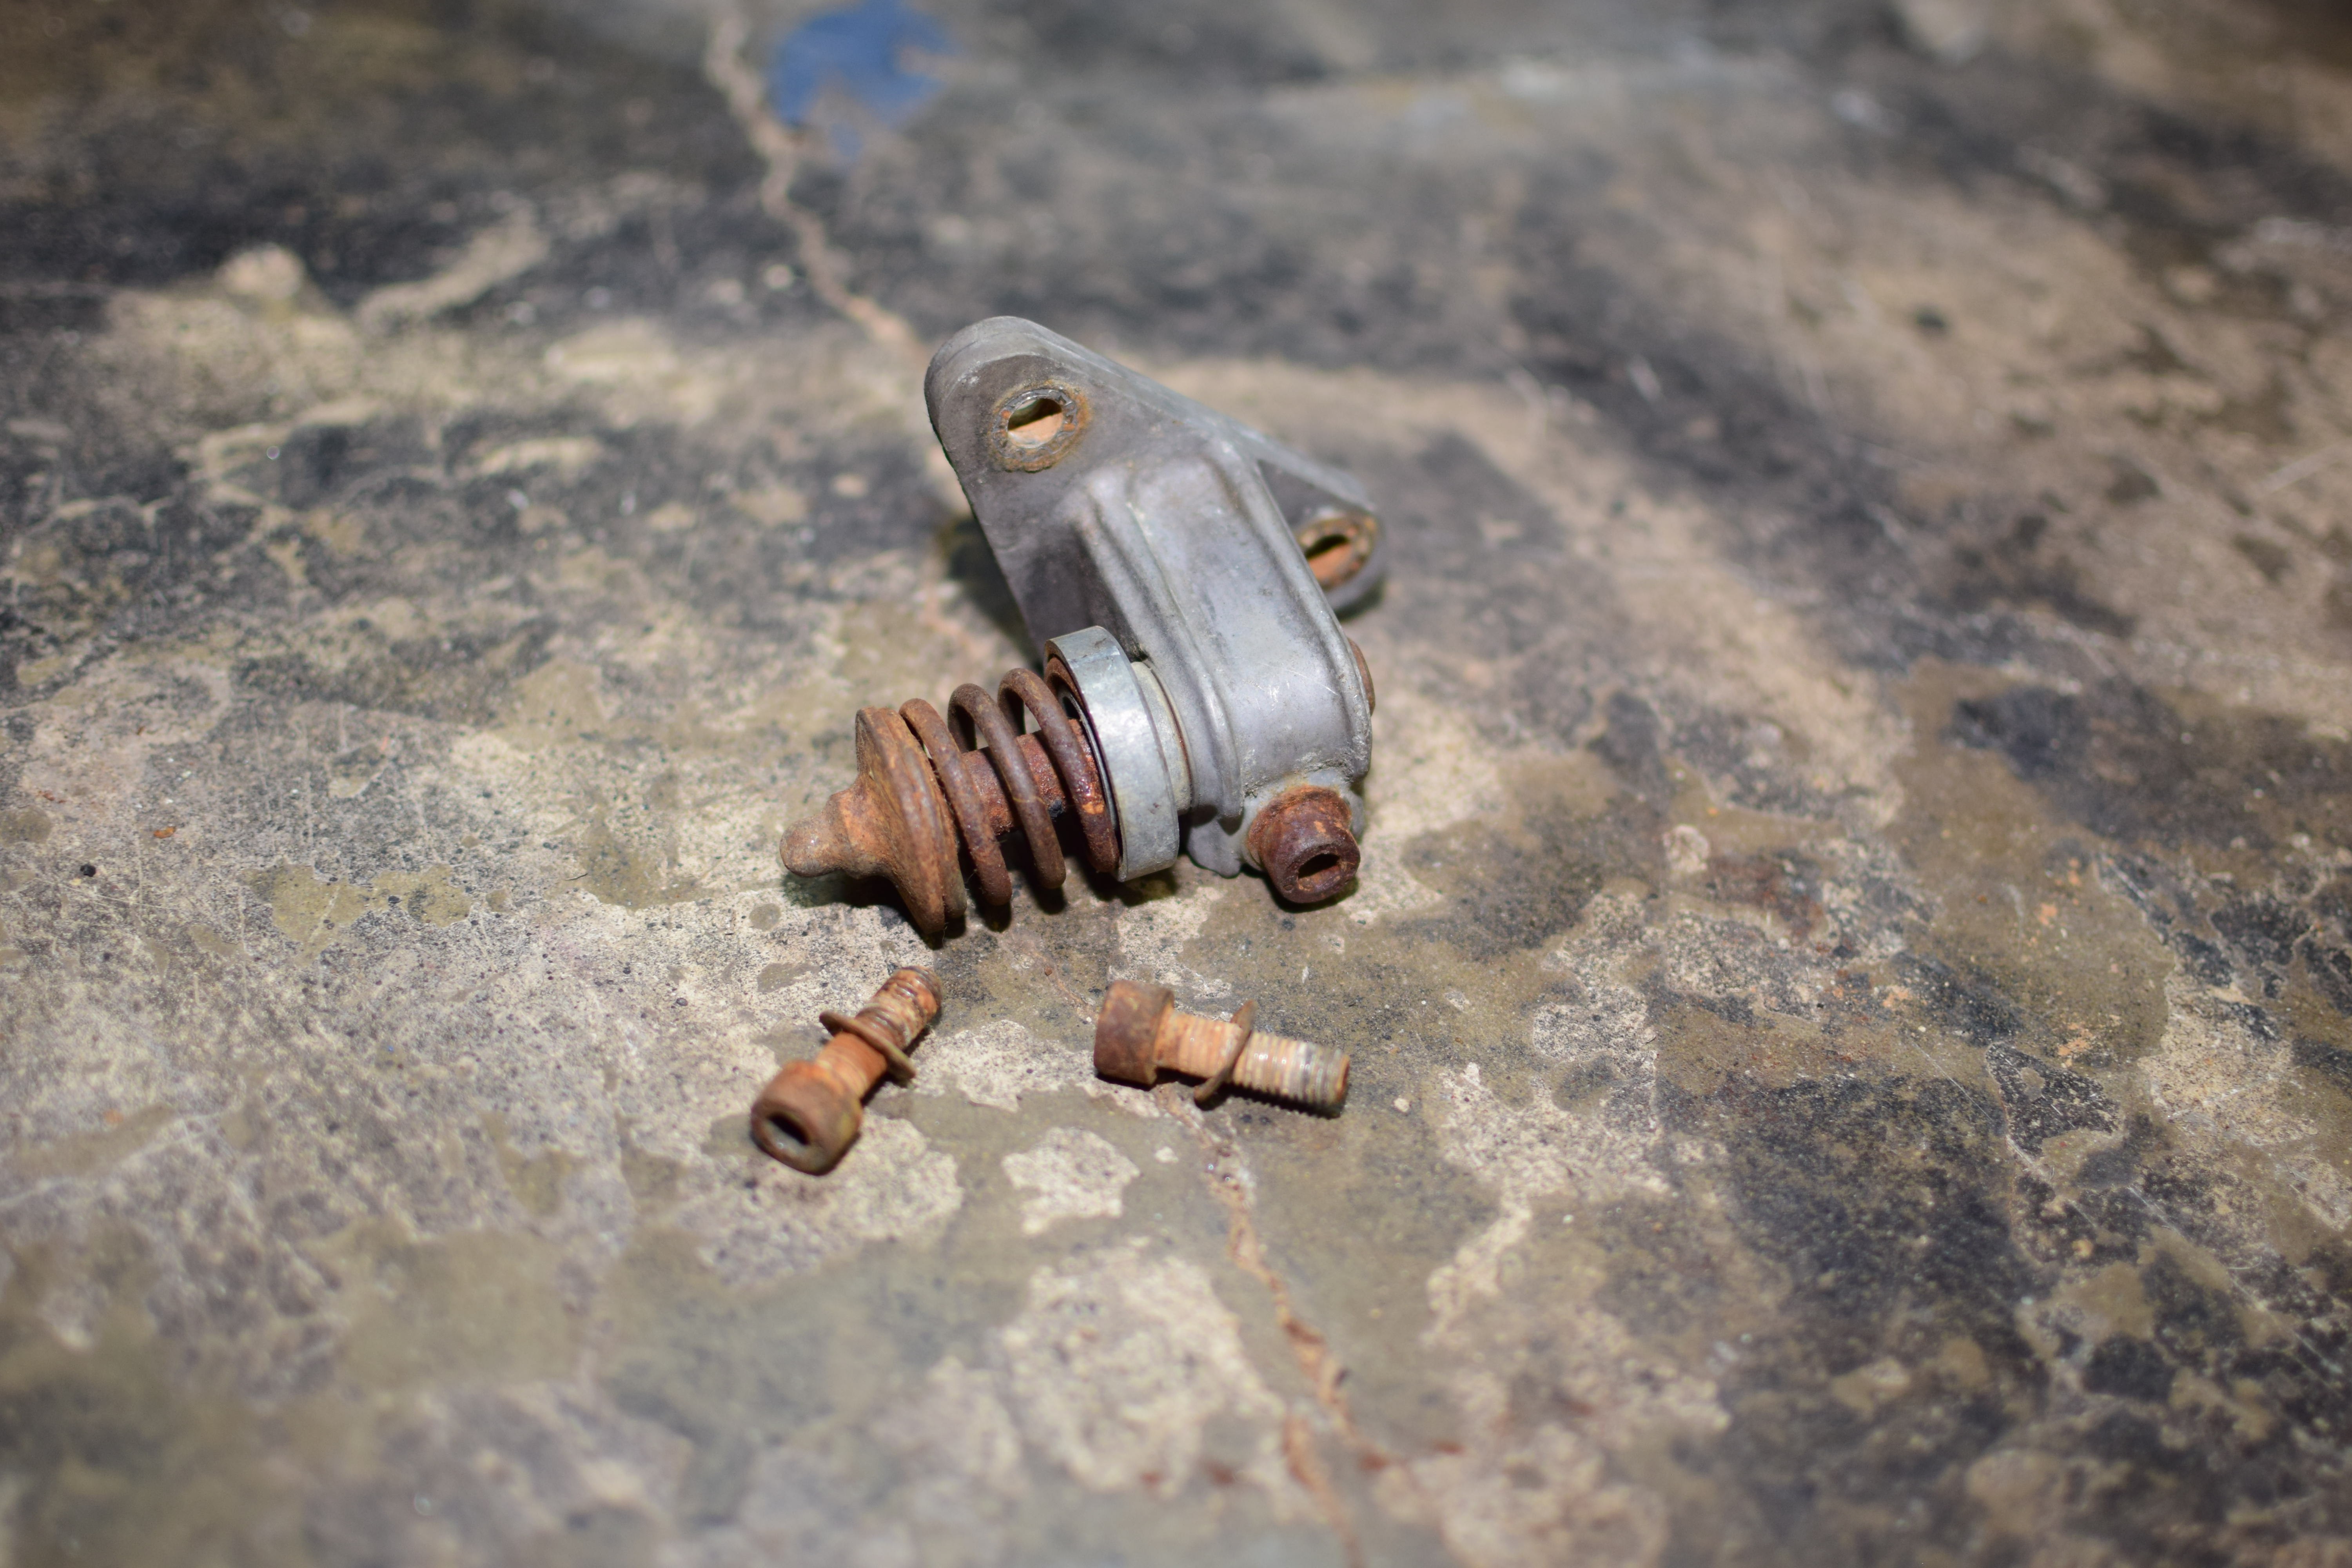
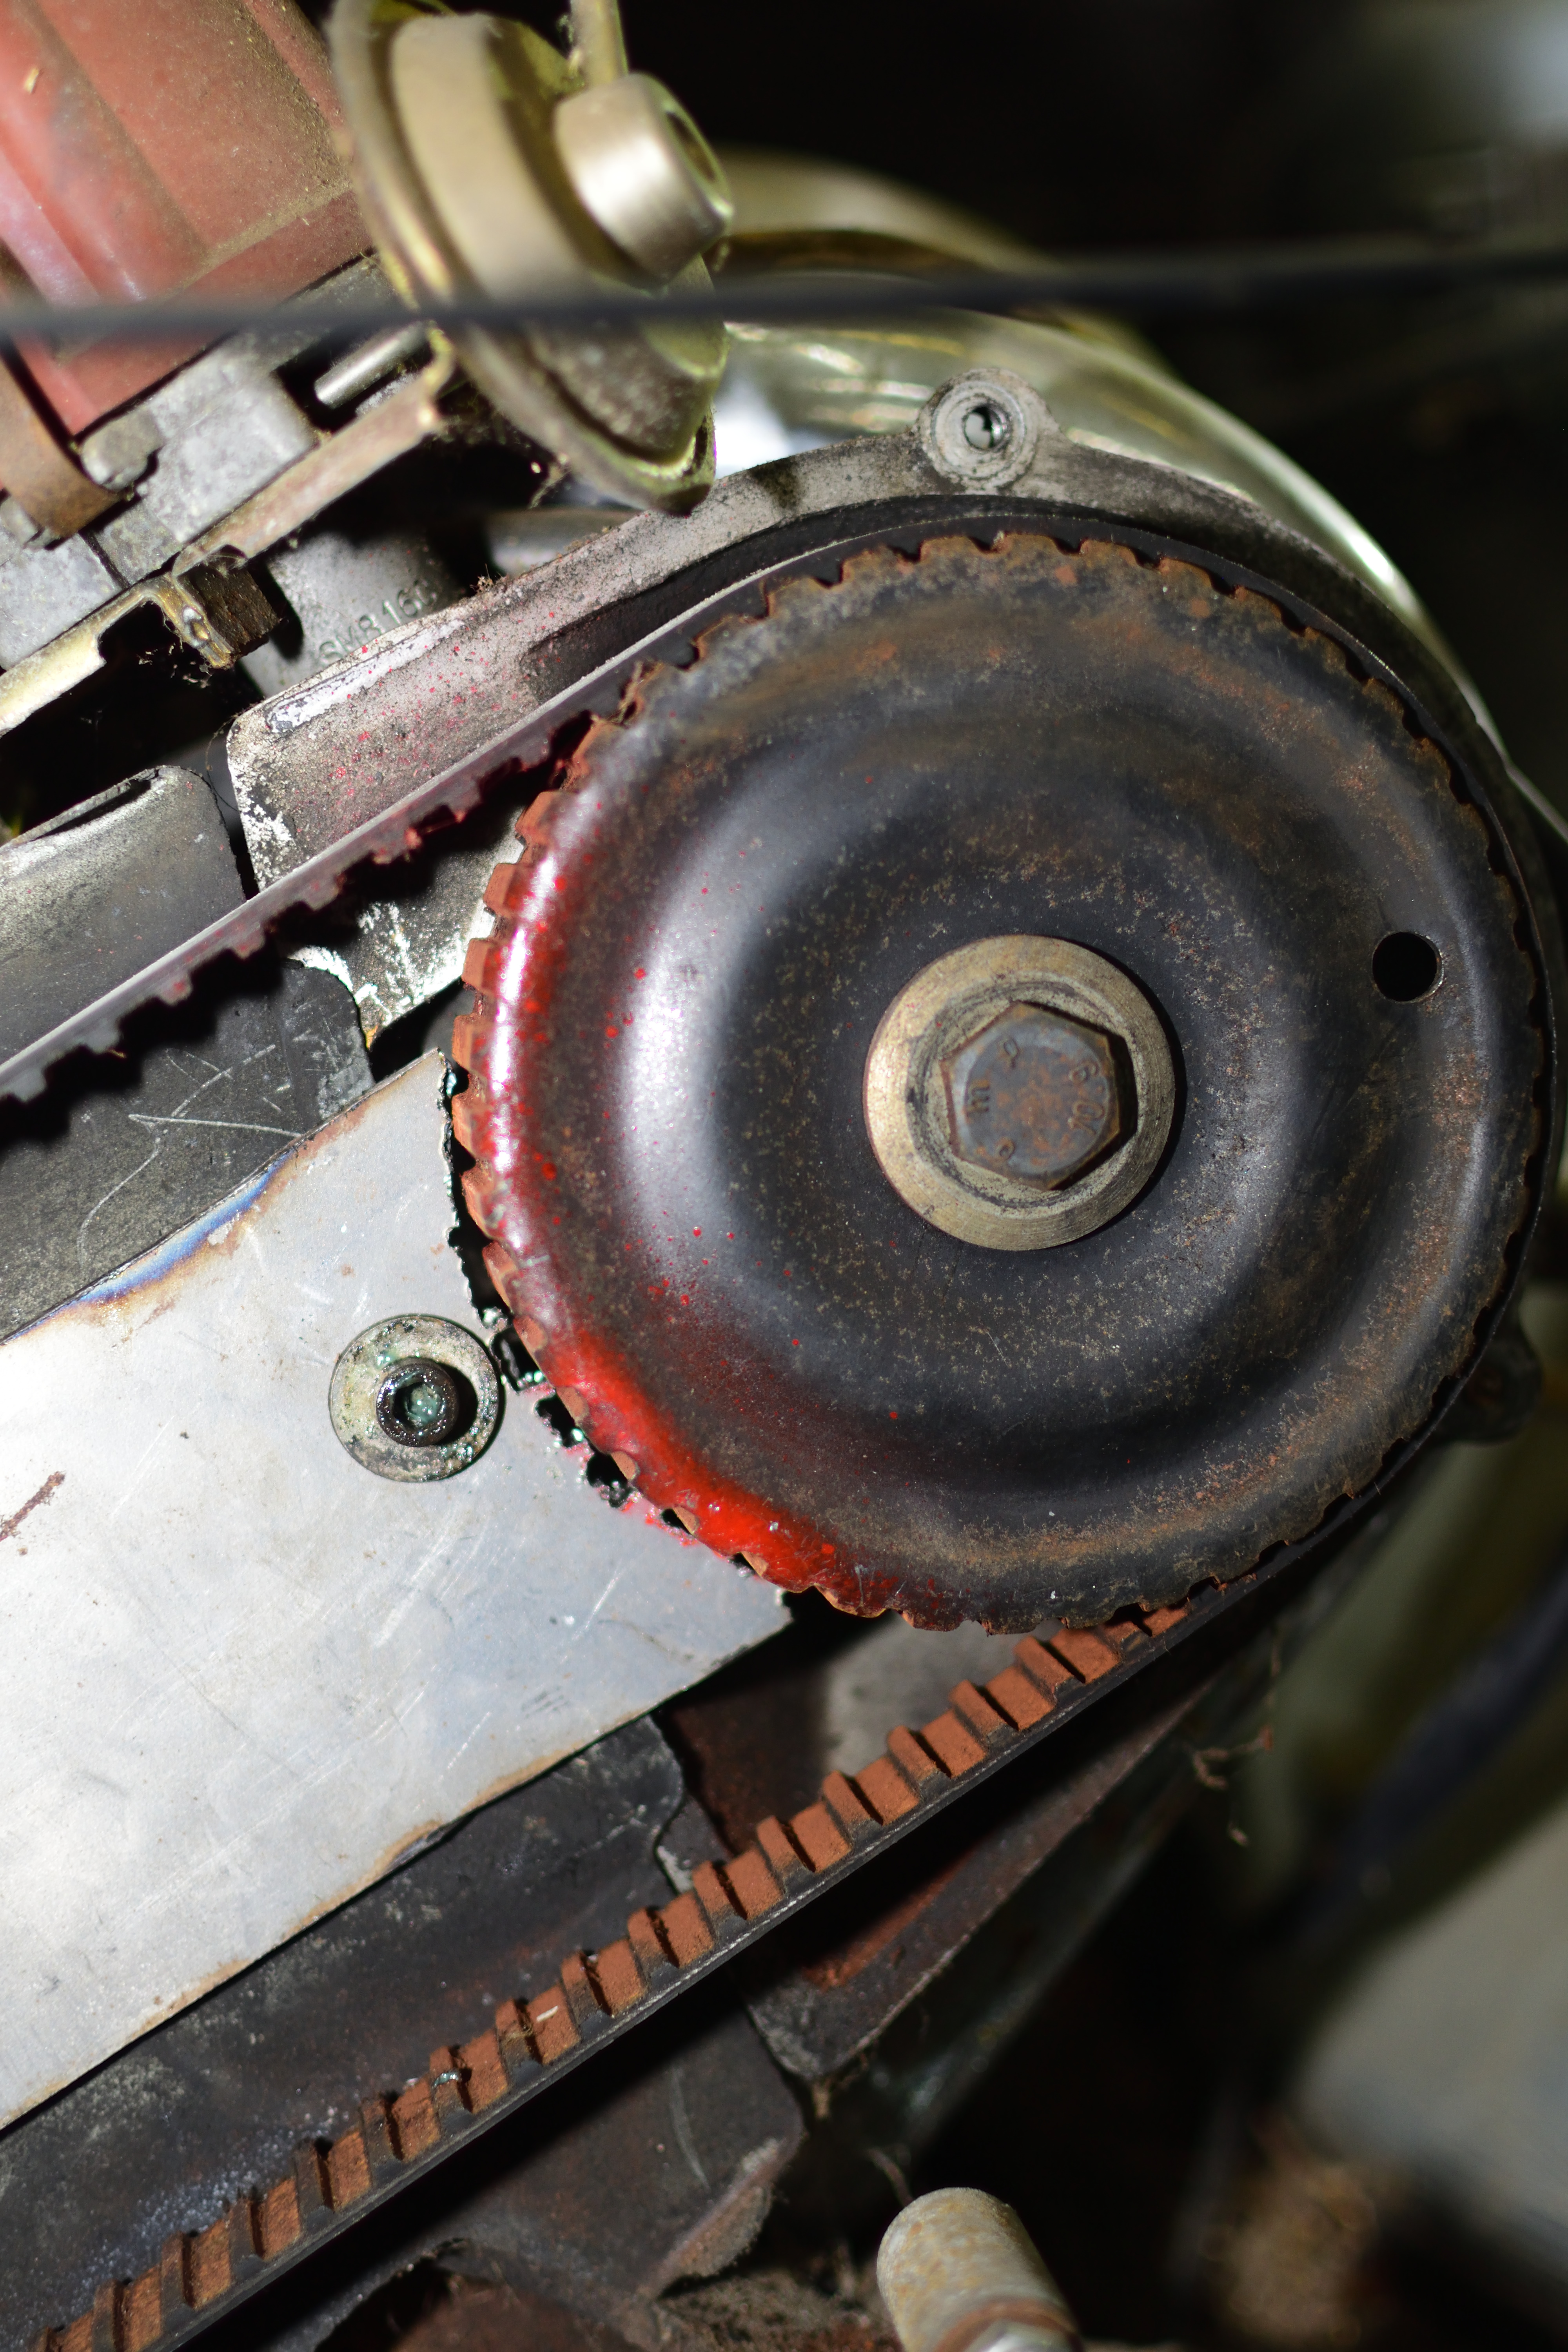
For the timing belt to be removed from the engine, the crank pulley needed to come off and the tensioner needed to be relaxed. Pulling the crank pulley was simple – the five bolts zipped out and the pulley easily slid off.
The service manual, translated from the Italian a couple decades before Google Translate became a thing, says that to remove the “belt stretcher” – by which they mean the timing belt tensioner – you’re supposed to loosen the cap locking bolt, compress the spring to release the tension, tighten the locking bolt, and then remove the tensioner and the “jockey pulley”. I, however, decided to try to remove the tensioner without re-reading the manual and didn’t remember any of that. Instead, I took the mounting bolts out of the tensioner to remove it and then slid the old timing belt off. Either way, the job was complete. Two bits of good news came from this. First of all, the water pump bearing feels smooth and is quiet. Secondly, the tensioner pulley bearing was a disaster!
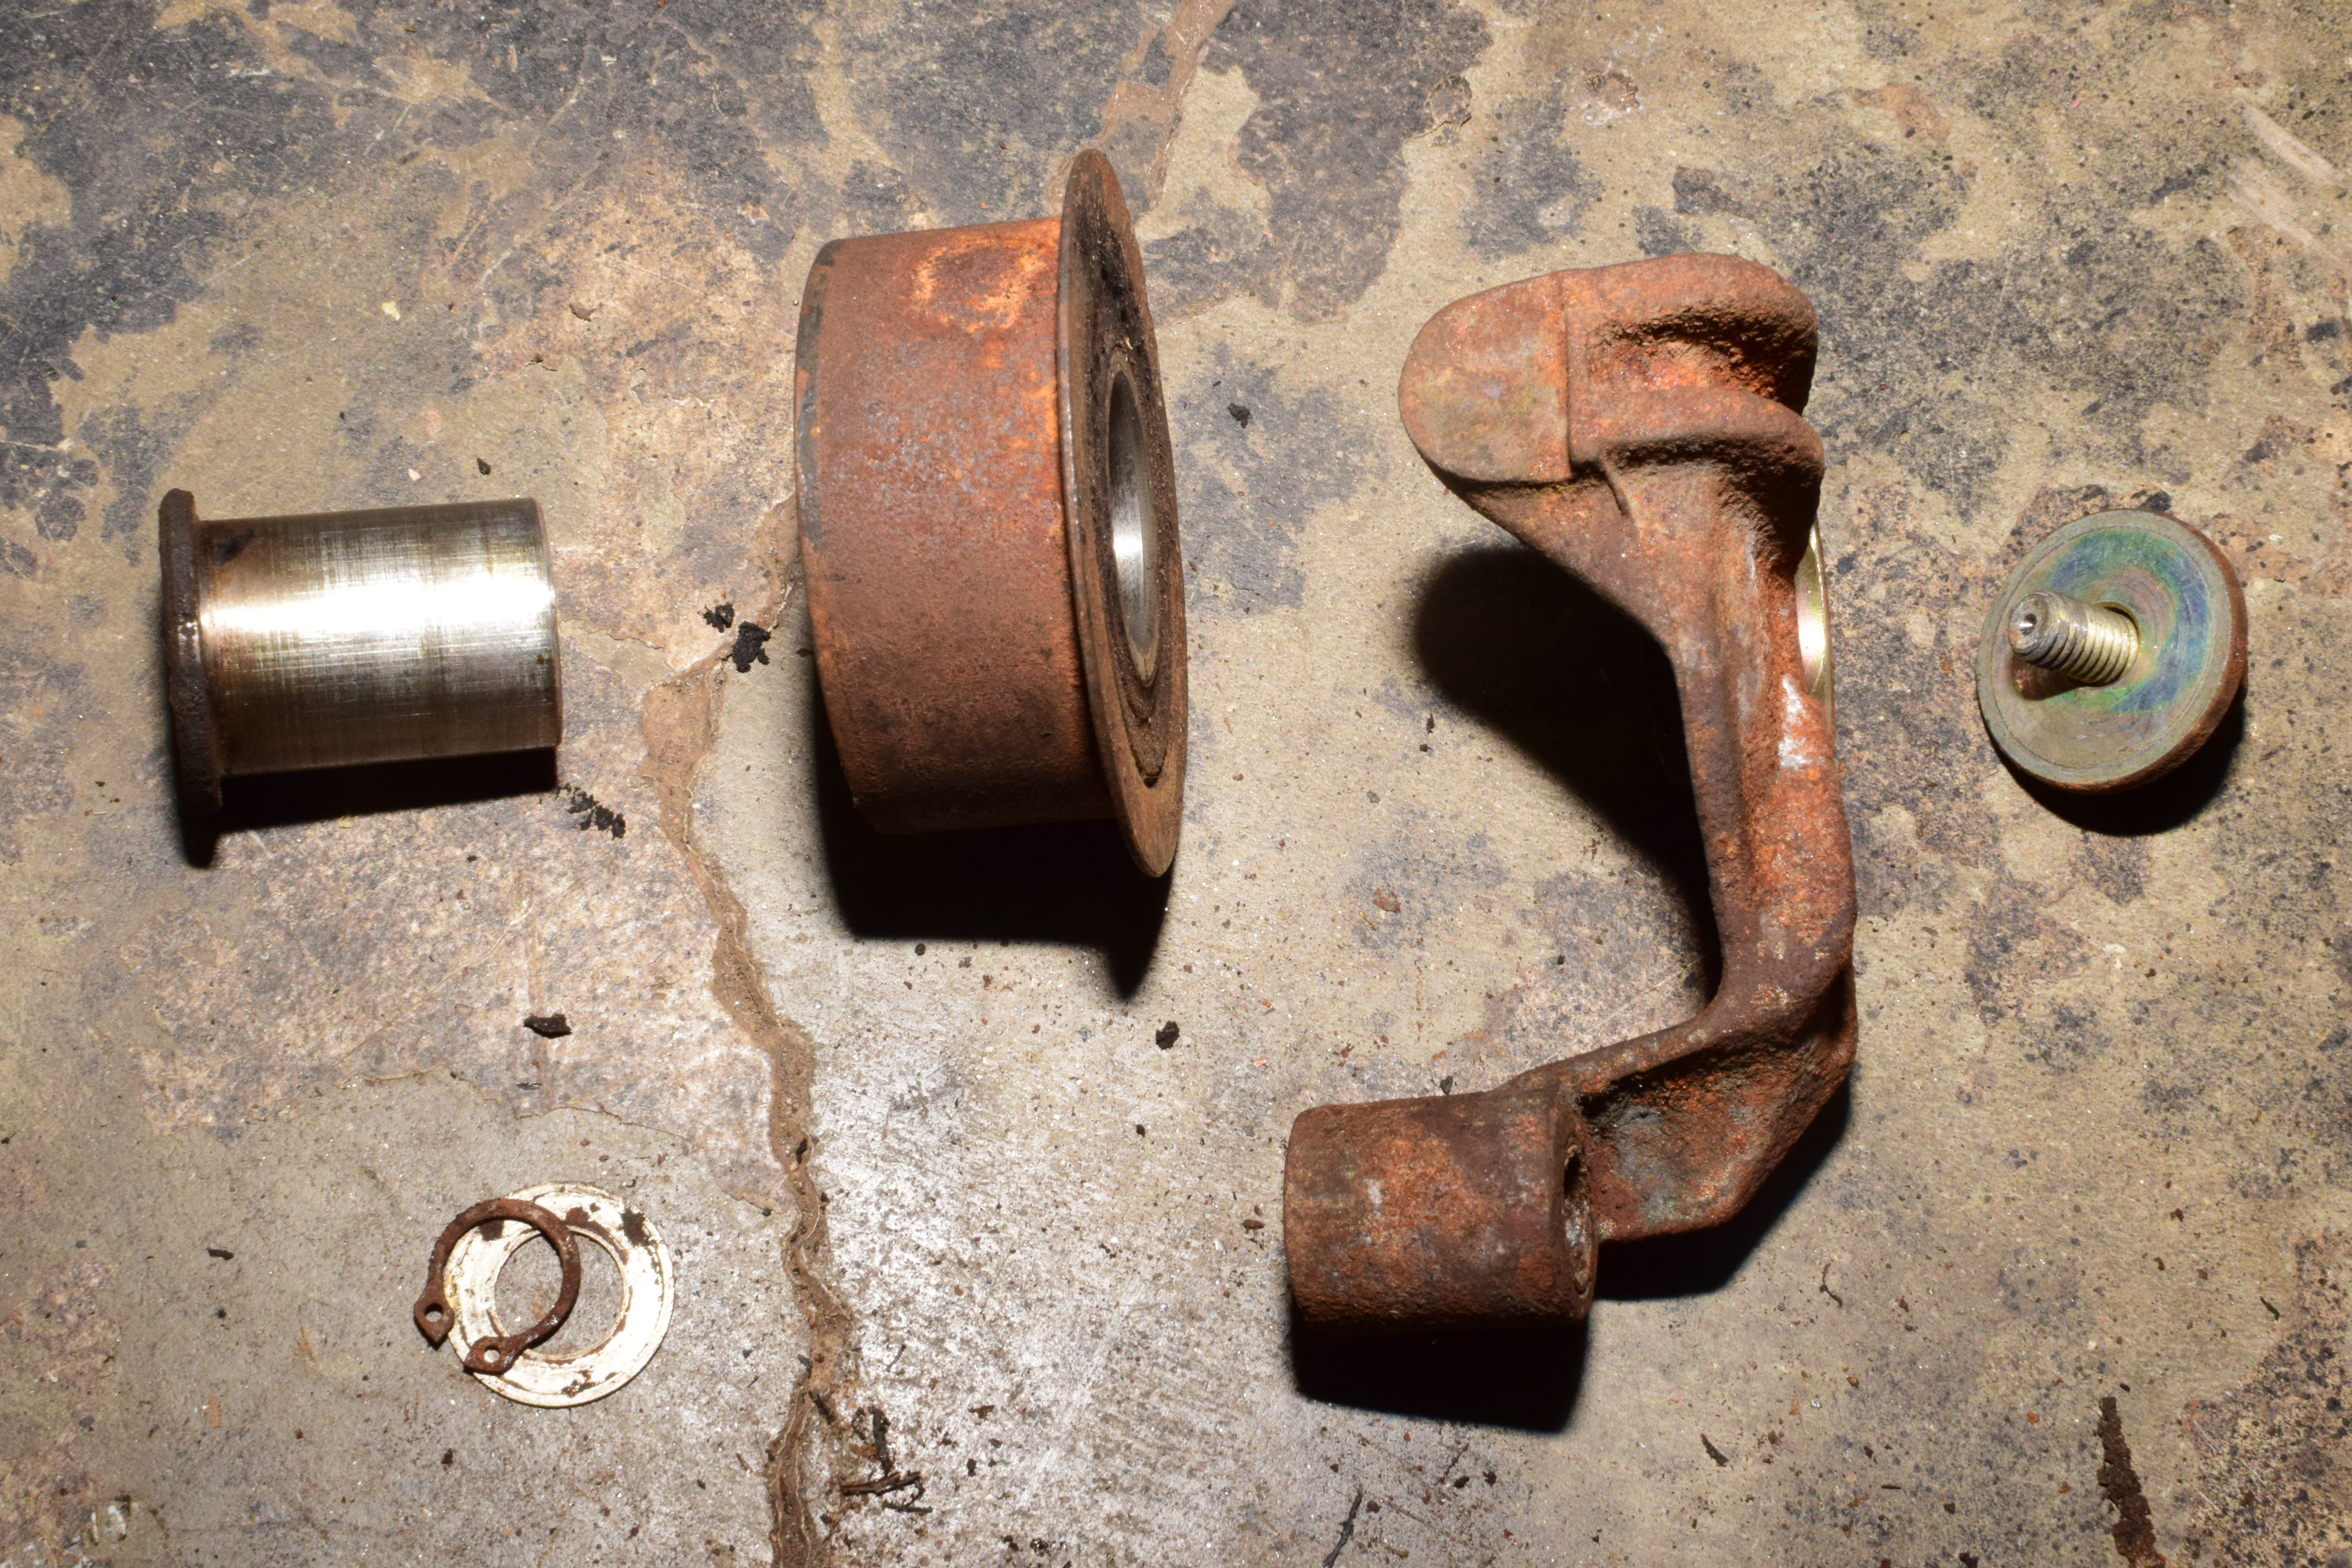
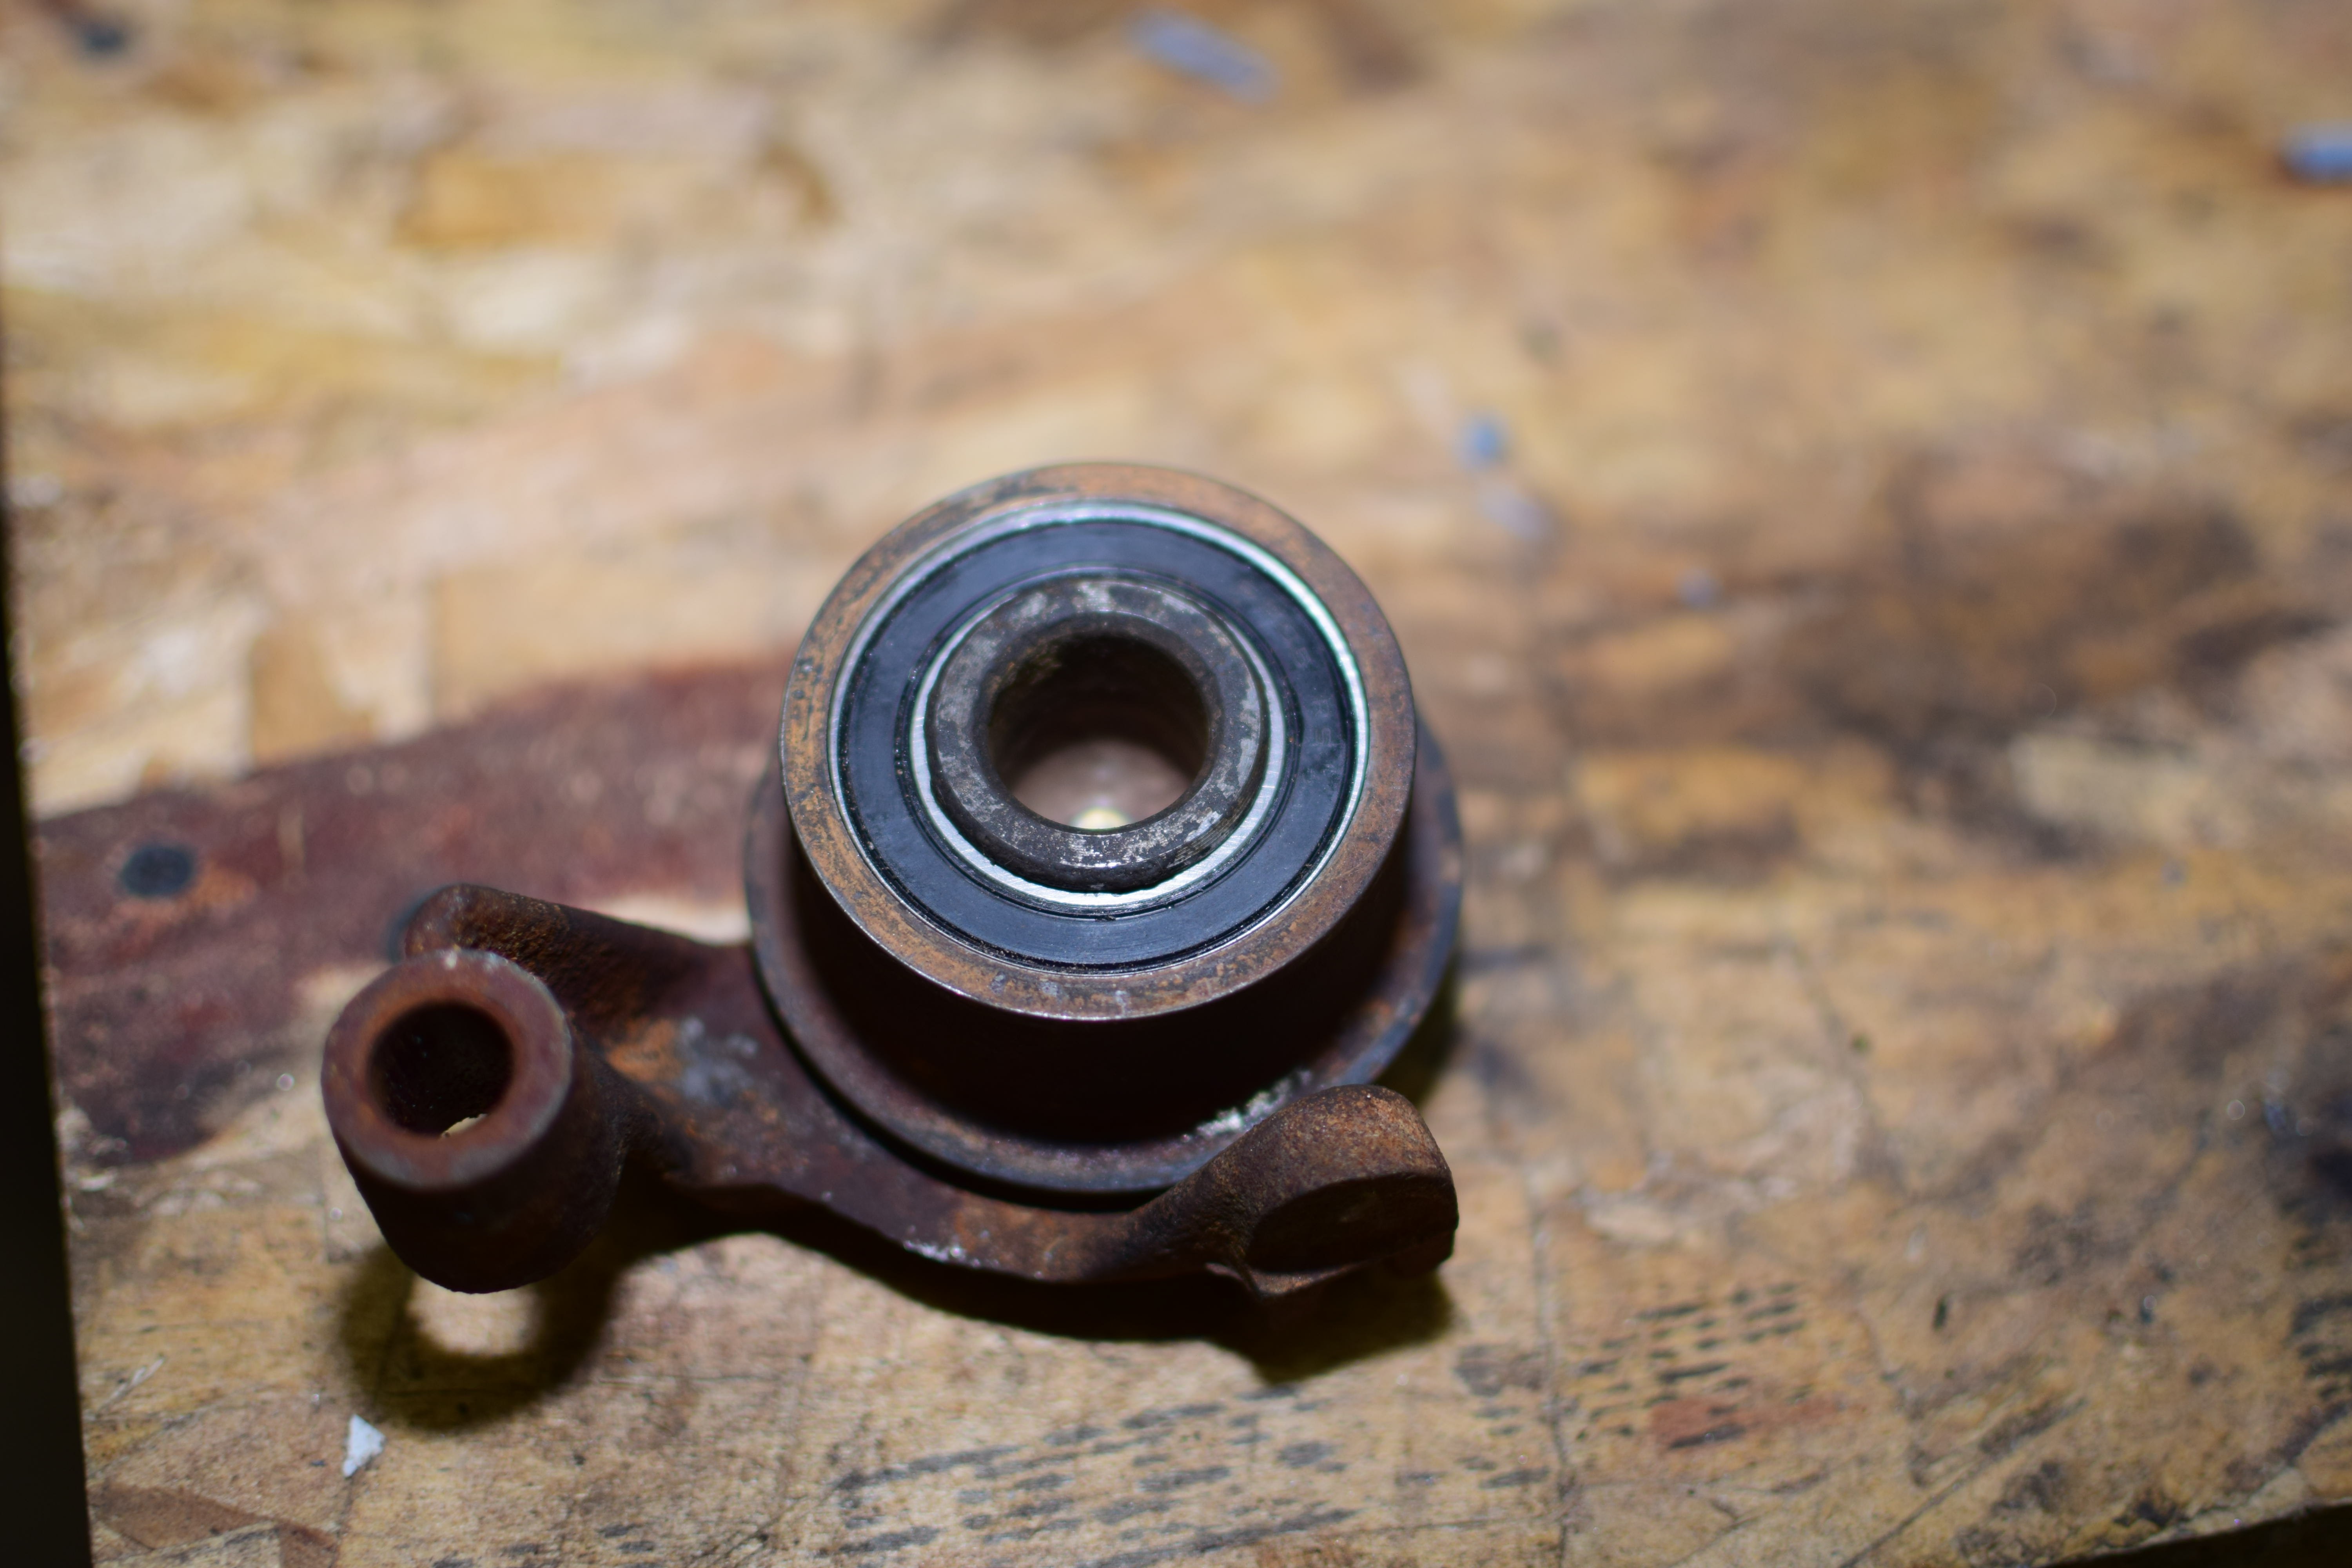
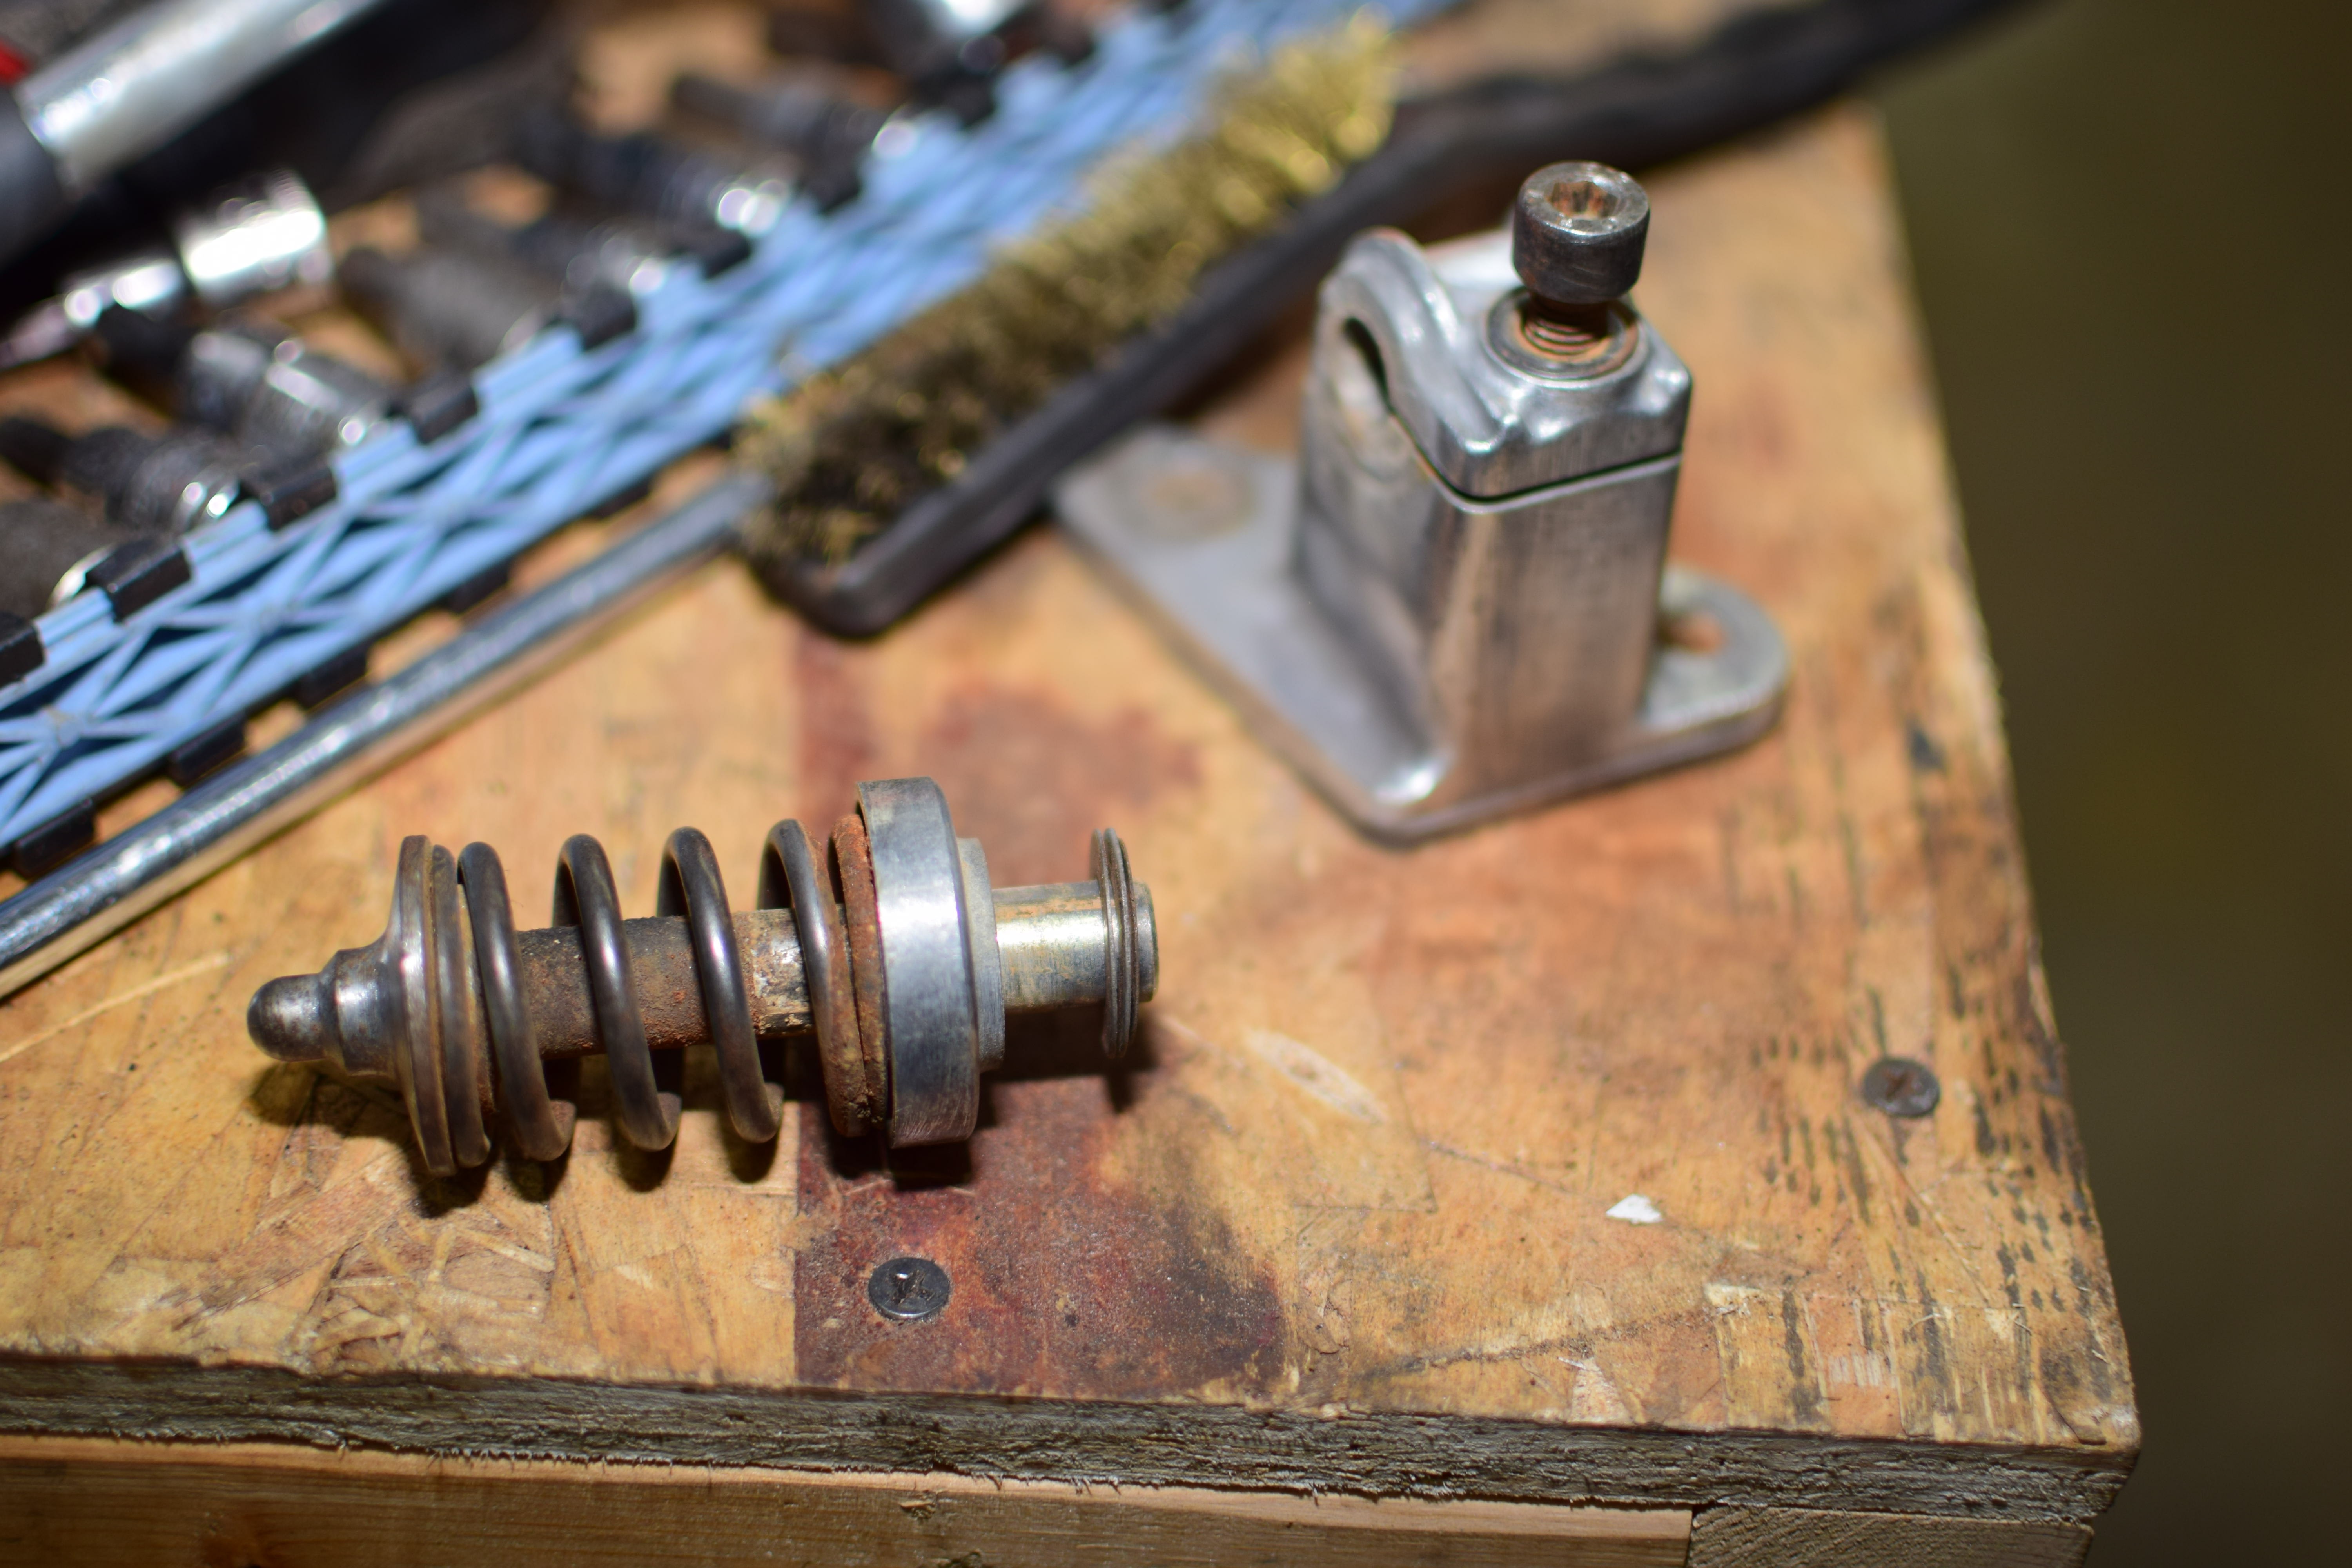
The tensioner pulley is removed by taking off the snap ring and sliding it over its mounting peg. The corrosion meant that it took considerable effort to remove the pulley, but once it was off, I could disassemble it so the bearing could be replaced.
Using the hydraulic press, I took the old bearing out and pressed the new one in.
Once I figured out how the tensioner actually worked, I lubed that up as well.
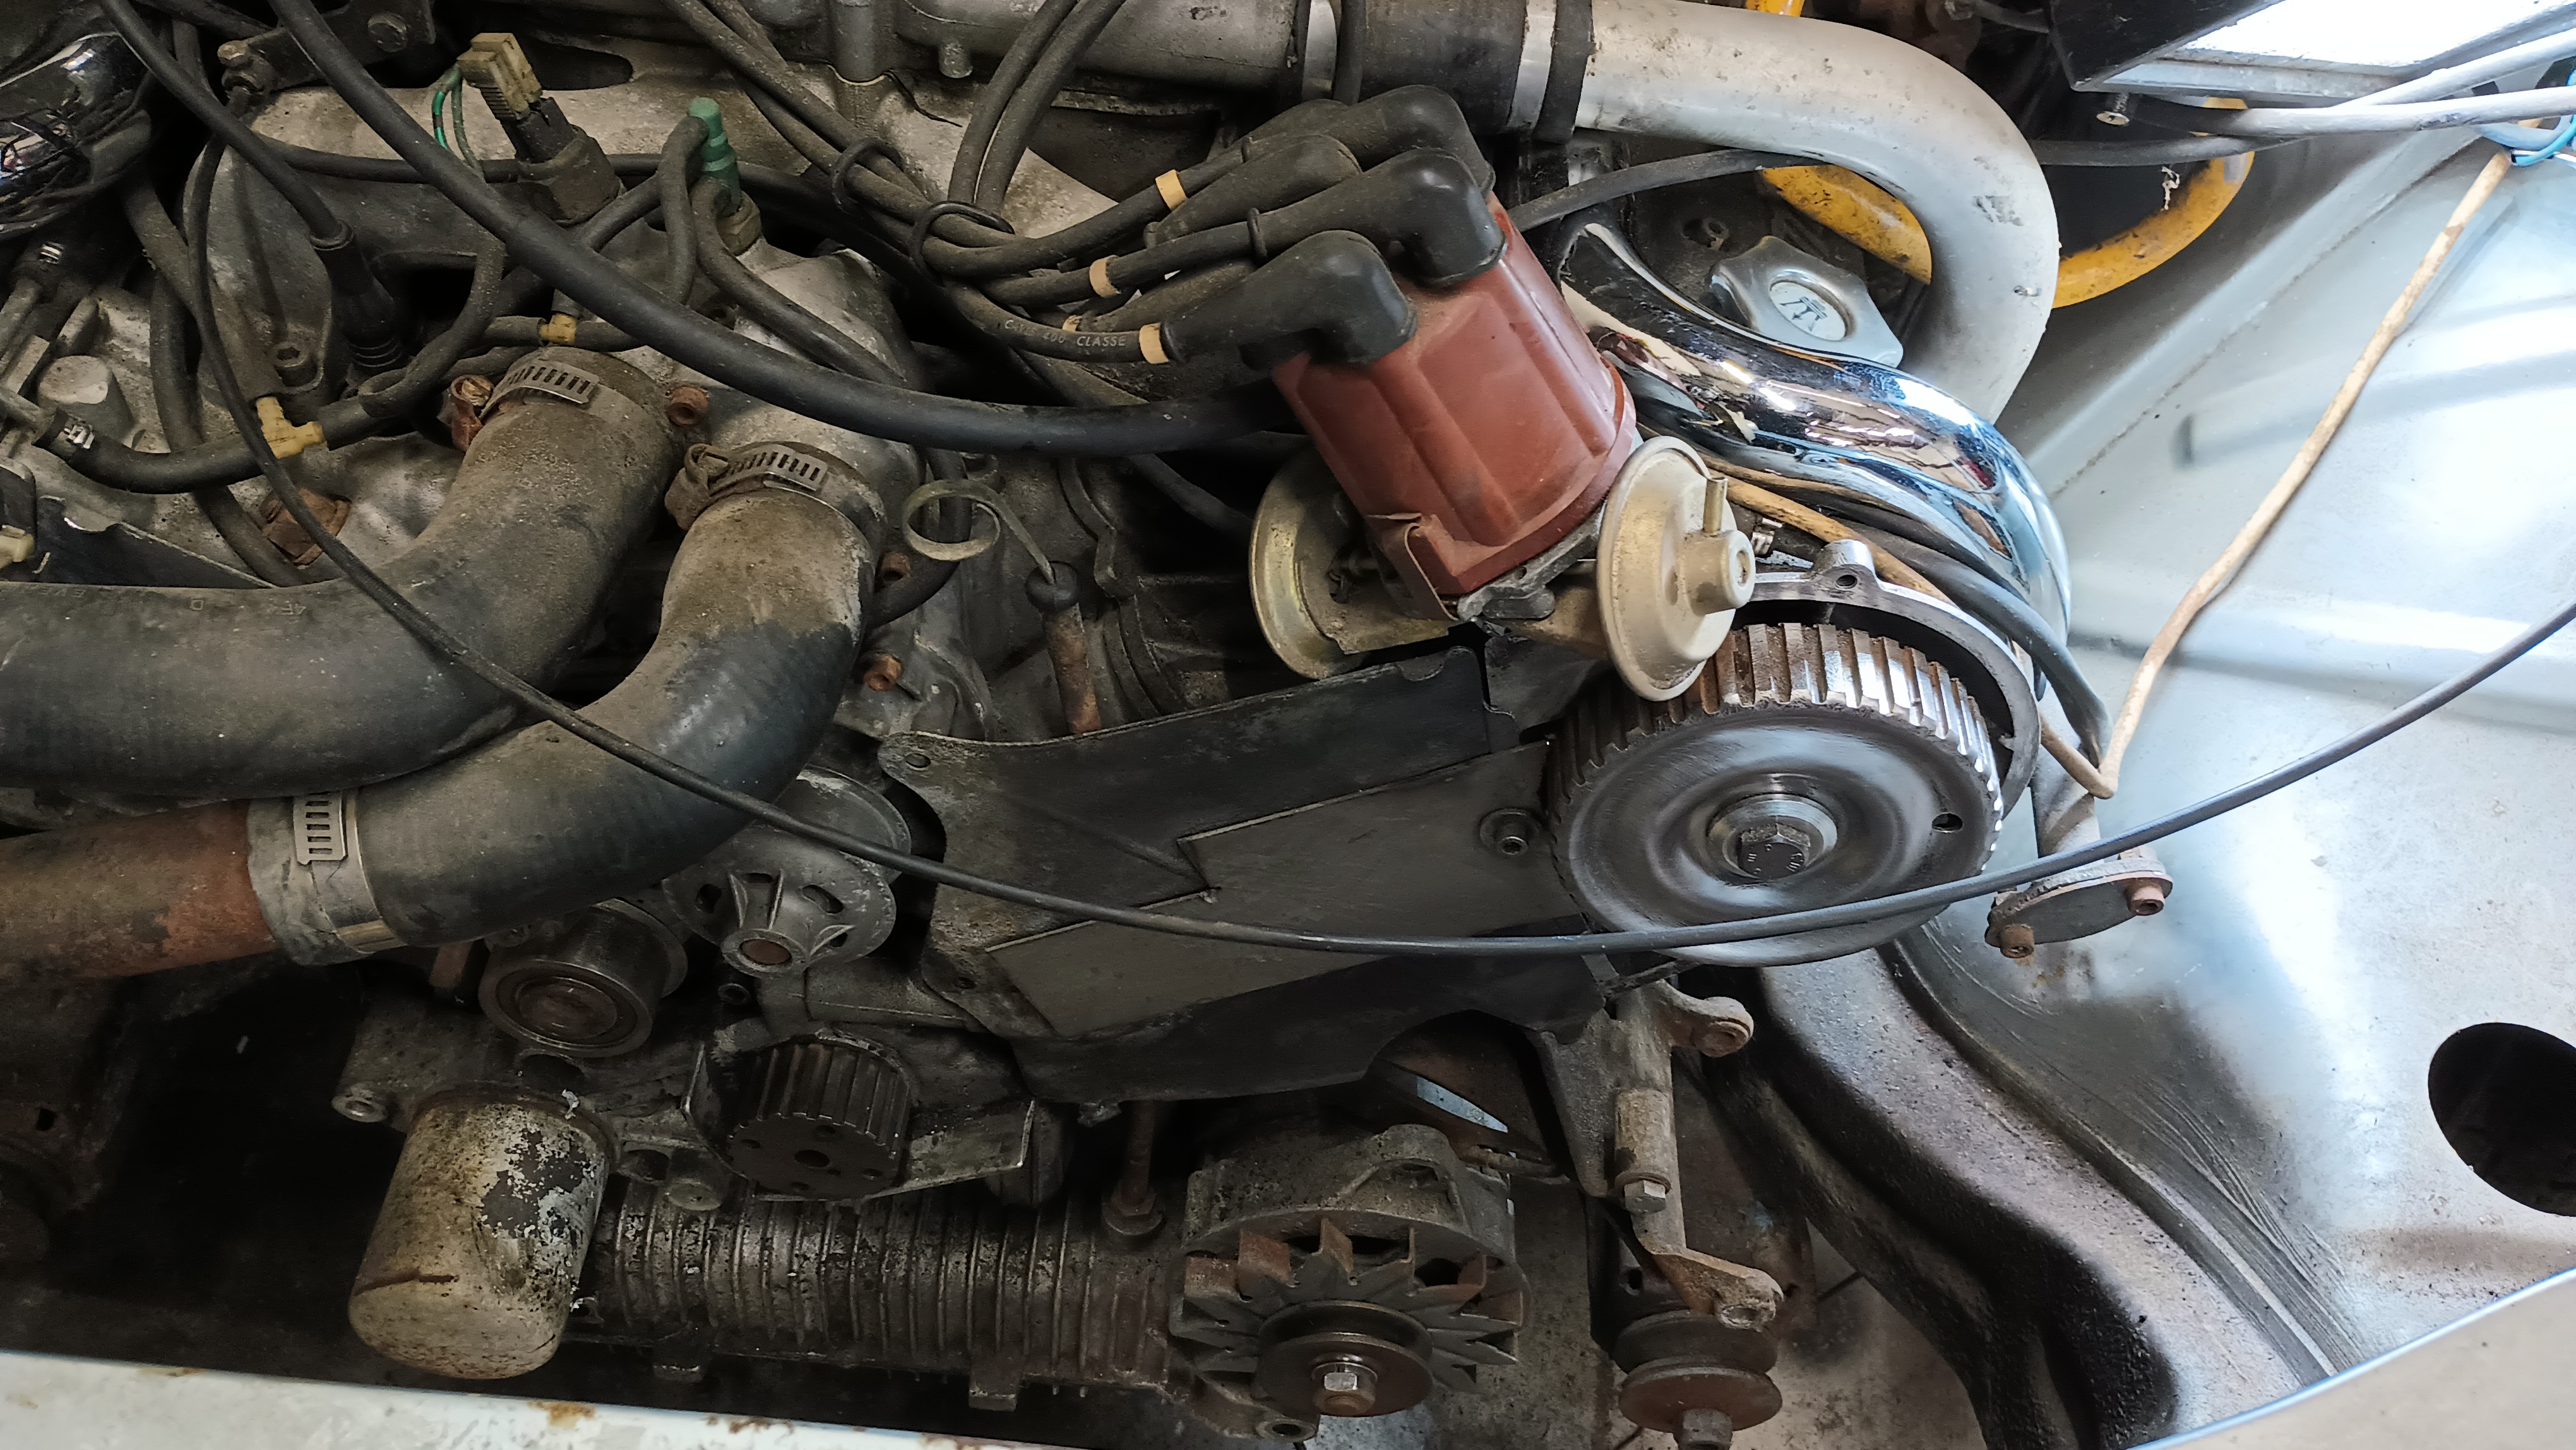
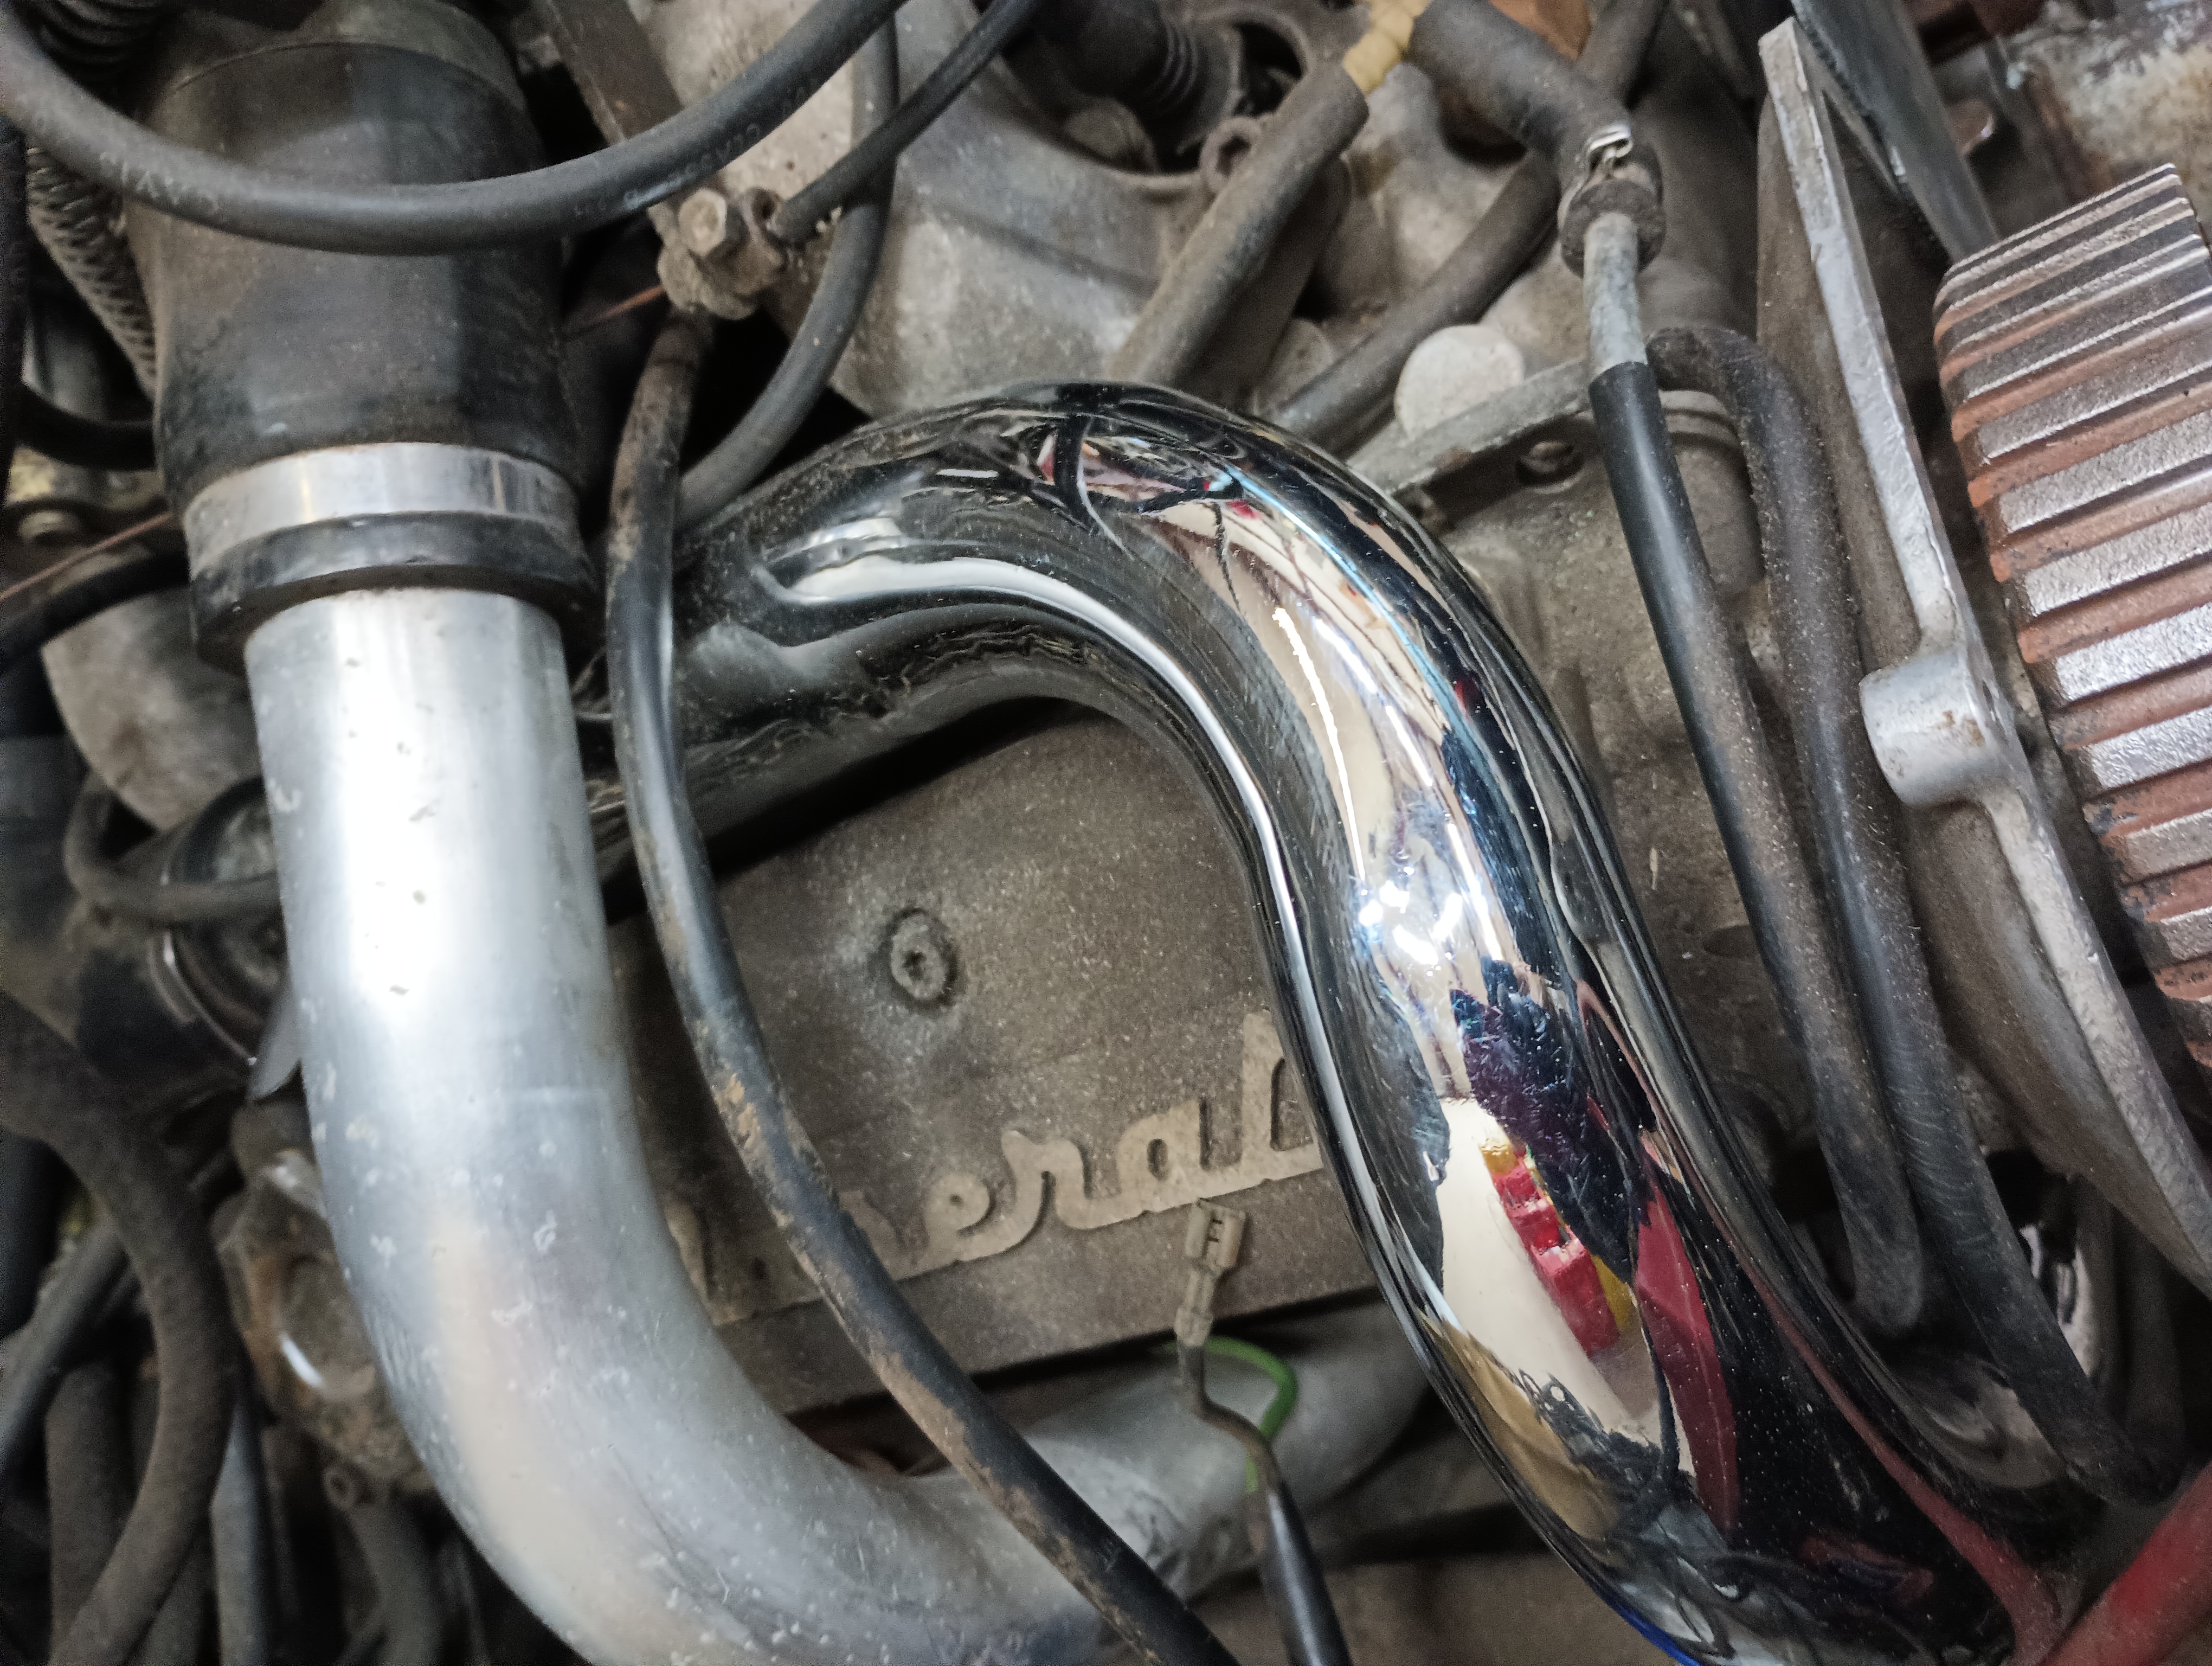
Meanwhile, Dave got in there and cleaned up the pulleys. And the cold-side charge pipes.
Again, I failed to remember the specific instructions, so I got the belt on a tooth off. But I’ll fix that later on. In the meantime, Tim was working on draining the fuel. He was thinking that getting the fuel pump to do the work would be easiest, so we hooked up a battery and tried to get the fuel pump to run. Nothing. He tried connecting 12V directly to the fuel pump and still nothing. It looks like a new fuel pump will need to be sourced.
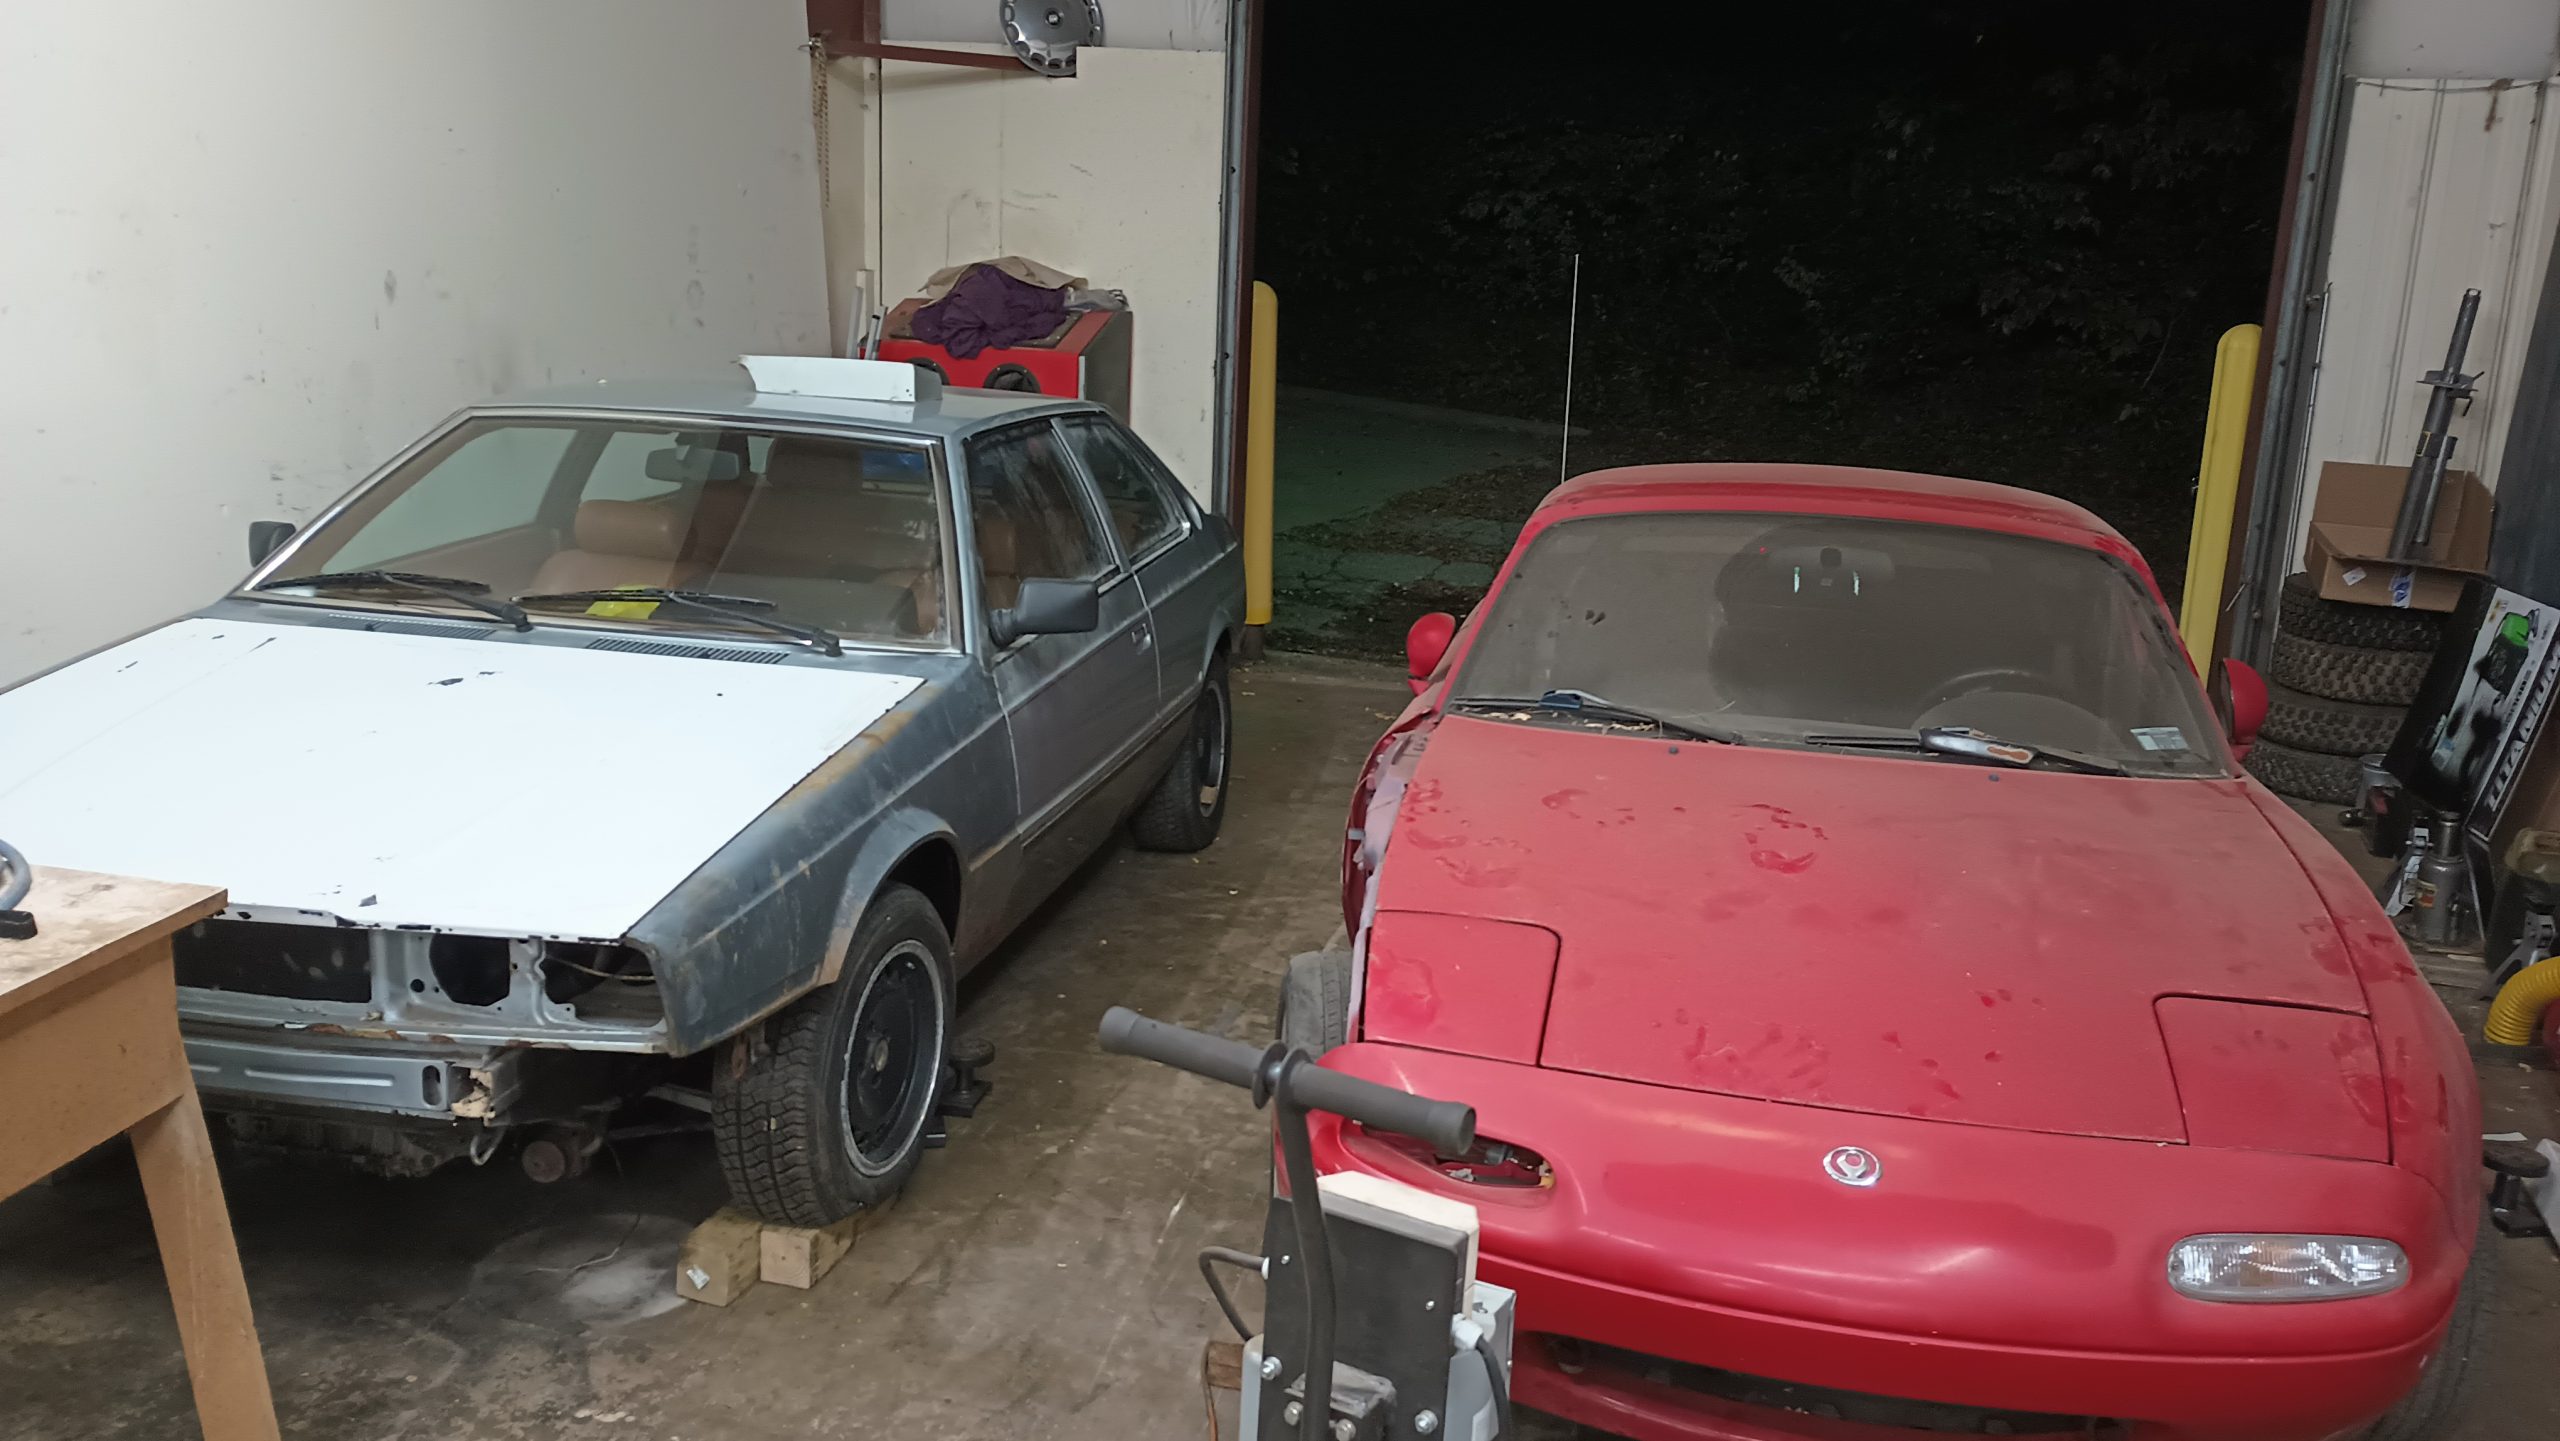
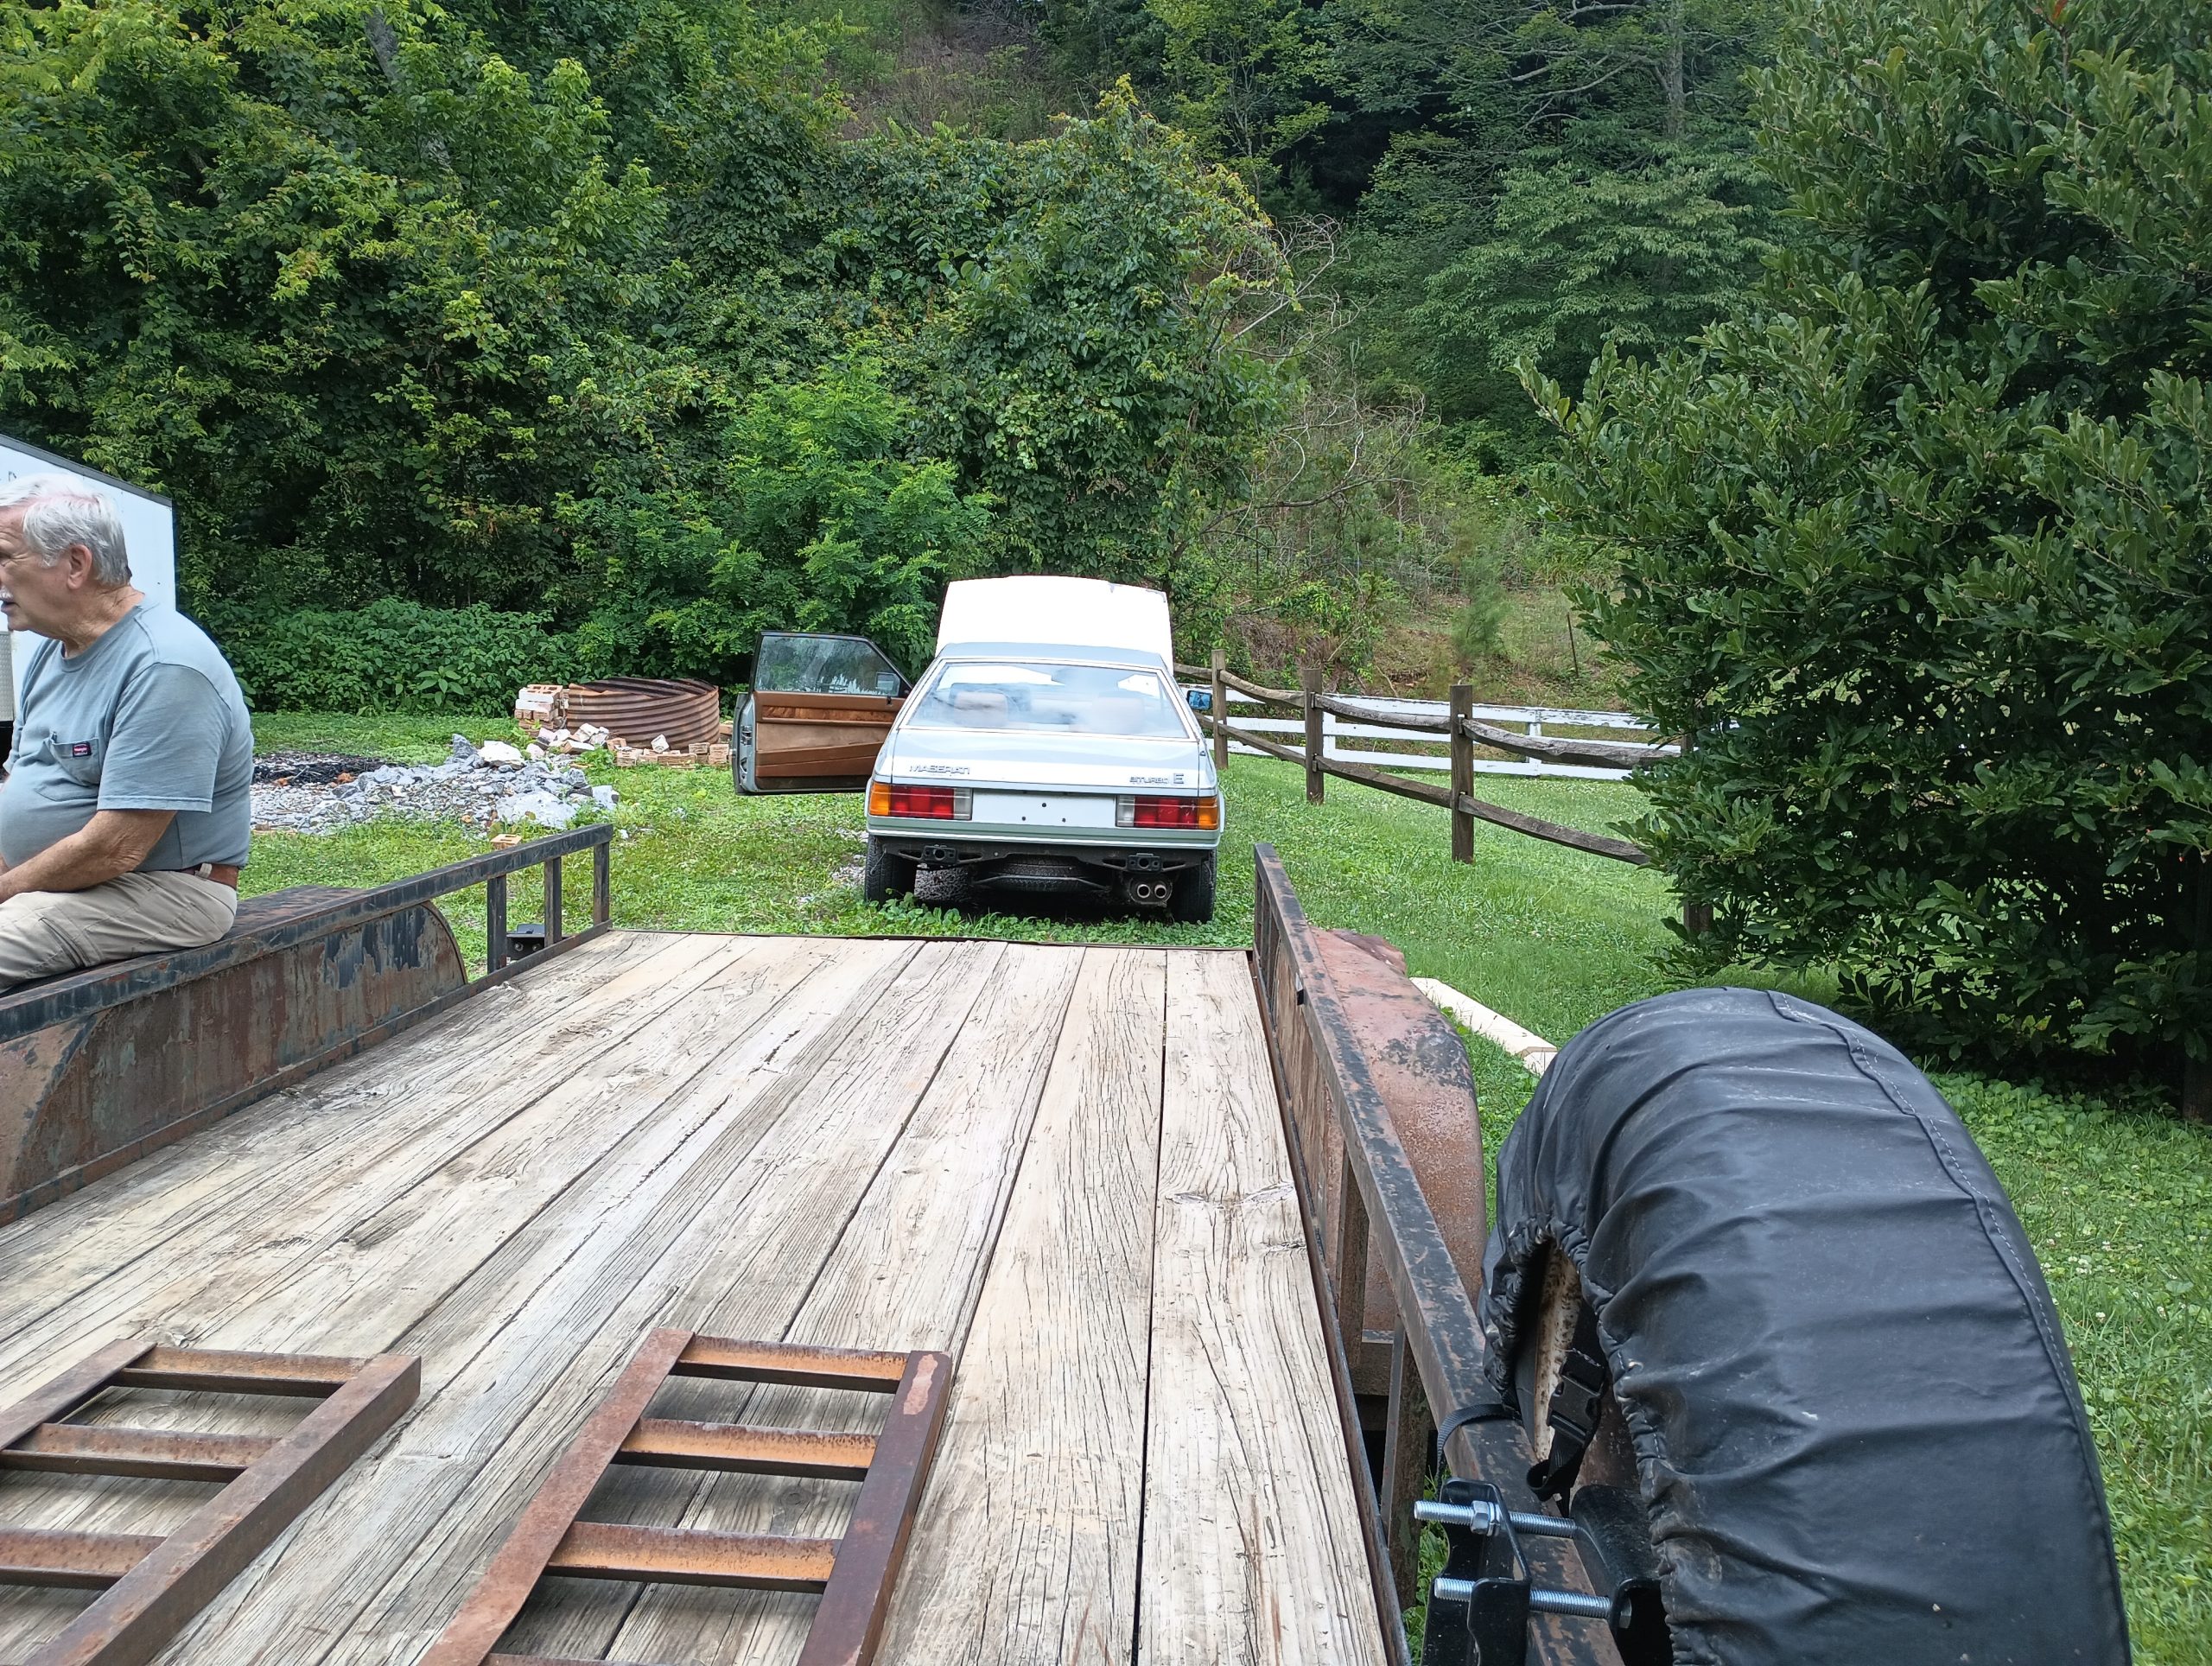
Once we returned from Nevada, the car needed to be delivered to the shop and arranged so we could work on it.
The spare had already been put on the rear to replace a tire that popped and now one of the front tires had also developed a significant hole. The growing number of completely flat tires combined with the mostly flat tires made it a little bit difficult to move around. Tim, Becca, and I were able to coordinate some floor jacks and a come-along to eventually get the Maserati to sit in the “project car spot”, though.
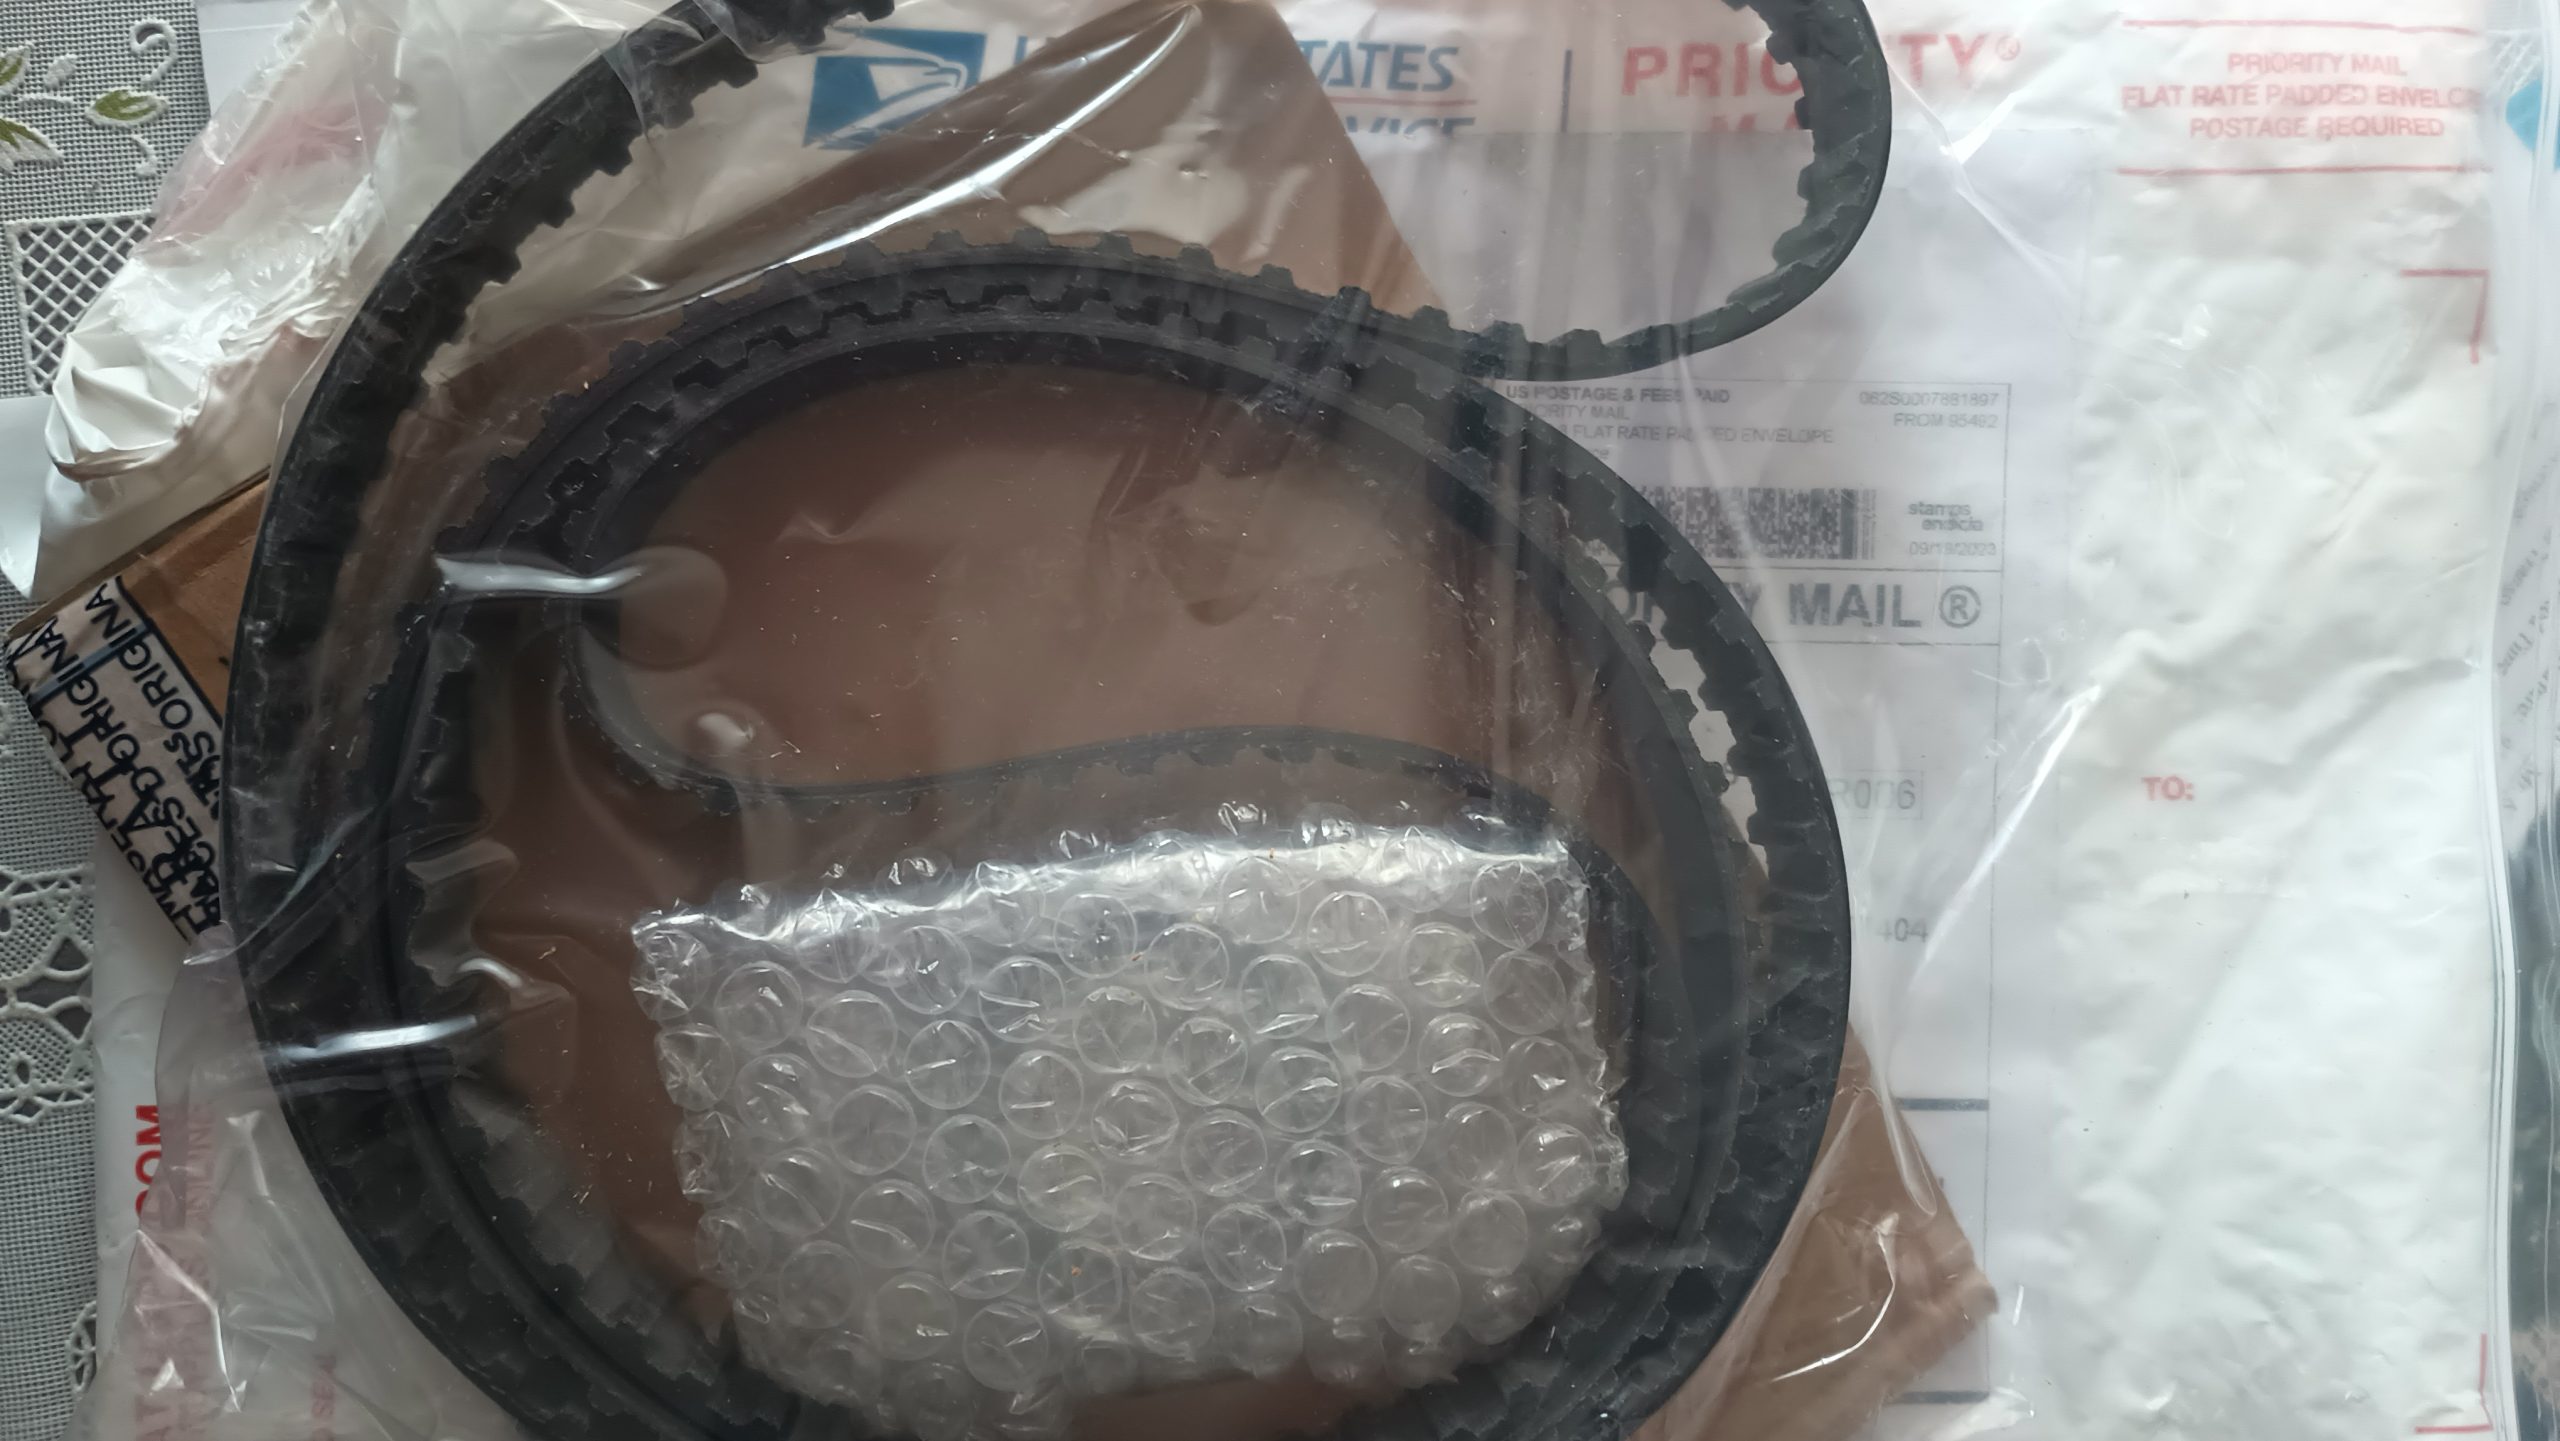
Now that the car was where I wanted it, it was time to begin the work! After careful consideration, we decided that because the cars were so prone to timing belt failure and it is an interference engine, the potential cost plus the risk of the timing belt failing while trying to start the car were both high enough that the first step should be to put a new timing belt on the car. For $114 after shipping and tax, I got a new Dayco timing belt and a bearing for the tensioner.
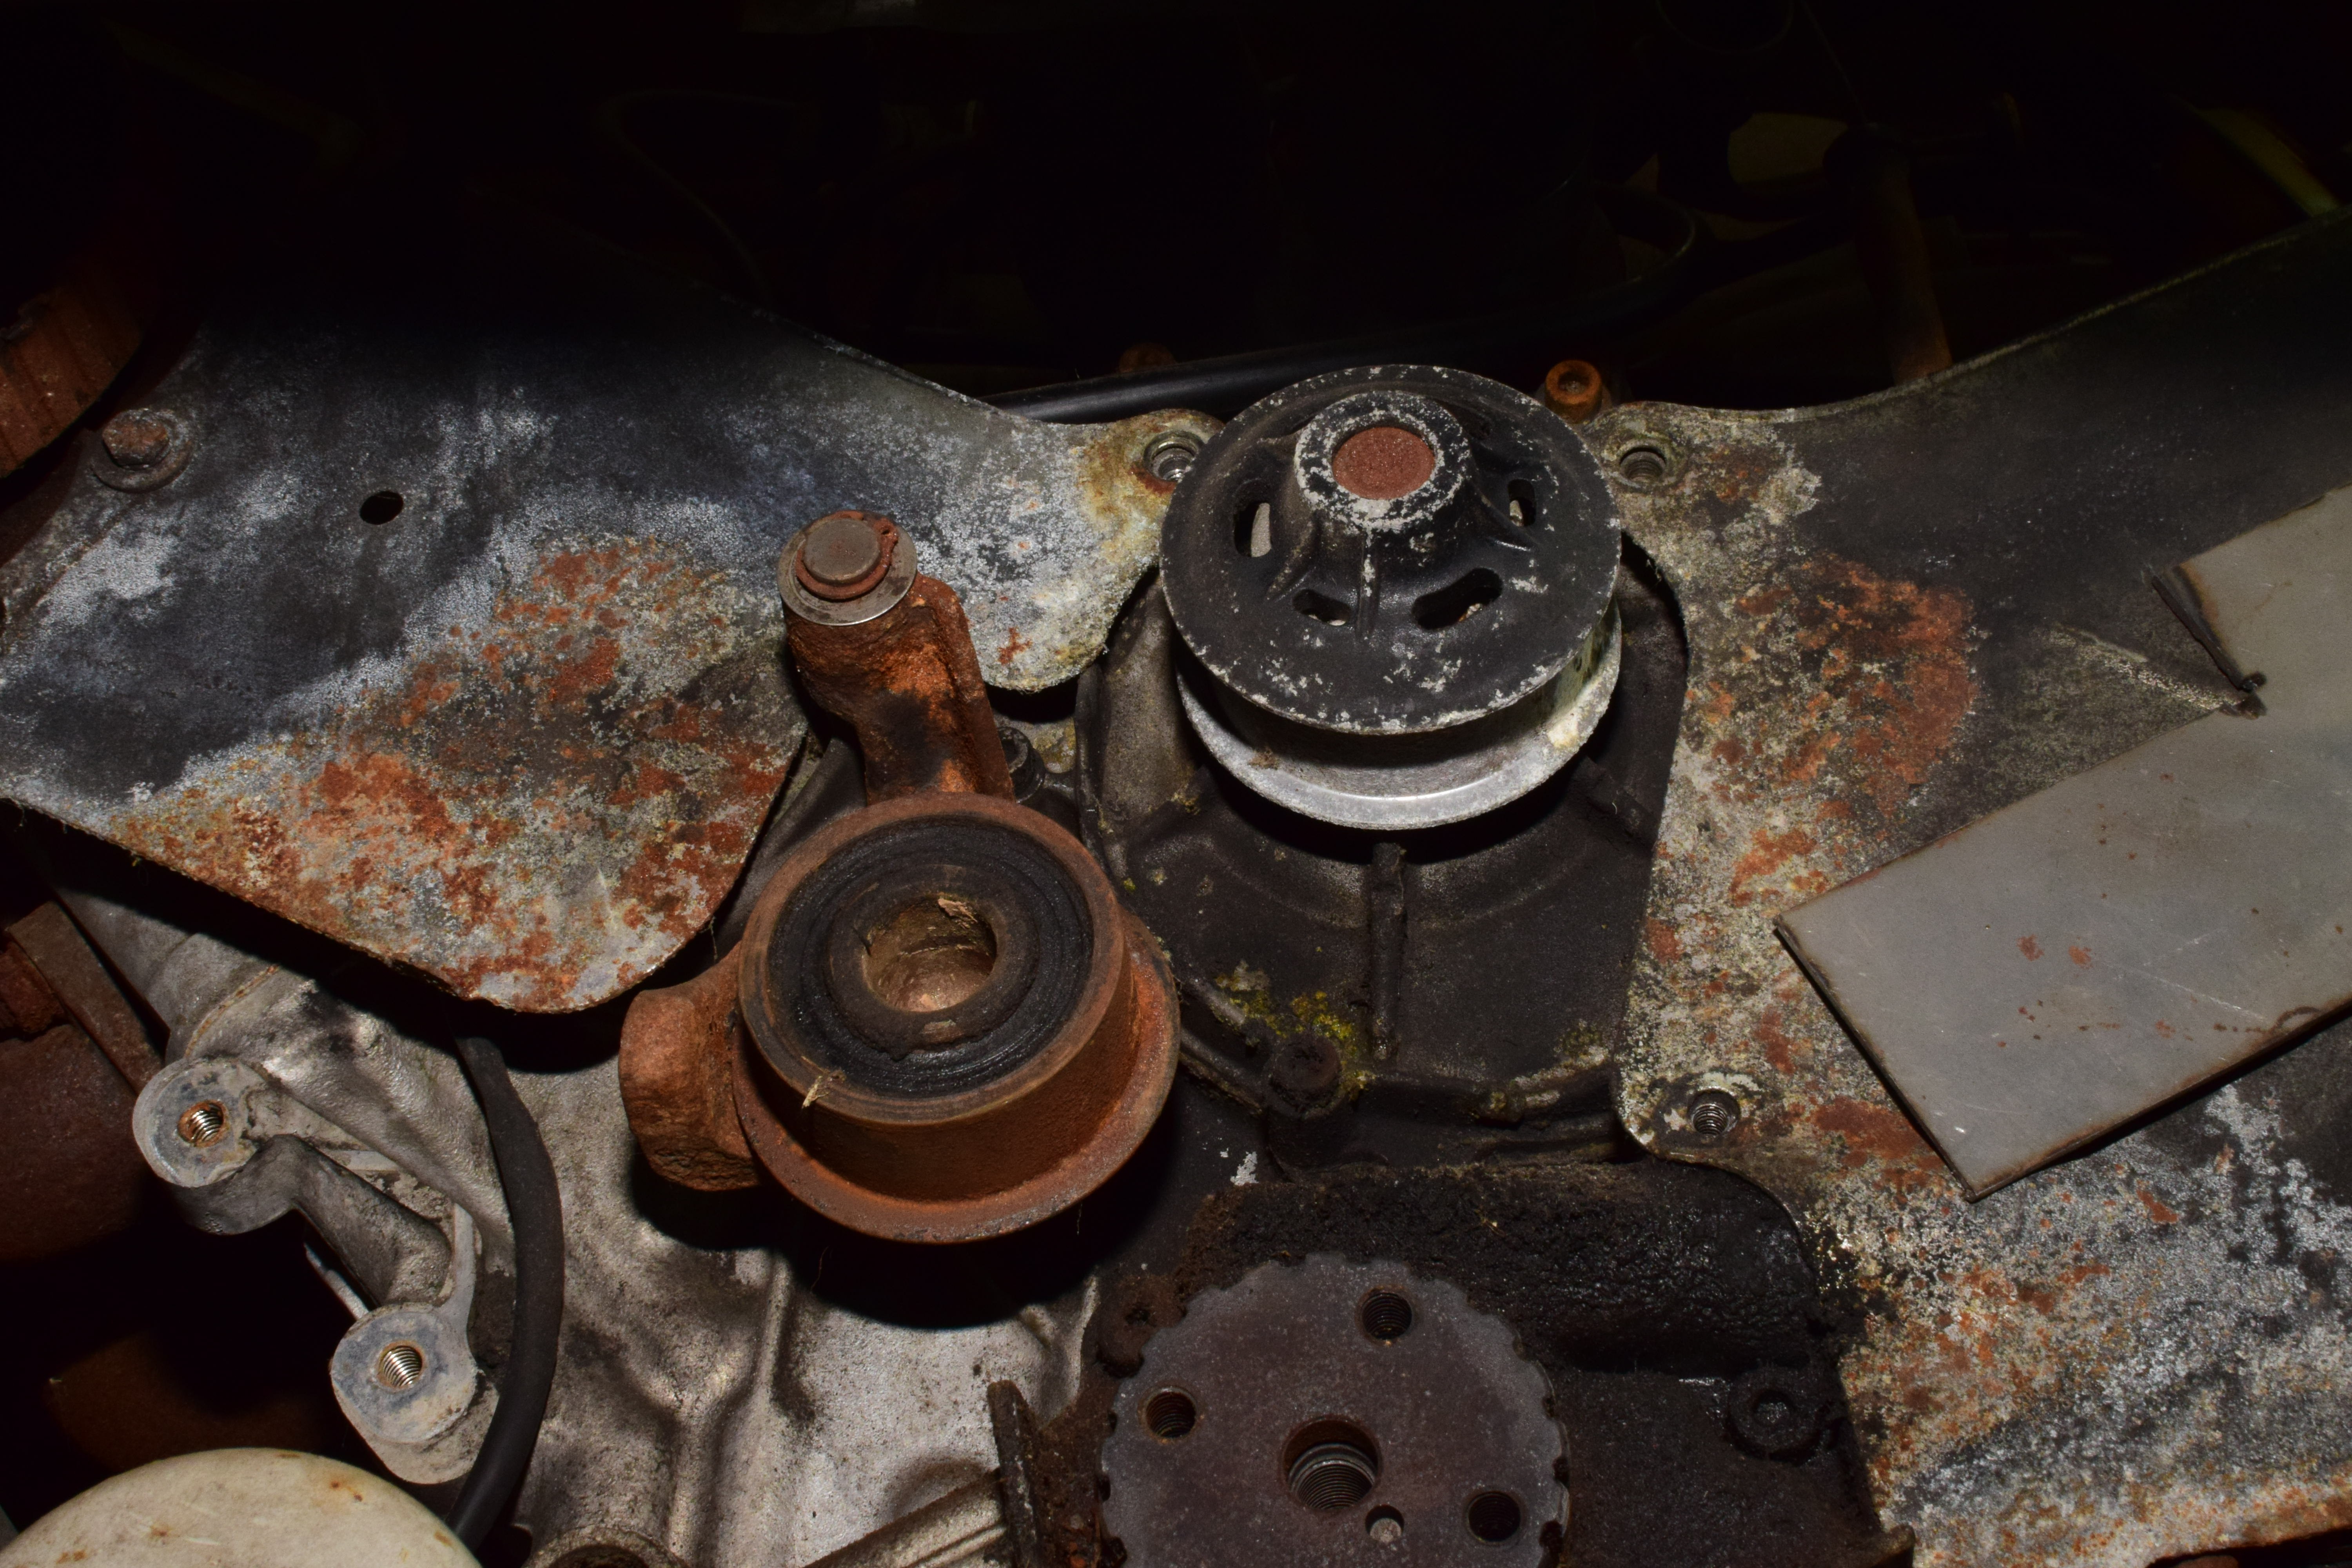
Greg, Tim, Becca, and I got started by pulling out the radiator, loosening the alternator, and removing the timing cover. Our first observation was that while the timing belt had definitely been replaced at some point judging by the broken-off and missing bolts on the cover, deciding to replace it now was a good choice. While the belt was intact, there were a number of small cracks already developing in it.
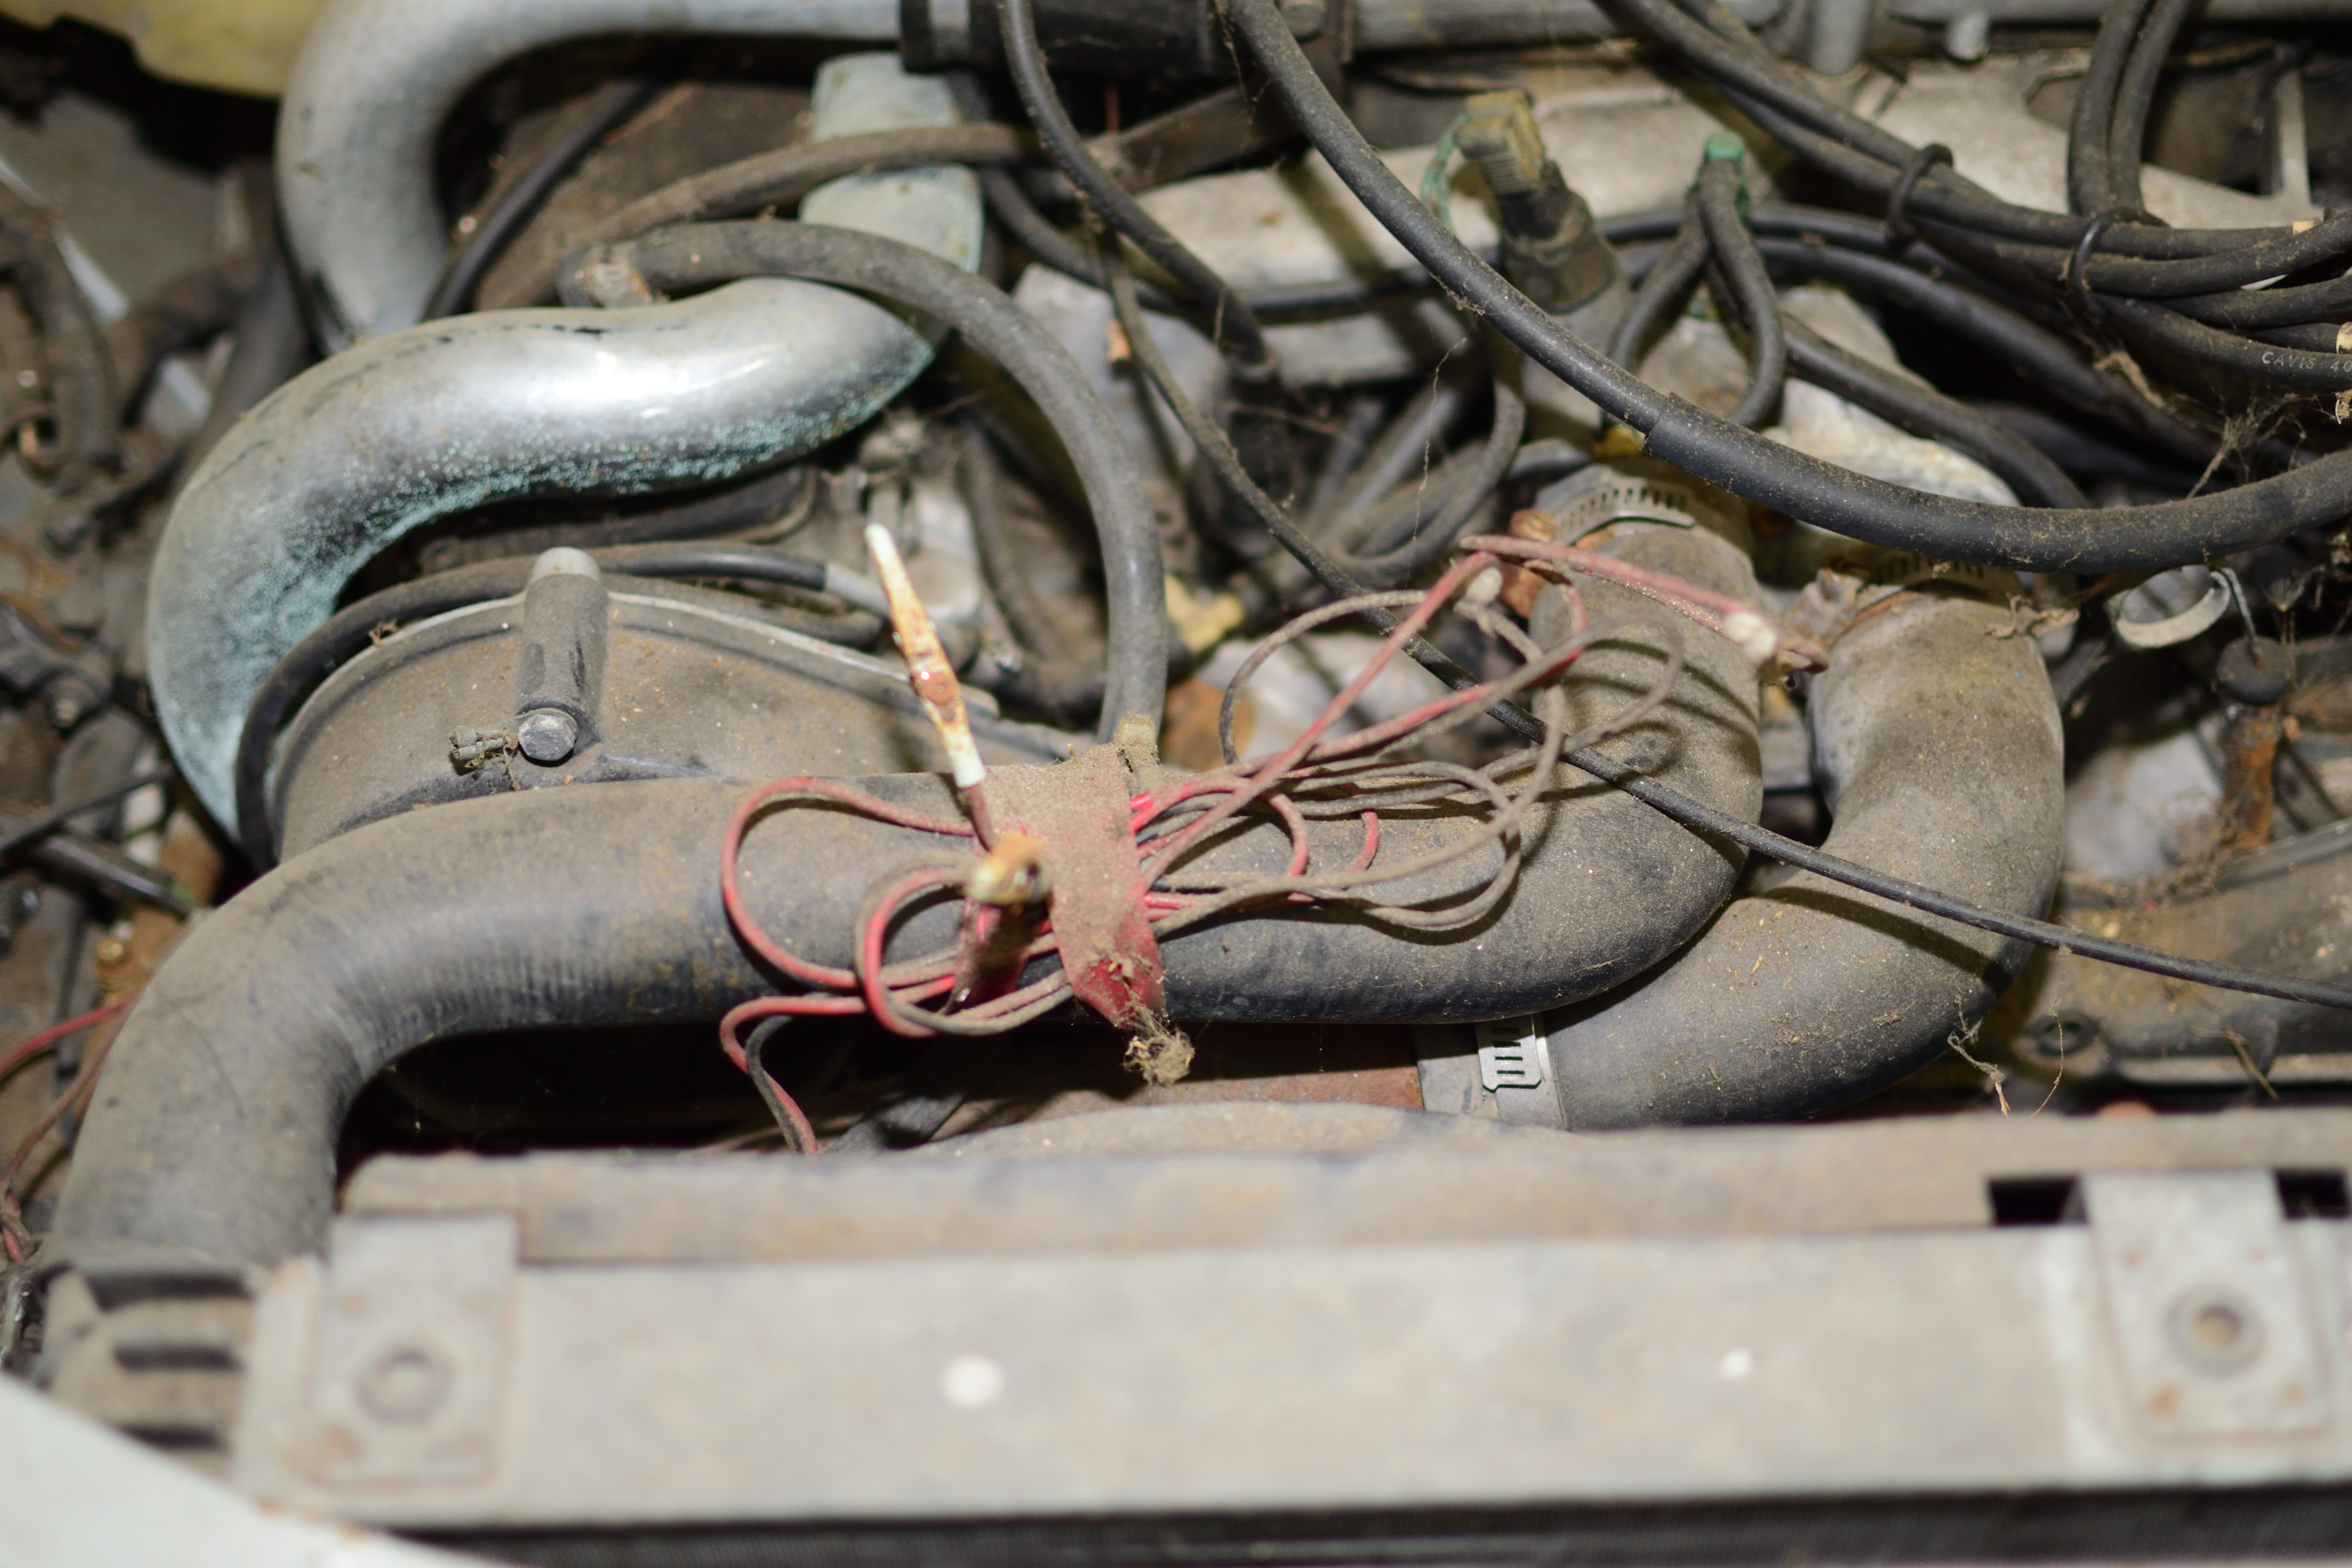
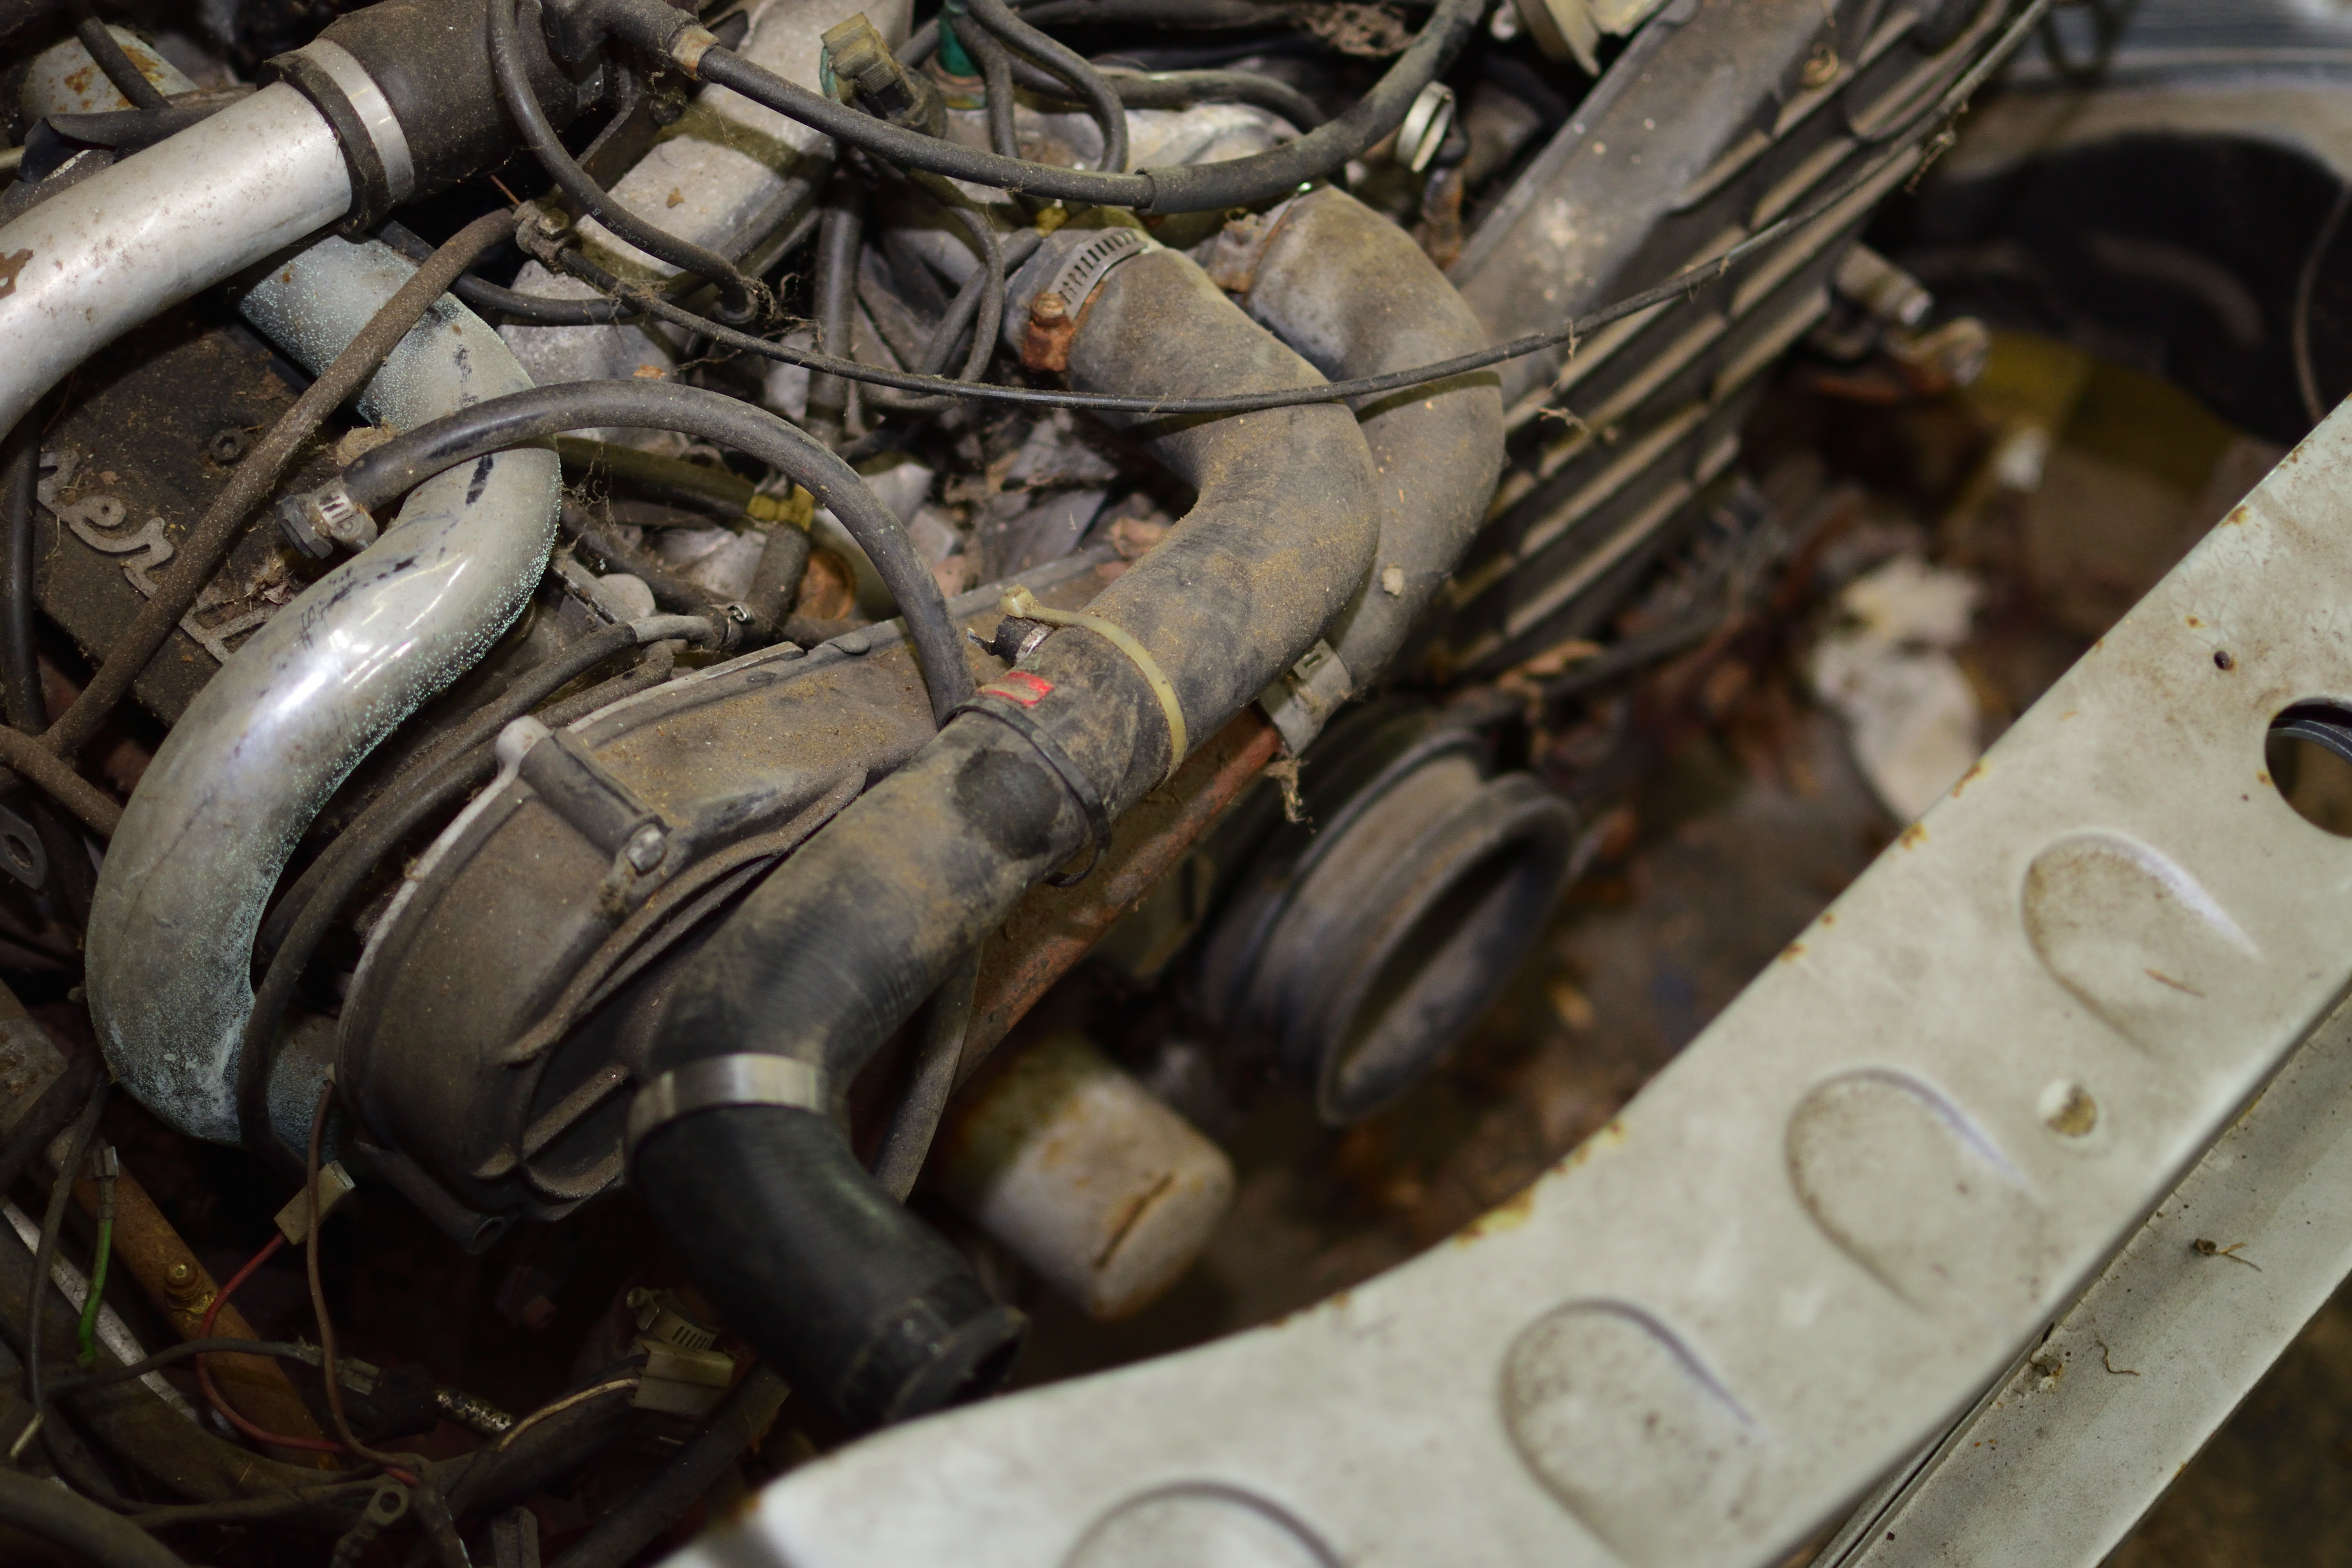
With the radiator out of the way, we gave the engine a little more of an inspection and noted that the oil in the crankcase does not appear to have any coolant or water in it and it is completely clean, as though the last thing that happened to this car before it was put up was an oil change. There are no visible holes in the block anywhere, but the vacuum system is a mess with cracked and missing hoses everywhere. There are a couple spots where the vacuum lines have been plugged with bolts. When we disconnected the radiator, we noted that the lower hose had been cut and there was absolutely no coolant anywhere in the system that we could see. We are assuming that the coolant temperature switch that controls the cooling fan has failed as the fan was connected to the alligator clips that were taped to the upper radiator hose.
As we were working we speculated a bit as to what made this a parts car and the theory that we’re working on right now is that it was taken off the road to do regular maintenance and because the fenders were damaged and/or rusty. The car has new fenders welded on, but the body work isn’t complete. That would explain why the whole lights, bumper, and grille assembly is removed since that would need to come off to do the fenders. I suspect that the body work was started and the car was sold as an unfinished project at a price that was cheap enough to make it good to stick in a field as a parts car. Looking at the mileage, it’s just a few hundred miles past the timing belt change:
That’s my theory at least.
According to the service manual, the right cam will stay in place when the engine is a TDC and on the timing marks, but the left cam must be held in place. Naturally there’s a special tool for that, but we don’t have one. So using a bit of leftover steel, I cut out some teeth and put a hold in it to bolt it down to the block. We got as far as testing my cam gear holder by trying to rotate the engine and it seems to work. Next up will be releasing the tensioner – or the “belt stretcher” as the manual calls it – and pulling the crank pulley and the tensioner bearing so that the old belt can be removed and the new one installed.
The tool is imperfect, as evident by the above photo, but it does hold the cam in place. Cutting that out would have been much easier with a loose pulley to use for better measurements and fitment since the transfer from paperboard to steel resulted in the teeth being off a bit as the paperboard was bent a little behind the pulley. Being extremely unlikely that this tool will ever be used a second time, however, it should get this job done and then be returned to the scrap steel pile to find another life once the new timing belt has been installed.
Undertaking a project of this magnitude is not something that I could do alone. My daughter, Becca, is interested in helping but I knew that I also needed some experienced gearheads on our side as well. Enter the crew.
Tim is a long-time friend who introduced me to the Challenge in the first place. When I first started getting an inkling that I might want to tackle this project, he was the first that I drew into my circle of trust.
Greg is a fellow forum participant who lives in the area and works pretty close to my part of town. When he heard there was a secret Challenge project underway, he was in.
David is another fellow participant and Challenge attendee who lives in town. He wasn’t able to join us in person for the reveal, but thanks to the magic of FaceTime, he was with us virtually.
Once the car was back home, I sent a text to our group:
With a hook like that, no one could resist, so we gathered on a rainy Monday evening for me to unveil the car. Becca and Tim already knew what the car was, but neither had seen it yet. Greg and David made their guesses – another Saab was the consensus there – and then Tim and I pulled the cover off to reveal the car. Greg’s response was “when you said it didn’t run, I feel like we probably should have guessed”.
After reminding everyone that there was an absolute media embargo, we started scheming and making plans. Since I have some other projects that need to be taken care of first, the official “start date” of the project was slated for mid September, after Tim and I return from the Silver State Classic Challenge.
Ever since I read an article in Grassroots Motorsports back in 2006 about the Maserati Biturbo, there has been something about it that has called to me. Unlike other cars that I’ve been interested in, though, I cannot really explain what it is about these that draws me in. I don’t particularly care for how they look, I’m not all that interested in Maserati as a manufacturer or Italian cars as a whole, and while the interior is very posh, I don’t really like the Grandma’s-overstuffed-chair look to the seats. They certainly aren’t good cars if reliability is a factor at all in that equation, and by all accounts they aren’t particularly fast or nimble. But like a moth to the flame, I haven’t been able to put it out of my mind.
Over the years, there have been a number of cars at the GRM $2000 Challenge that have been considered white whales. For years, everyone talked about who would be the first person to actually bring a Zamboni. There was the Free Europa. There was the first Corvette. MonZora finally made its appearance. But the Biturbo remained as a car with the mystique of never having appeared at the Challenge with a decent amount of buzz about who would be the first to show up with one. Who could do it?
In 2023, I brought a very stock, very slow 1990 Saab 900 Turbo Convertible to the Challenge. The intent wasn’t to win anything or even impress anyone, all we wanted to do was just be there and what better way to spectate than from the inside? The car was well under the $2,000 budget, so we stuck some GTN$ vinyl on it and headed off. The response that we got there was absolutely unexpected. We didn’t win any awards or anything, but everybody wanted to talk about the Saab and complimented us on the car. That’s when it really sank in to me that it was possible to compete in the party while not being competitive in the event. At that moment, the gears started turning.
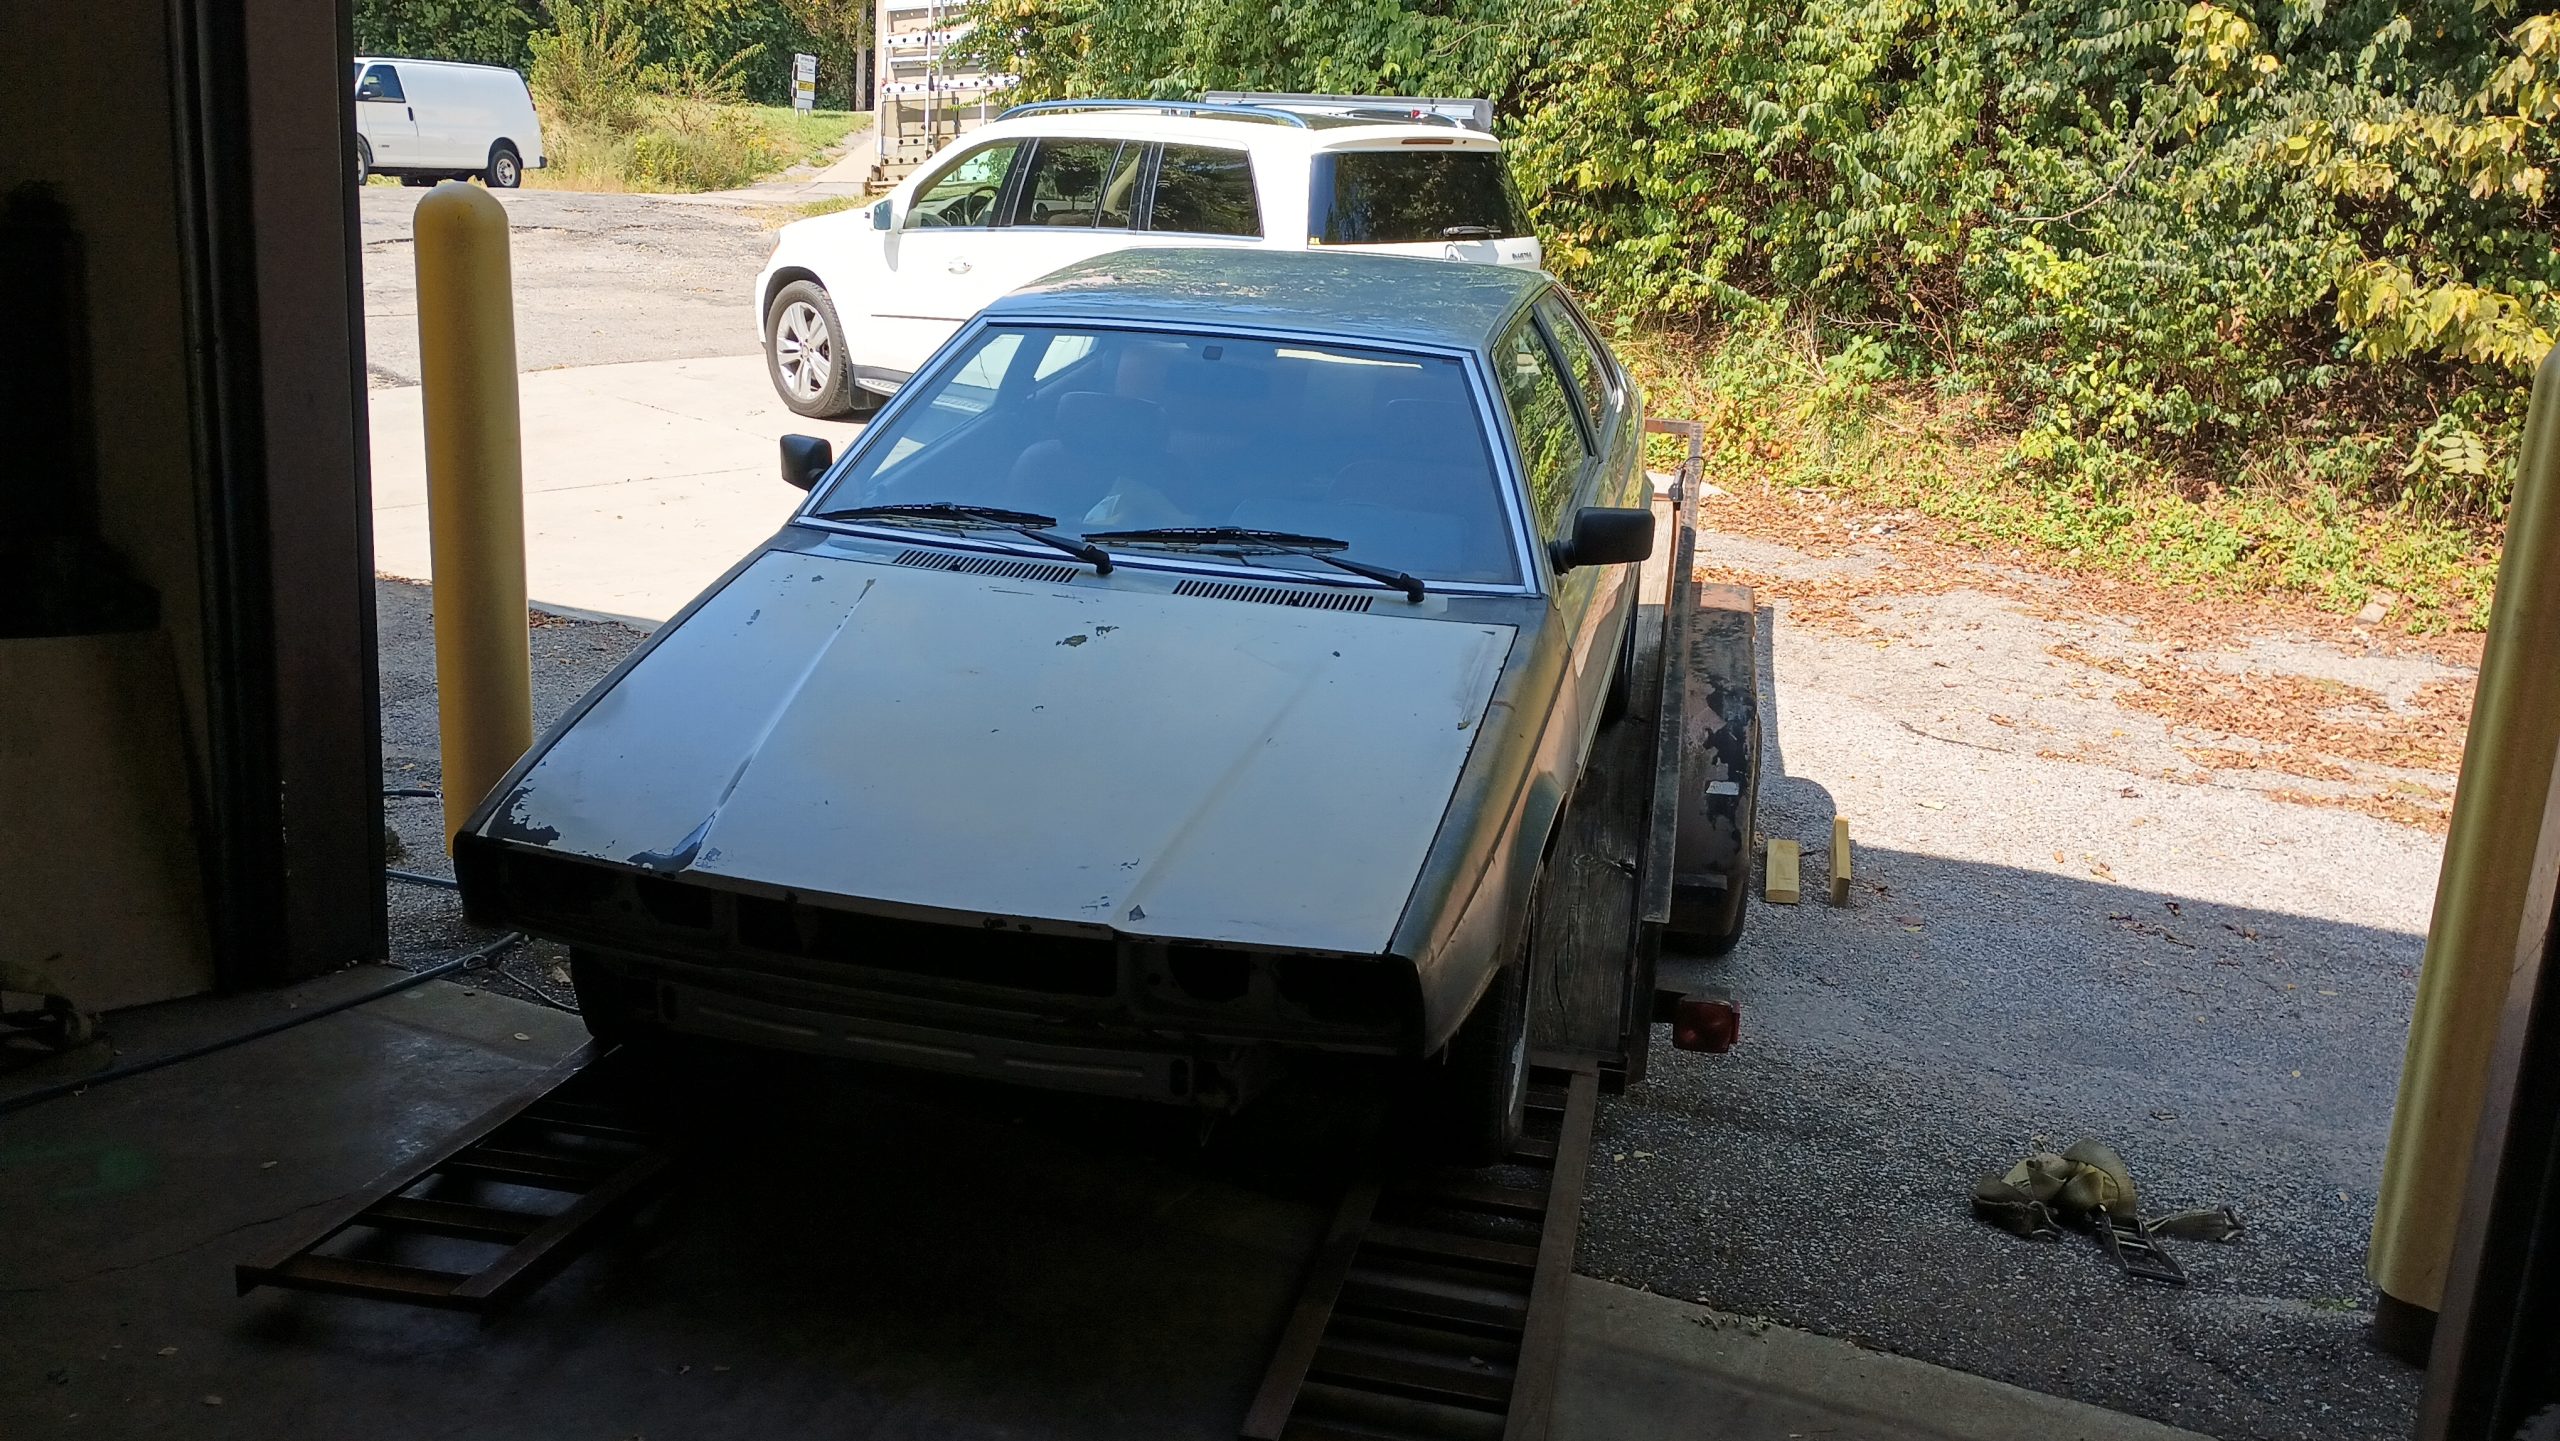
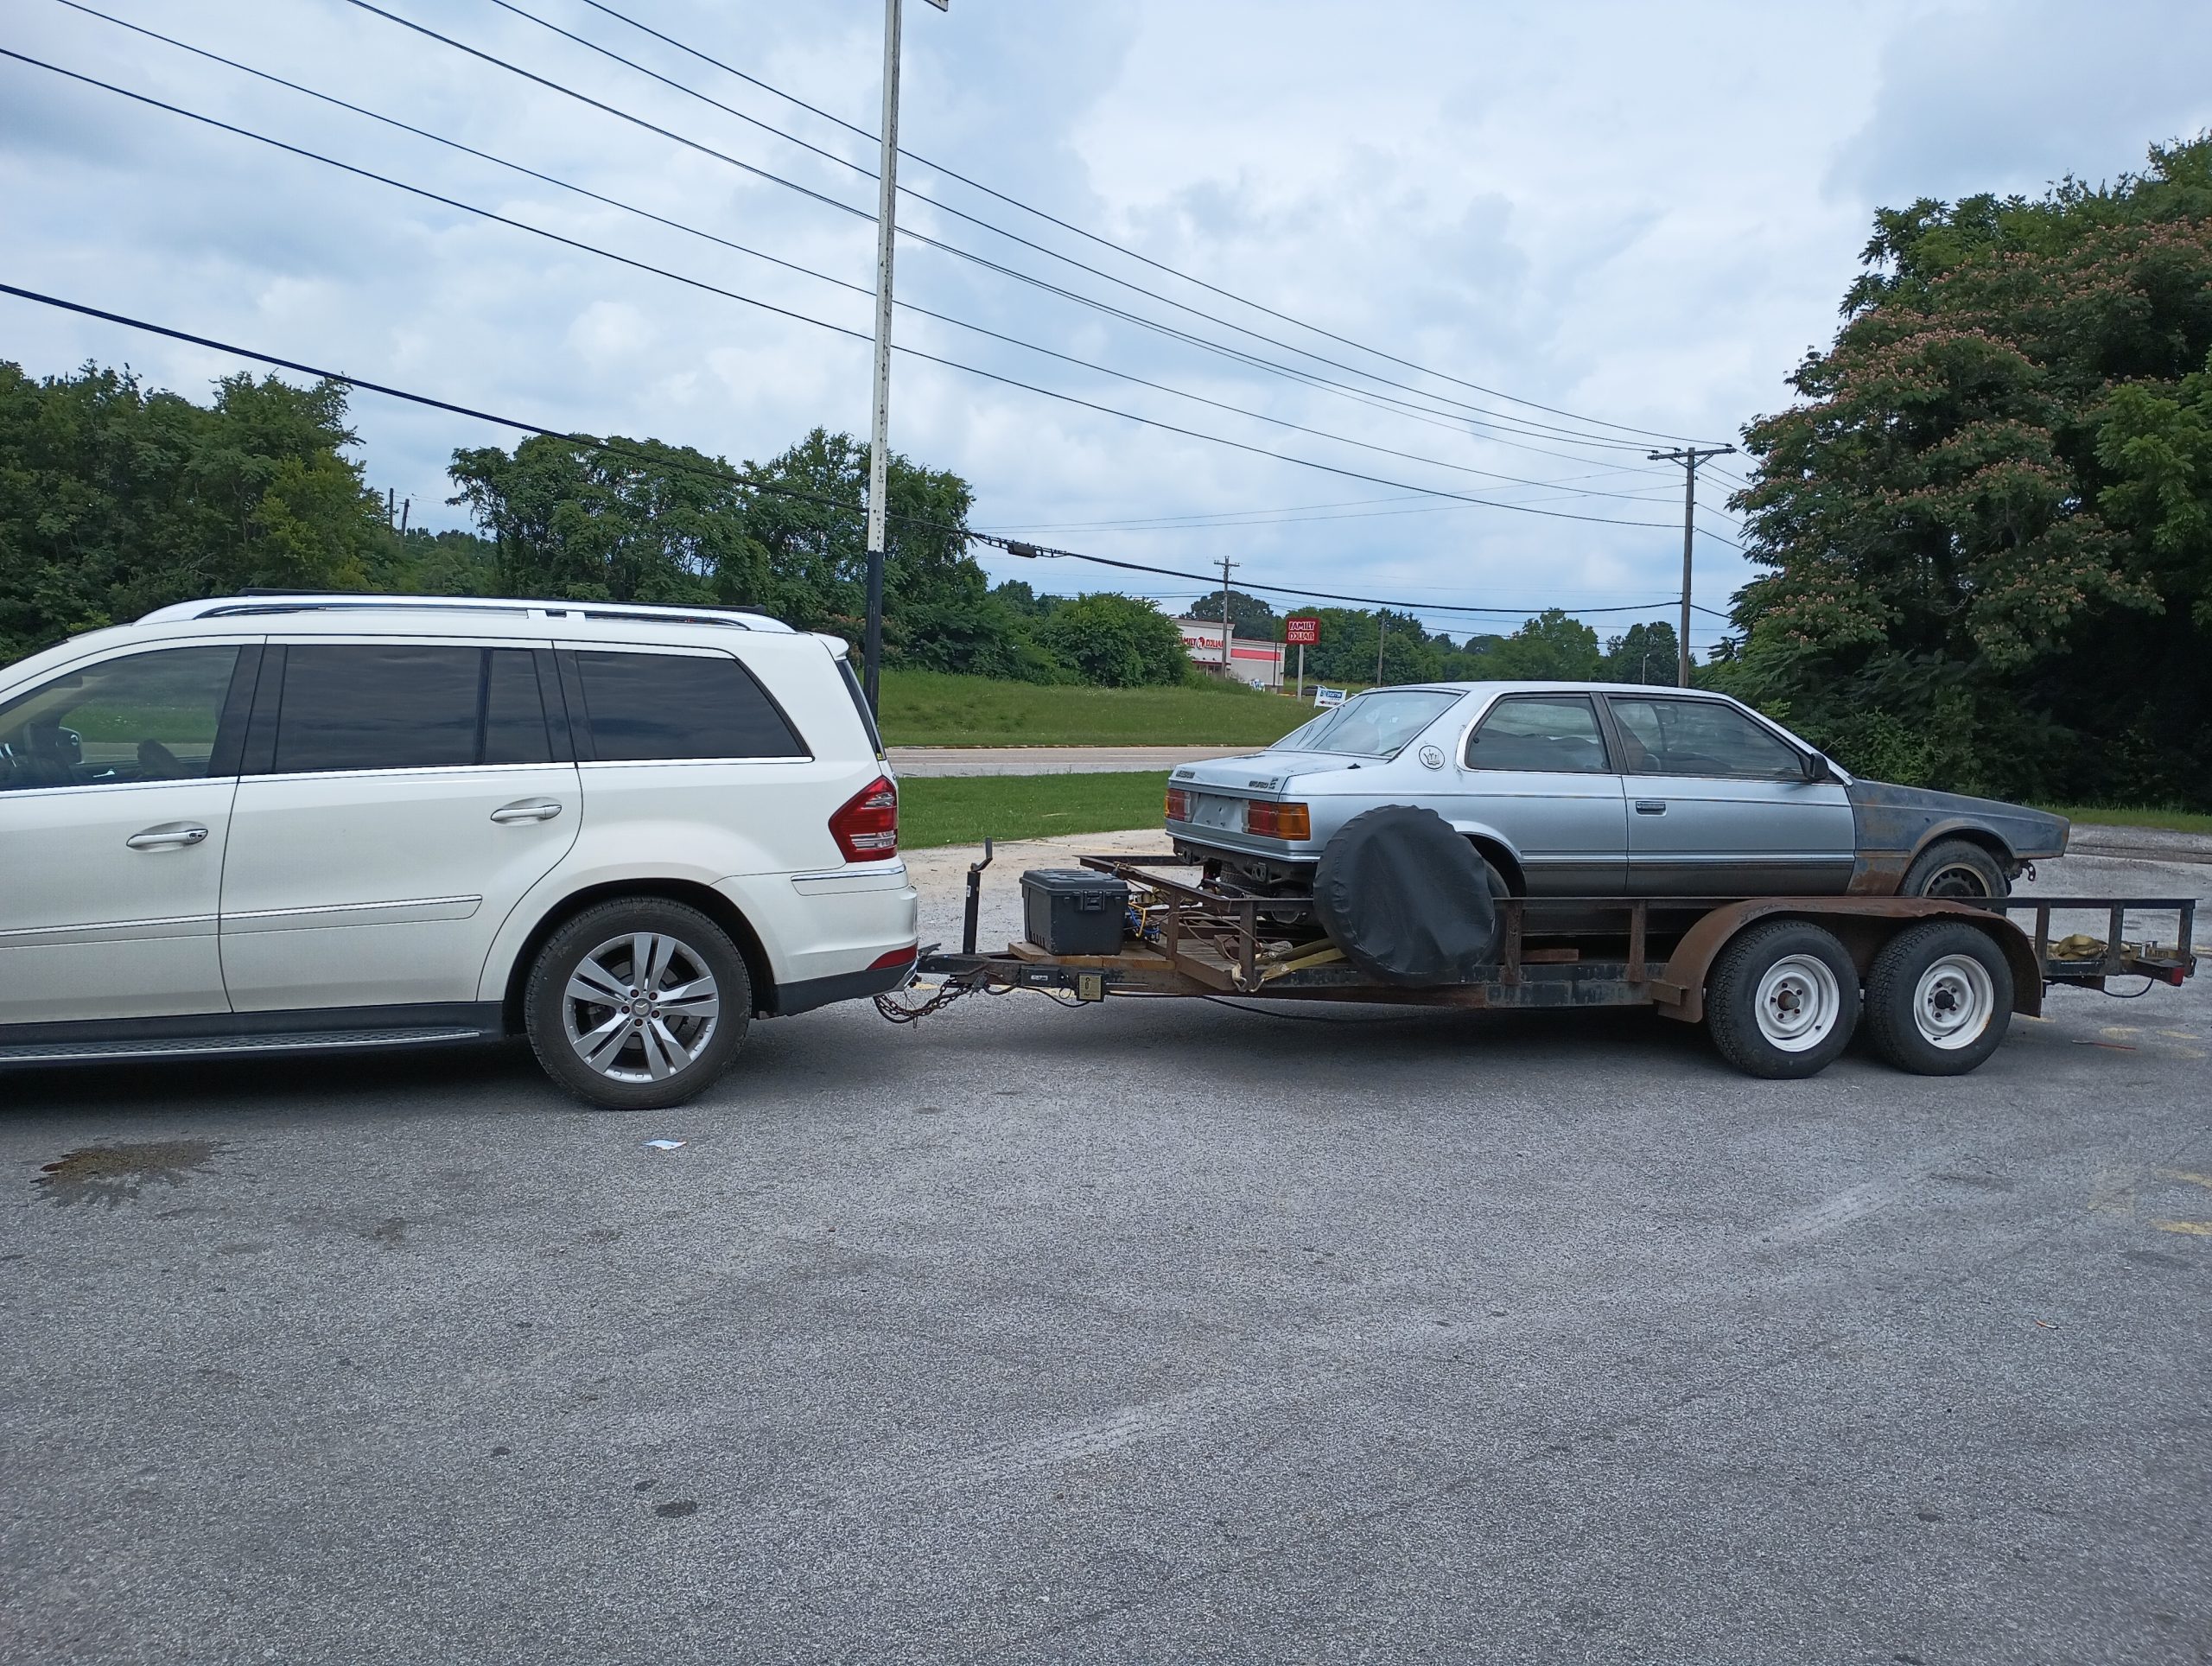
My search started off in a pretty wide area. While there were a few running examples out there, the prices were not conducive to a Challenge effort. In Duluth, MN’s craigslist, I found a promising candidate listed for $500, but despite having an amazing story, the title paperwork was likely lost to the sands of time and I really don’t want to be stuck with an albatross. Another was advertised on the Eastern seaboard for about $1,500 but it had been in a fire – surprise of surprises! – so that wasn’t going to work. One popped up in northern Georgia for only $600, but it was gone before I made up my mind to inquire. There was one in Tennessee, however, that was listed for $1,000 as a parts car that was promised to be 99% complete with a pile of spares.
Due to scheduling conflicts, it took a couple weeks before I could make the 4 hour trip to look at it. Early on a July Saturday morning, I picked up my dad, hooked up the trailer, and headed south. The car was pretty much as-advertised. Some rust on the bottoms of the doors and a little bit on the c-pillar, but nothing terminal anywhere. After taking it out of gear, the engine spun freely for a complete rotation and other than the air filter assembly, nothing appeared to be missing from the engine itself. The A/C compressor was long gone and there was another bracket that looked like it could have been for power steering, but I didn’t see any power steering lines hanging loose anywhere. The parts stash wasn’t massive, but there were a decent number of things that looked to be either useful or saleable.
The car belonged to the seller’s son. He had a driver and a second parts car in addition to this one at one time. The other parts car – which was reported to have been absolutely chock-full of even more parts – was stolen out of a side yard. The driver met its end in a conflagration at a gas station. Apparently he was driving the car, pulled over when another motorist pointed out the flames, and the car was fully-involved after that. Since the car was a total loss, he decided he was done with these and the remaining parts car and parts stash were for sale.
After a little bit of a think, I decided that it was worth the gamble, handed over the money, and got started with the winch.
Once the Challenge is over, I have three possible outcomes for the car:
Sell it as a running car for at least what I have in it
Keep it for occasional drives and car shows
Remove the Maserati drivetrain and swap in something else to have a relatively reliable classic to drive around
I fully realize that I am jumping in to this without really looking where I’m going to land. I know that there could be a million different very expensive things wrong with this car. I also know that I could be missing some very vital parts – it was sitting in a field as a parts car, after all. But I’ve decided that this is an adventure that I want to at least make an attempt at. In order to have the most impact, I intend to keep this project as secret as possible so that the first that anyone knows that there will be a Biturbo at the Challenge will be when I roll in to the hotel parking lot on Thursday afternoon with the car on the trailer. The build thread is going to be created in an off-line fashion, as will the video series, with everything uploaded and set to go live on the weekend of the Challenge. So in a way, this is a message from the past, a message in a bottle – probably an olive oil bottle.
I have to do a little bit of thinking to remember exactly how many times I’ve attended the Grassroots Motorsports $2000 Challenge. My first time was in 2005 when I went with Tim and the CRX. I returned the next year with my own entry, the Neon, and then took a break from all things motorsports for a while due to having my first daughter born not long after the 2006 challenge. In 2011, I came back with Tim and that inspired me to bring the Neon a second time in 2012 for some redemption. I provided the towing services for Robert’s Rampage in 2017. And then I drove the Miata down to join Tim’s team with the Impala in 2020. By my count that makes the 2023 $2000 Challenge my seventh. It was also far and away the best time I’ve had so far.
The car certainly was not competitive in the 54-car field by any stretch. In terms of the autocross, the car was 41st. In terms of drag times, it was also 41st. The car did much better in the concours judging, ranking 18th overall – but none of the overbudget cars were eligible for judging, so that was really only out of 31 cars. In the under-budget classes, we were 21st out of 31 and in our own class – Great Tire Narrow, underbudget – we were exactly in the middle – 7th out of 13. Ironically, that is the second time that I’ve managed a finish at the Challenge exactly in the middle of my class – in 2012, the Neon was the exact middle finisher as well.
If I look at just my own class, the Saab scored the seventh-best autocross time, the 9th best drag time, and the 7th best Concours score. Overall, including all the scores in all the classes and excluding the cars that didn’t actually run at the event, we were 25th out of 54.
The best part for me was watching my daughter give our presentation to the Concours judges. We could have taken a default score of 12 by just putting a “Don’t Judge Me” note on the car. There’s nothing on the car that represents any kind of amazing modification or radical improvement. The specialness of the car is that it was a derelict that was destined to rot in a back yard for decades until we dragged it home, spent a few hours over a couple months getting it road-worthy, and now it’s a very nice looking car that we just completed a 1600 mile road trip in along with 5 autocross runs and a half-dozen drag passes. But I believe that every car should compete in all three events – how much better could we have done if I could have chosen to take an average drag race score! My daughter practiced her speech and we wound up with a 12.75 average score which is what pushed us up into 7th place. I’m a very proud papa.
No, it wasn’t the car that made this the best challenge yet. It was the people and the relationships. Yes, we got a lot of compliments on the car and lots of people wanted to come and talk about it. But it was having that chance to see people that I only get to talk to on the forums. And to come together and work on the parking lot build. And more than that, the Father-Daughter time that I got to spend. And like Dom says, it’s all about family.
And just like that, May is nearly over. Like the old trope, I really thought I’d have more time. Becca has graduated from high school, registered for her first semester’s classes at Northern Kentucky University. My middlest daughter has given her Junior Drama class performance – it was amazing, by the way – and my youngest is one exam away from wrapping up her Freshman year and ascending to Form II. All of that to say: Holy crap! It’s 1412 and I wanted to be on the road by 1500 today!!
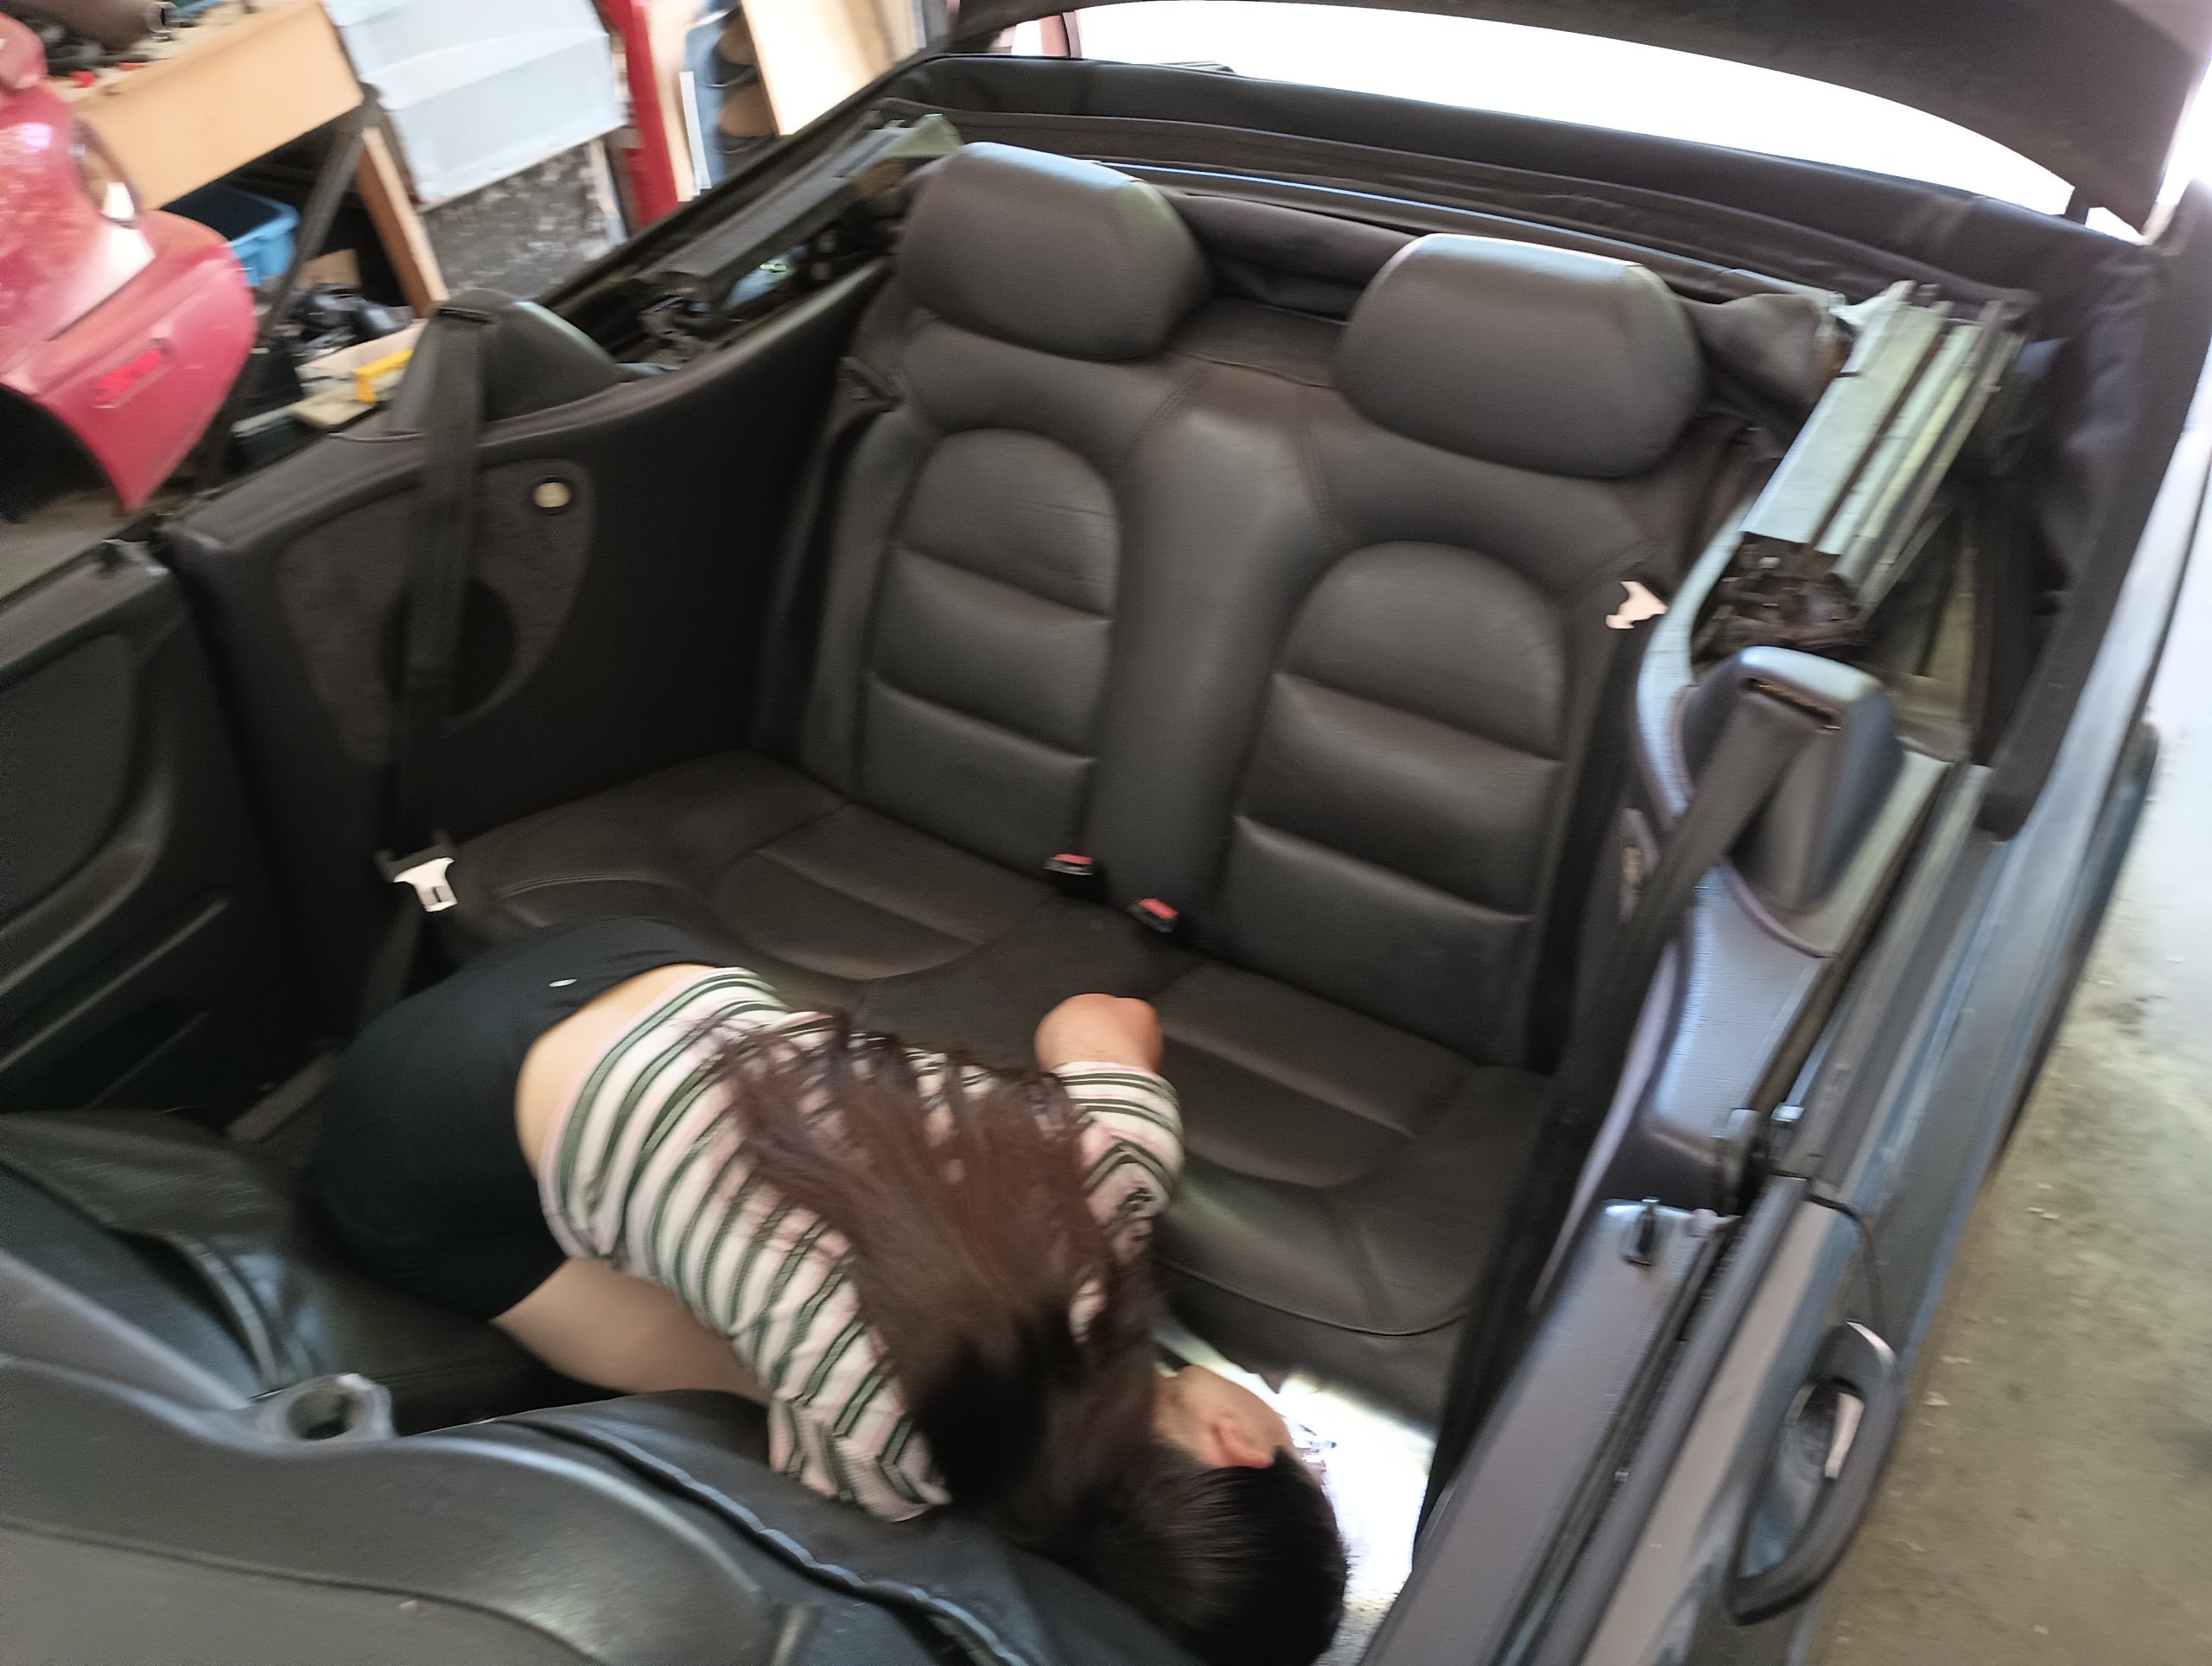
Becca and I took the car over to the shop this morning to wrap up the last few things. We needed to bolt the rear seat into place, flush the brake fluid, check the oil, check the suspension, check the exhaust, vacuum out the car – for whatever good that will do in a convertible! – and finally get those lights installed in the dash. Plus there were a handful of things that needed to be picked up from the shop to go with us.
First off, the seat was bolted back down. Probably not 100% necessary, but if we didn’t do it now, I’m sure we’d never remember.
The suspension all is good with nothing broken or wobbling anywhere. The shocks are in pretty tired shape and all the bushings could stand to be replaced. But we’re out of time for that for now,
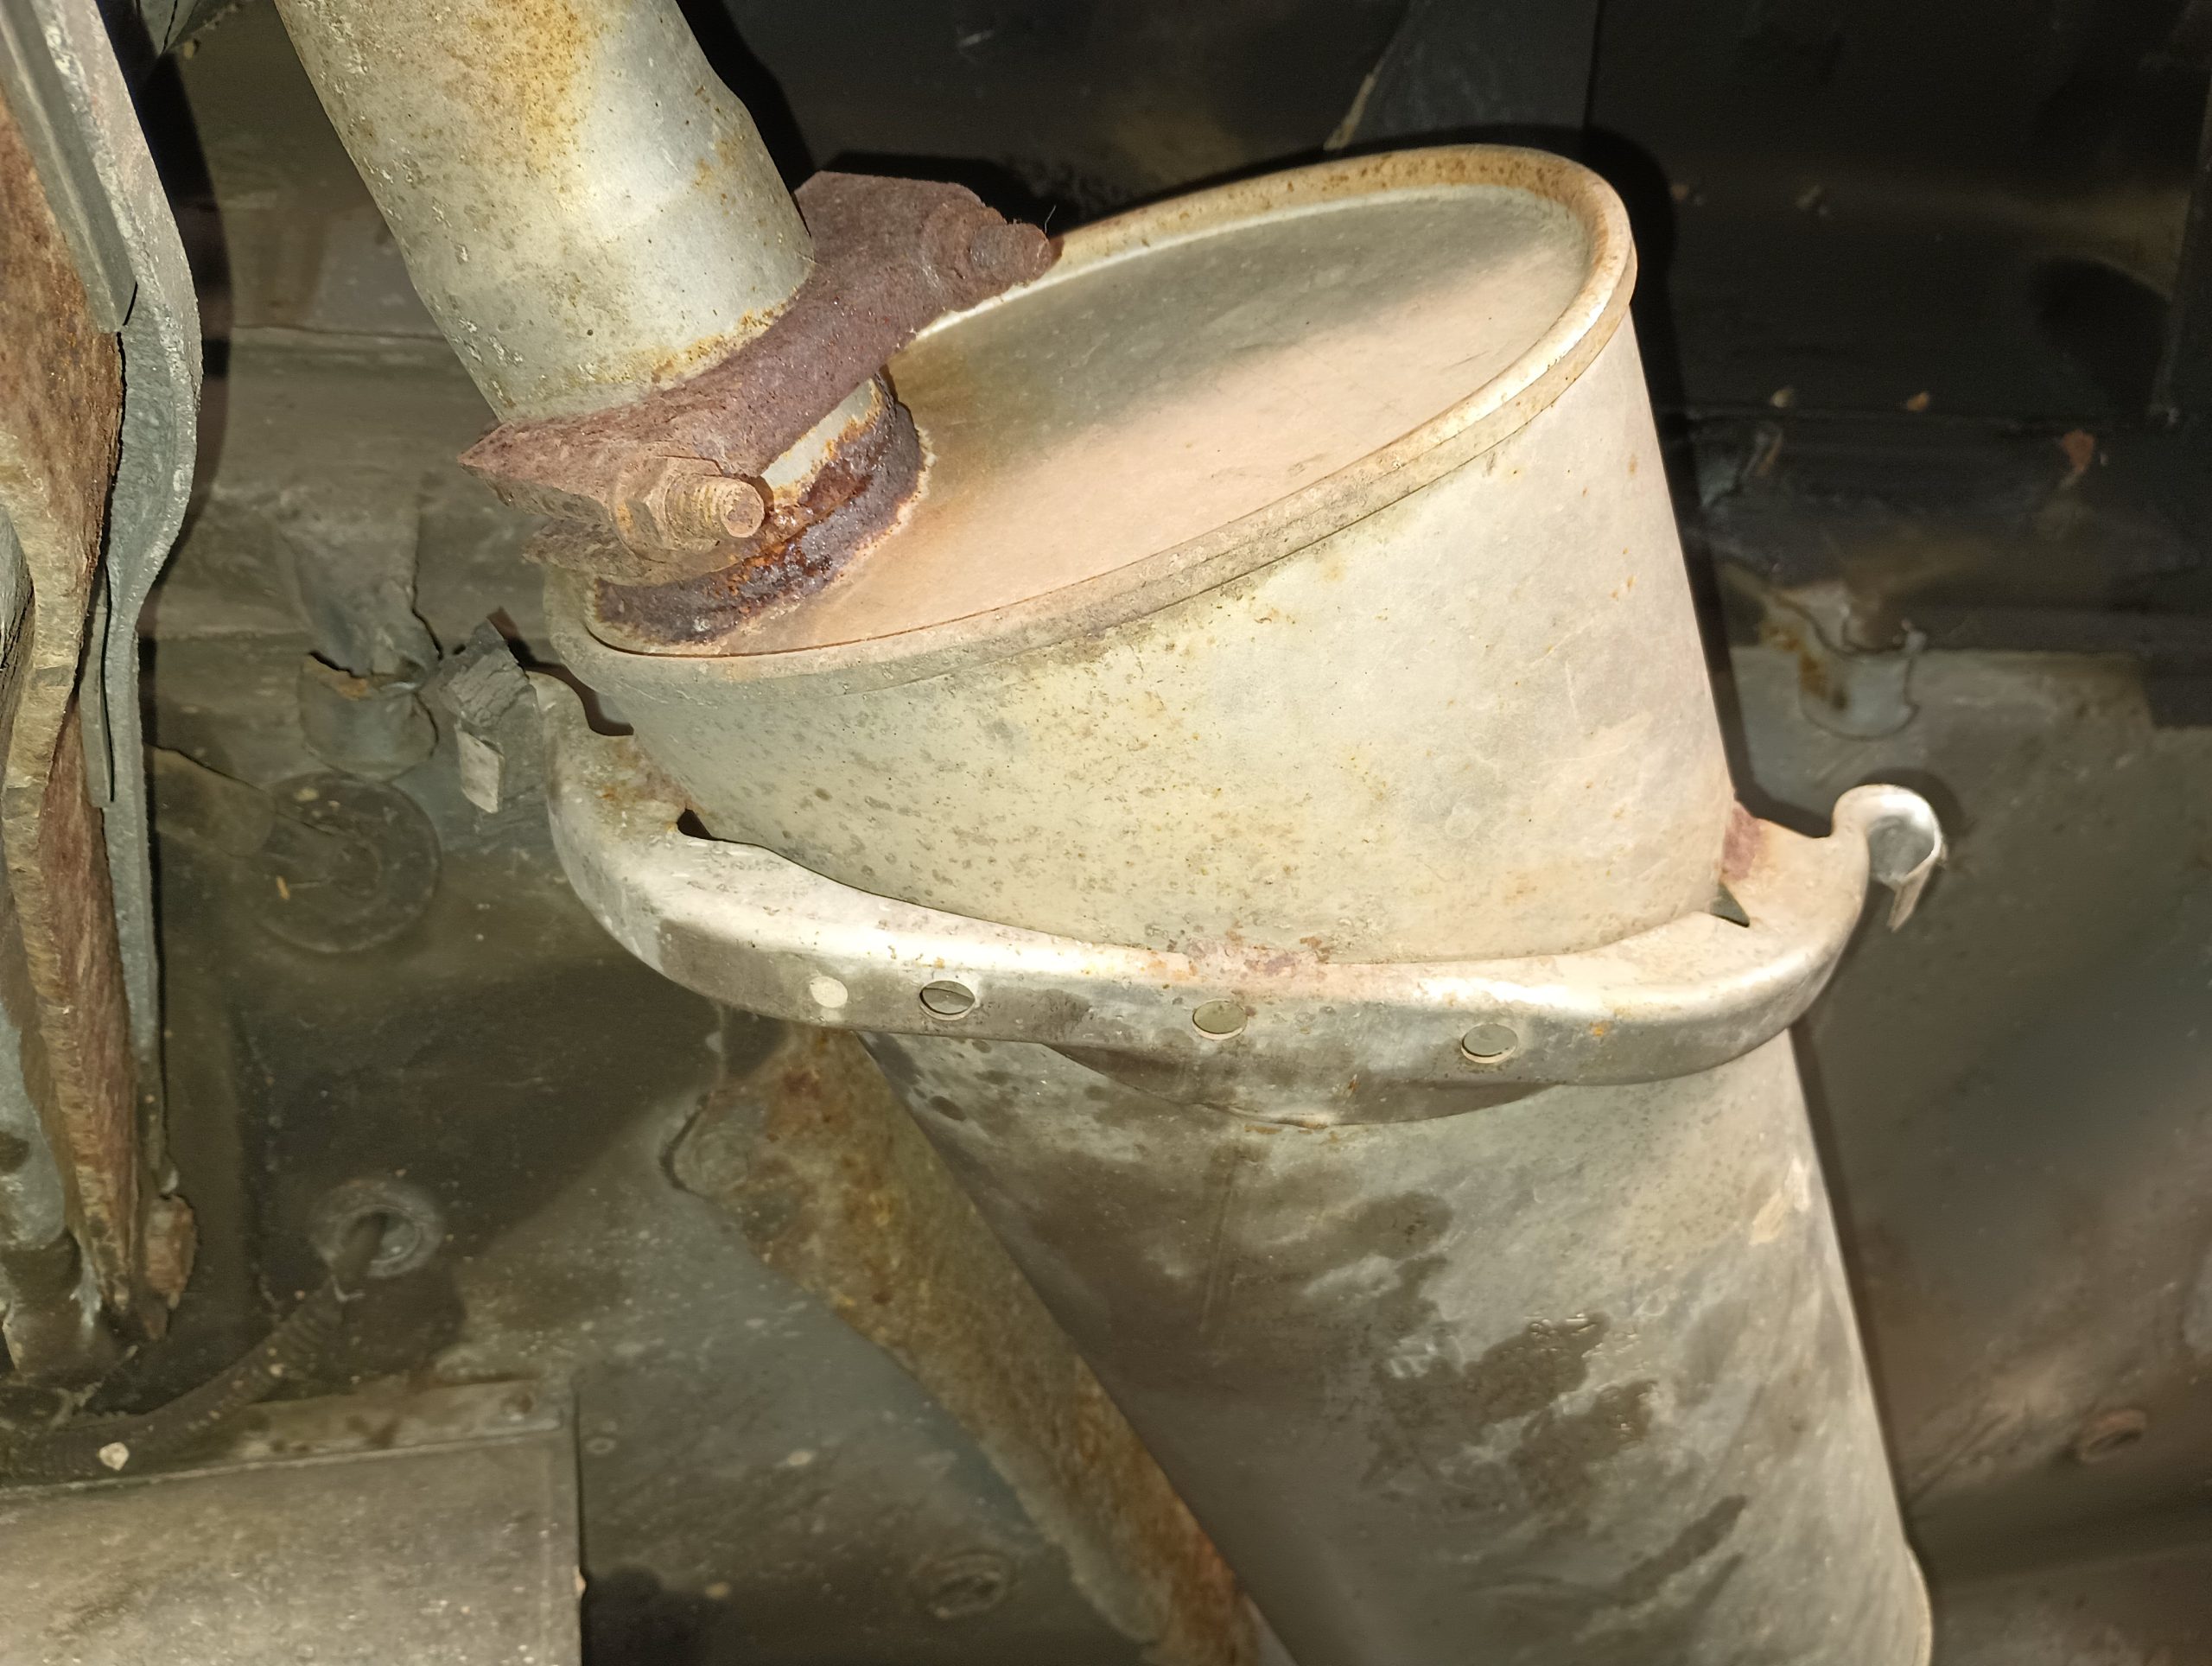
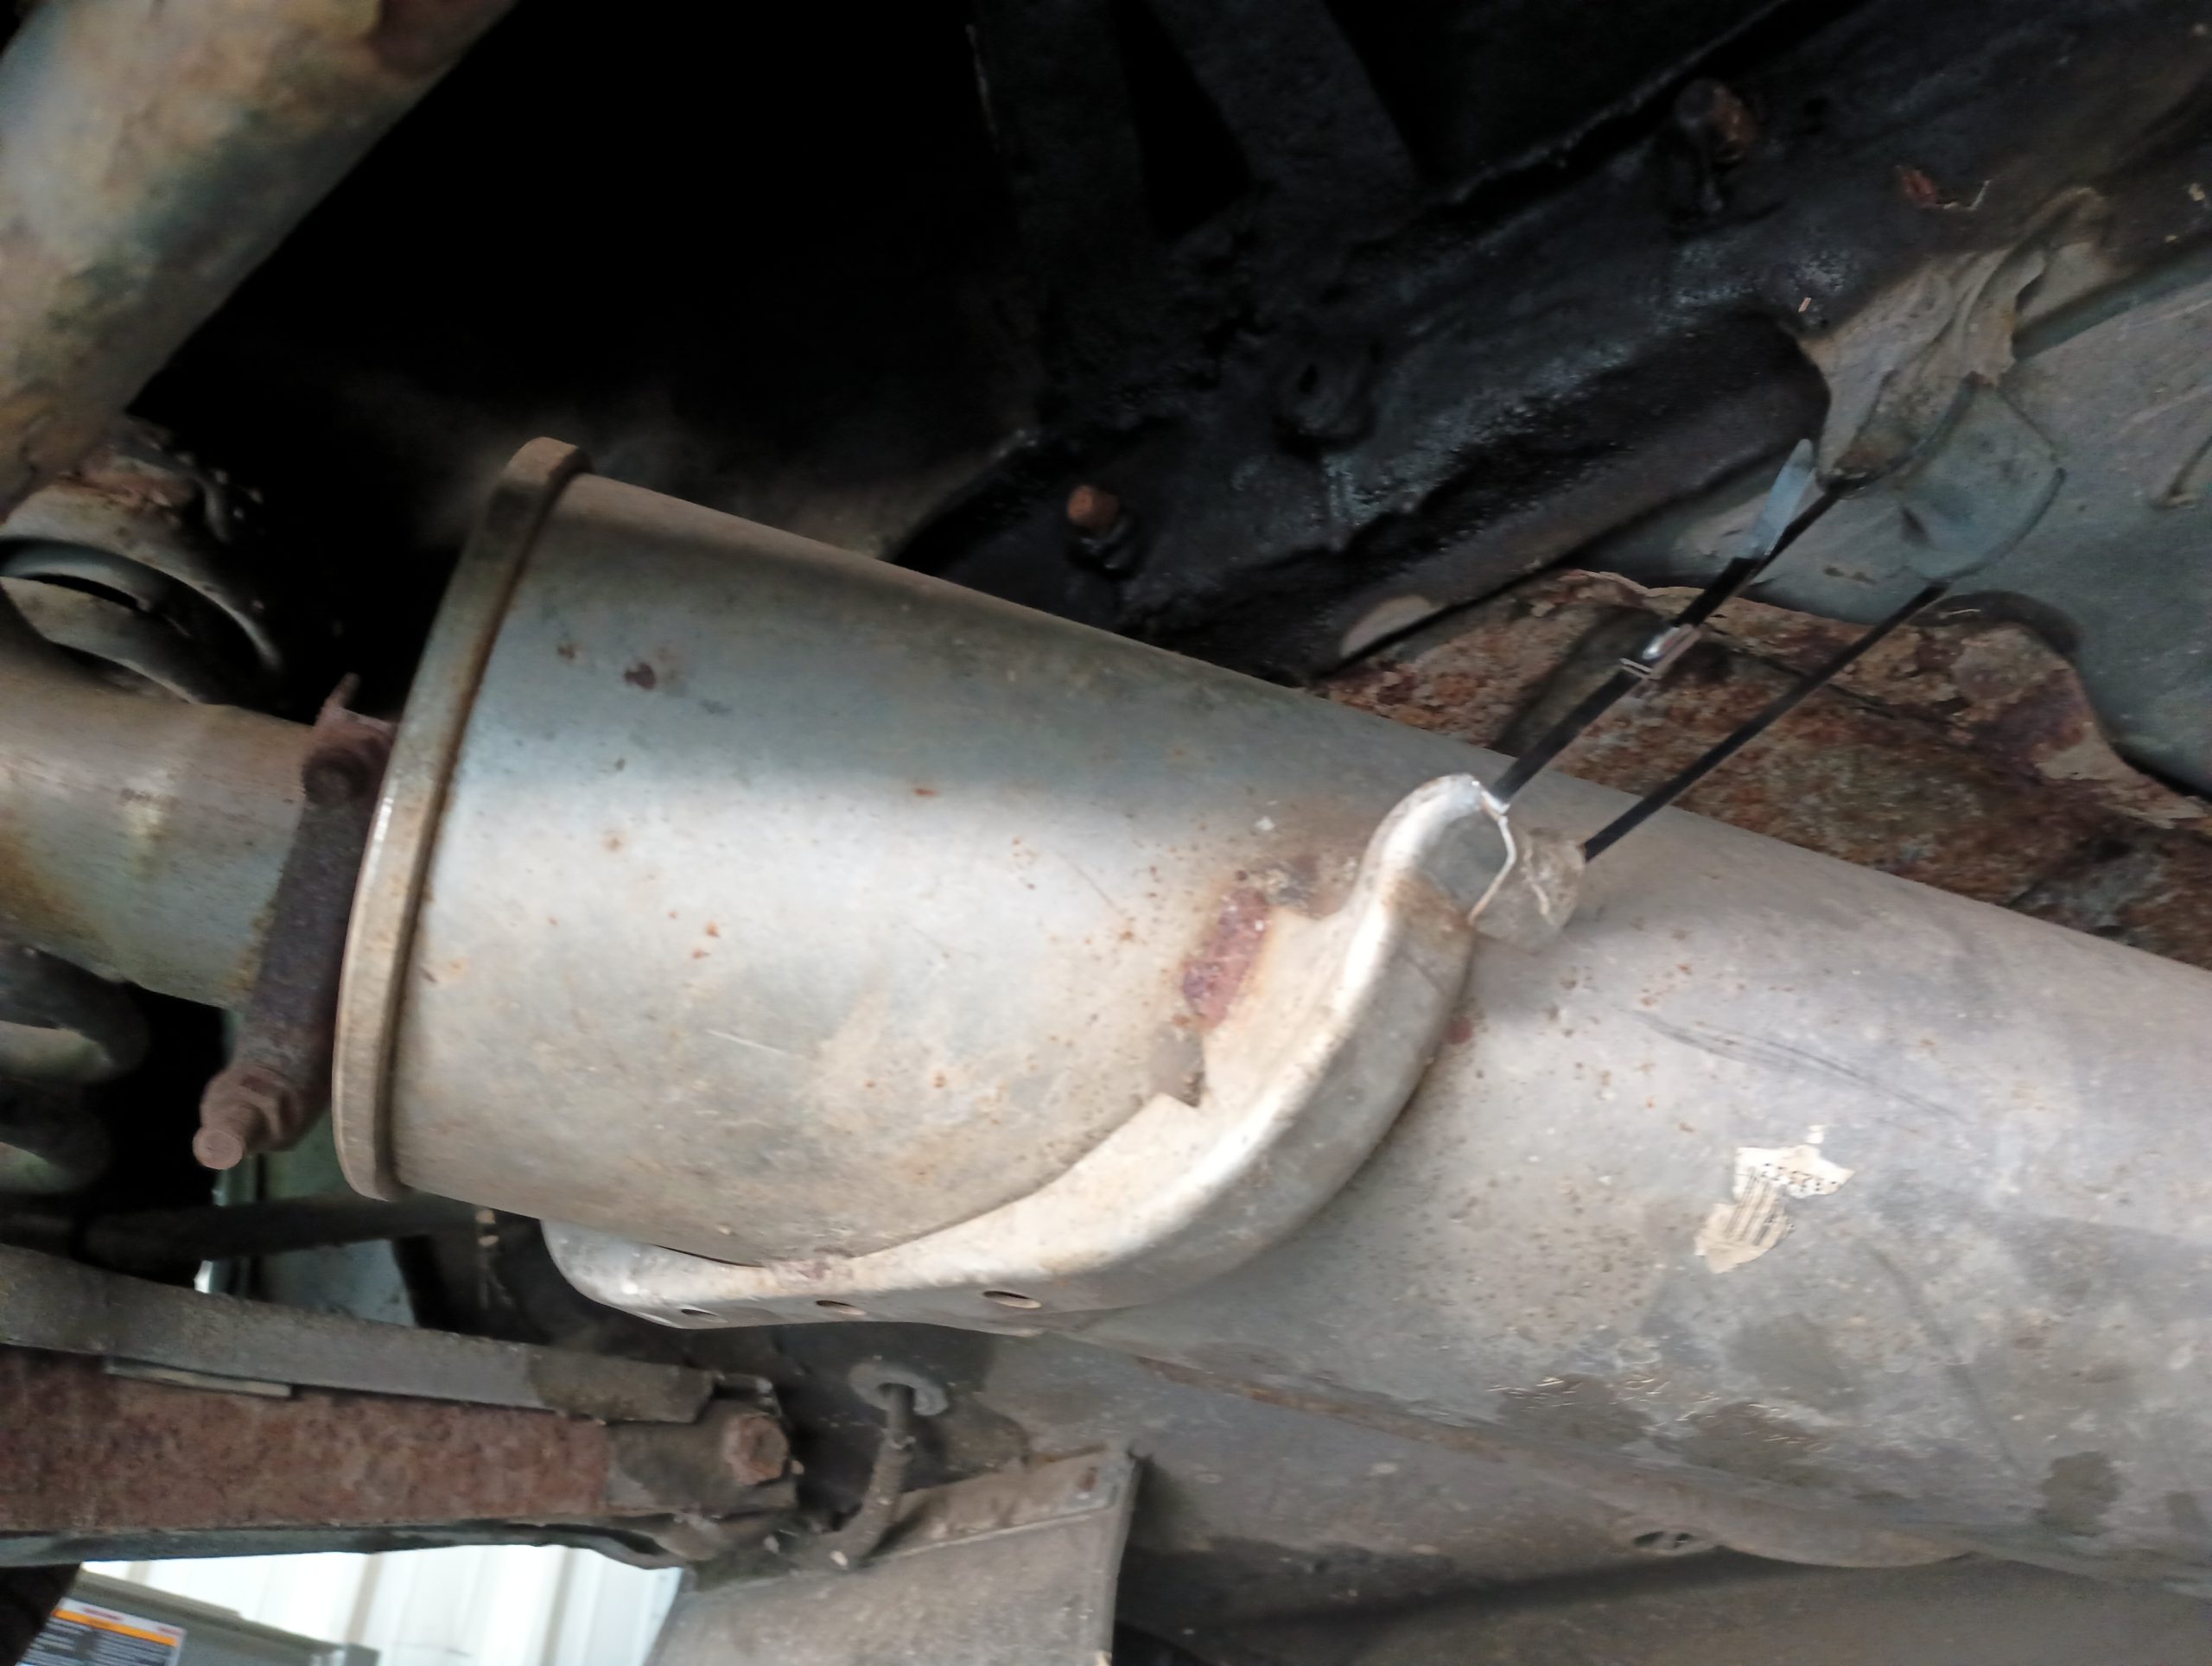
The exhaust, however, needed a little help. It’s all been replaced at some point, but it doesn’t quite line up right, angle-wise. So it was banging around a bit and creating a little vibration from time to time. The muffler had no hangers attached.
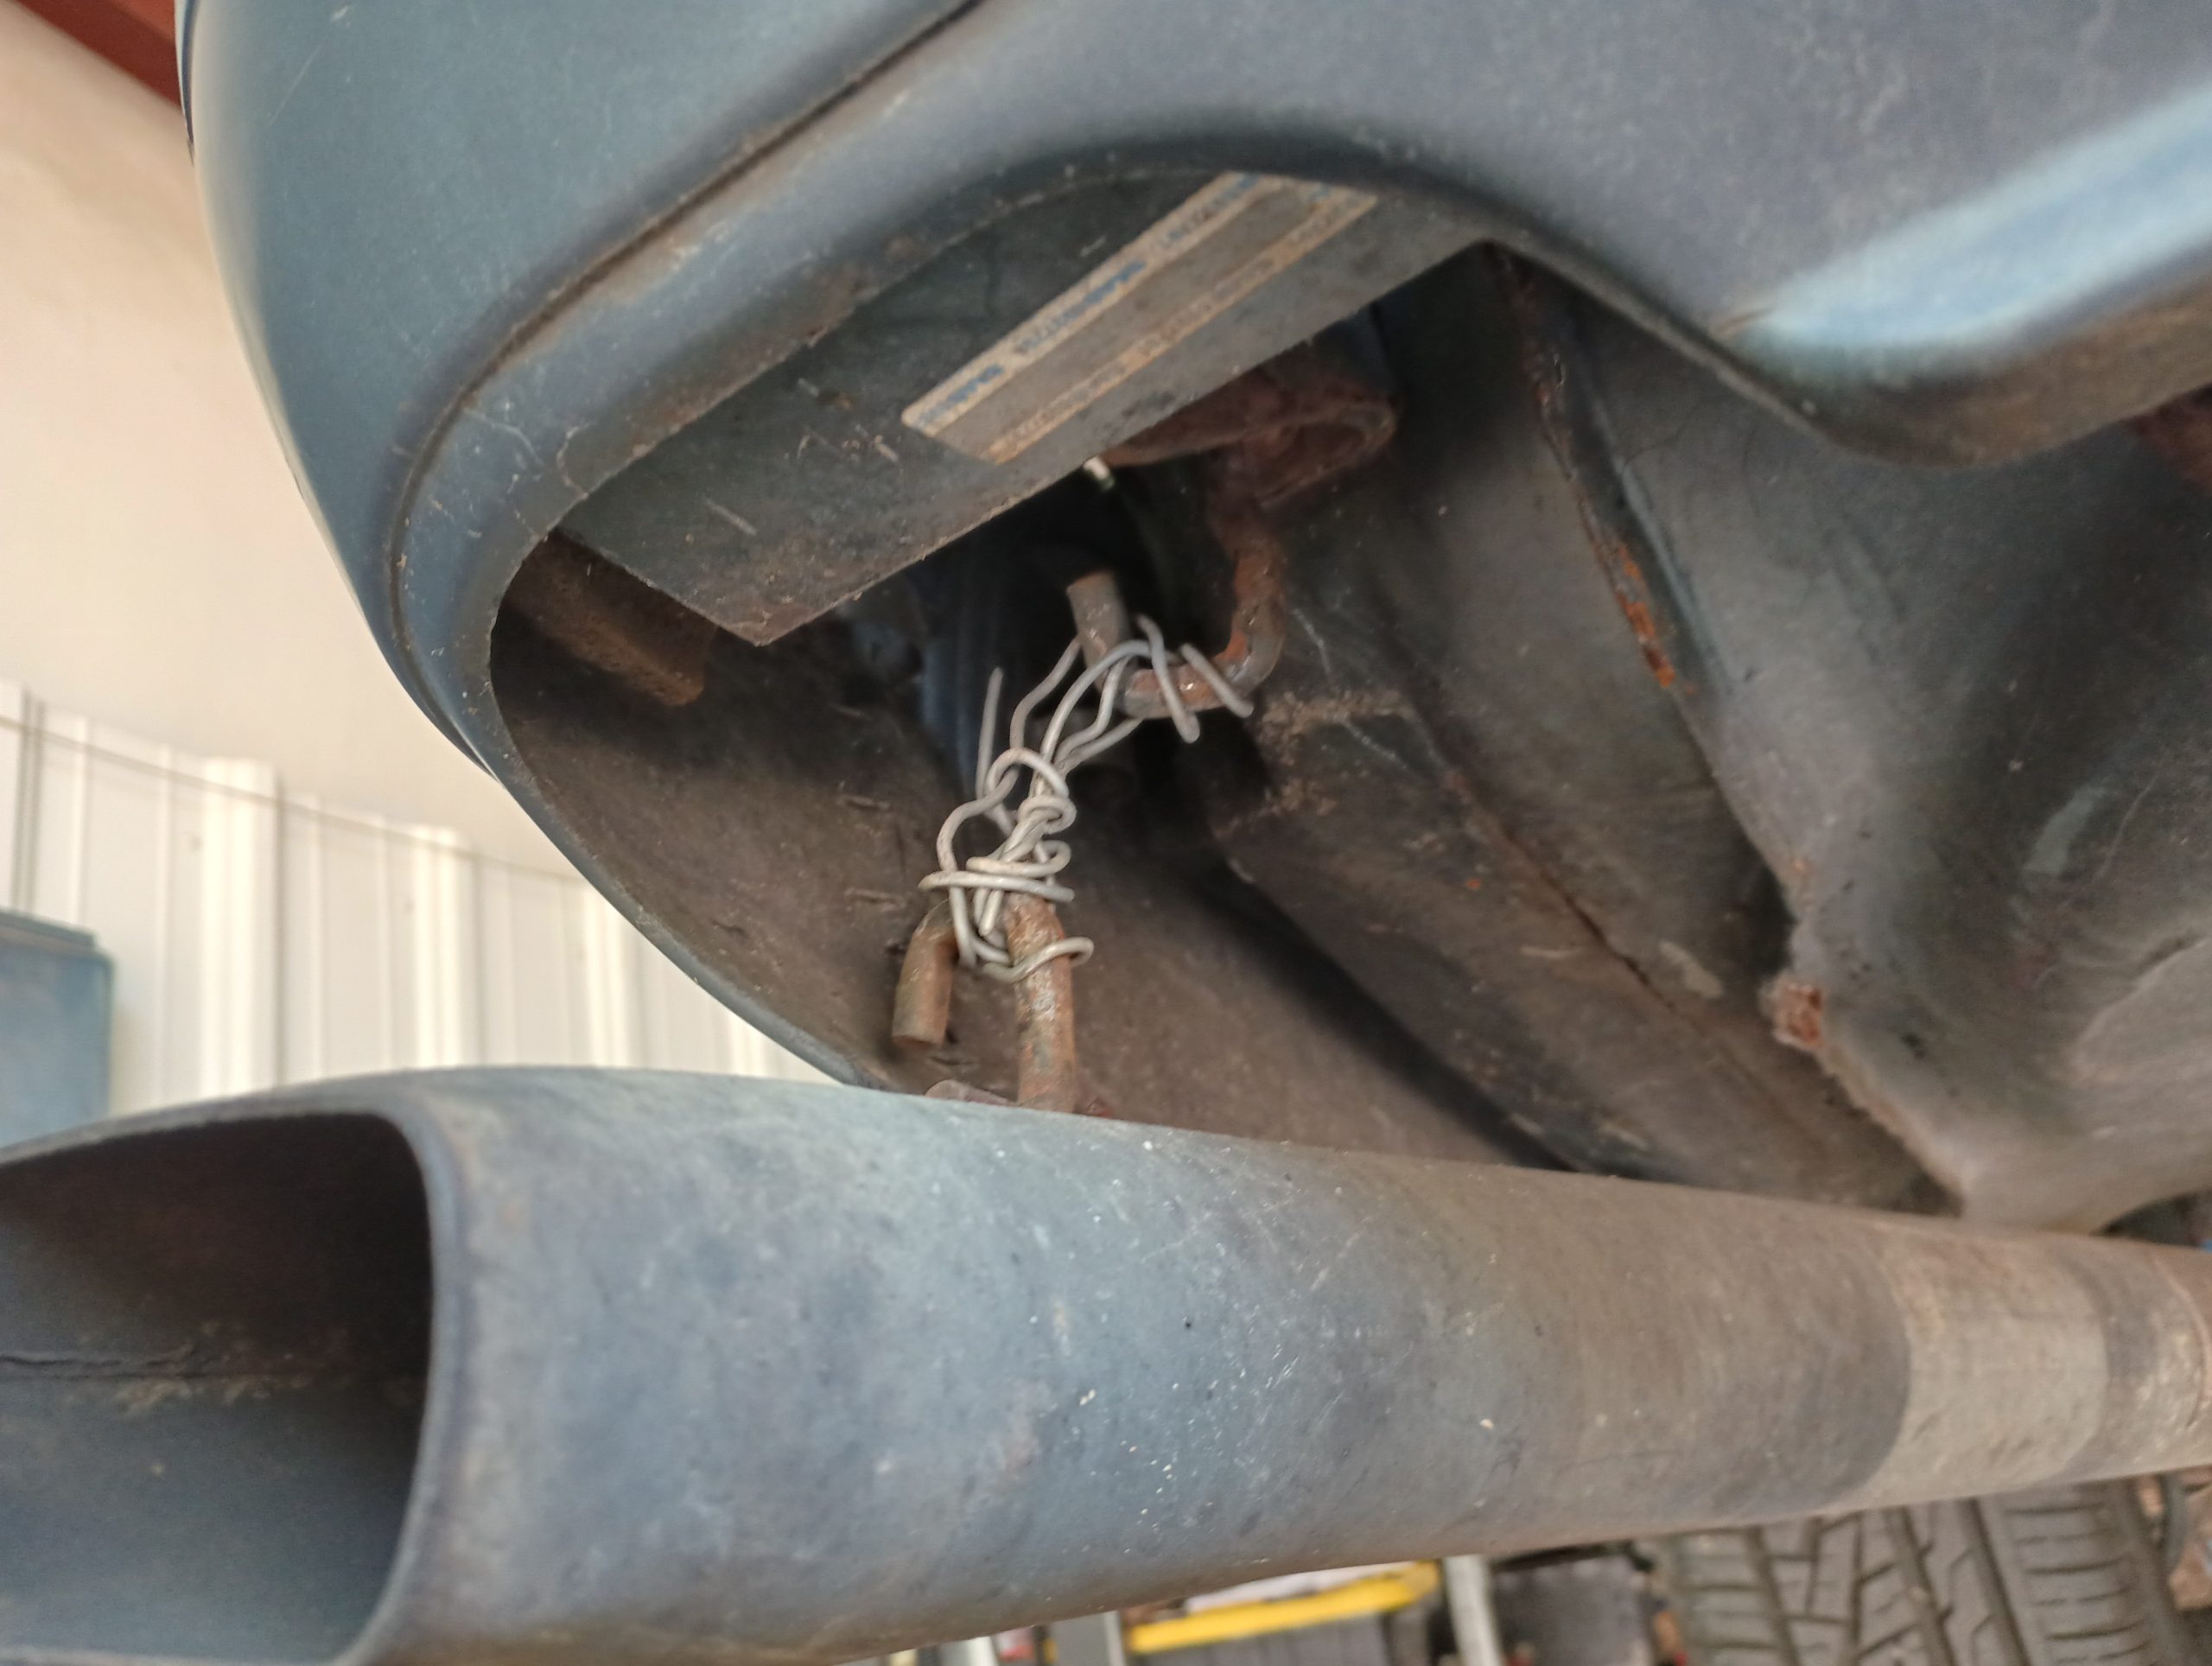
And the tailpipe was wired into place.
I thought I had some rubber hangers around somewhere, but I’m fresh out. What I do have, however, are stainless steel zipties.
We’ll see how well that works. It’s not a long-term solution to be sure, but we’ve got to hit the road.
While the car was up in the air, we exchanged the ancient honey-colored brake fluid for some DOT4 that was manufactured during the current century. Brake performance has increased dramatically. I think there was some sort of clog in a brake line in the rear as well – we weren’t getting much fluid at all with the vacuum pump until we pumped the brakes a few times. There was a bunch of crud that came out and suddenly fluid was flowing better.
While we were fiddling around the wheels, I had Becca adjust the air pressure. I thought I had checked that before, but apparently not – they are all in the 43-45 psi range when they’re supposed to be 30 in the front and 32 in the rear! She let an appropriate amount of air out of the tires and it’s far less skittish on the road now. It’s amazing how much difference that can make.
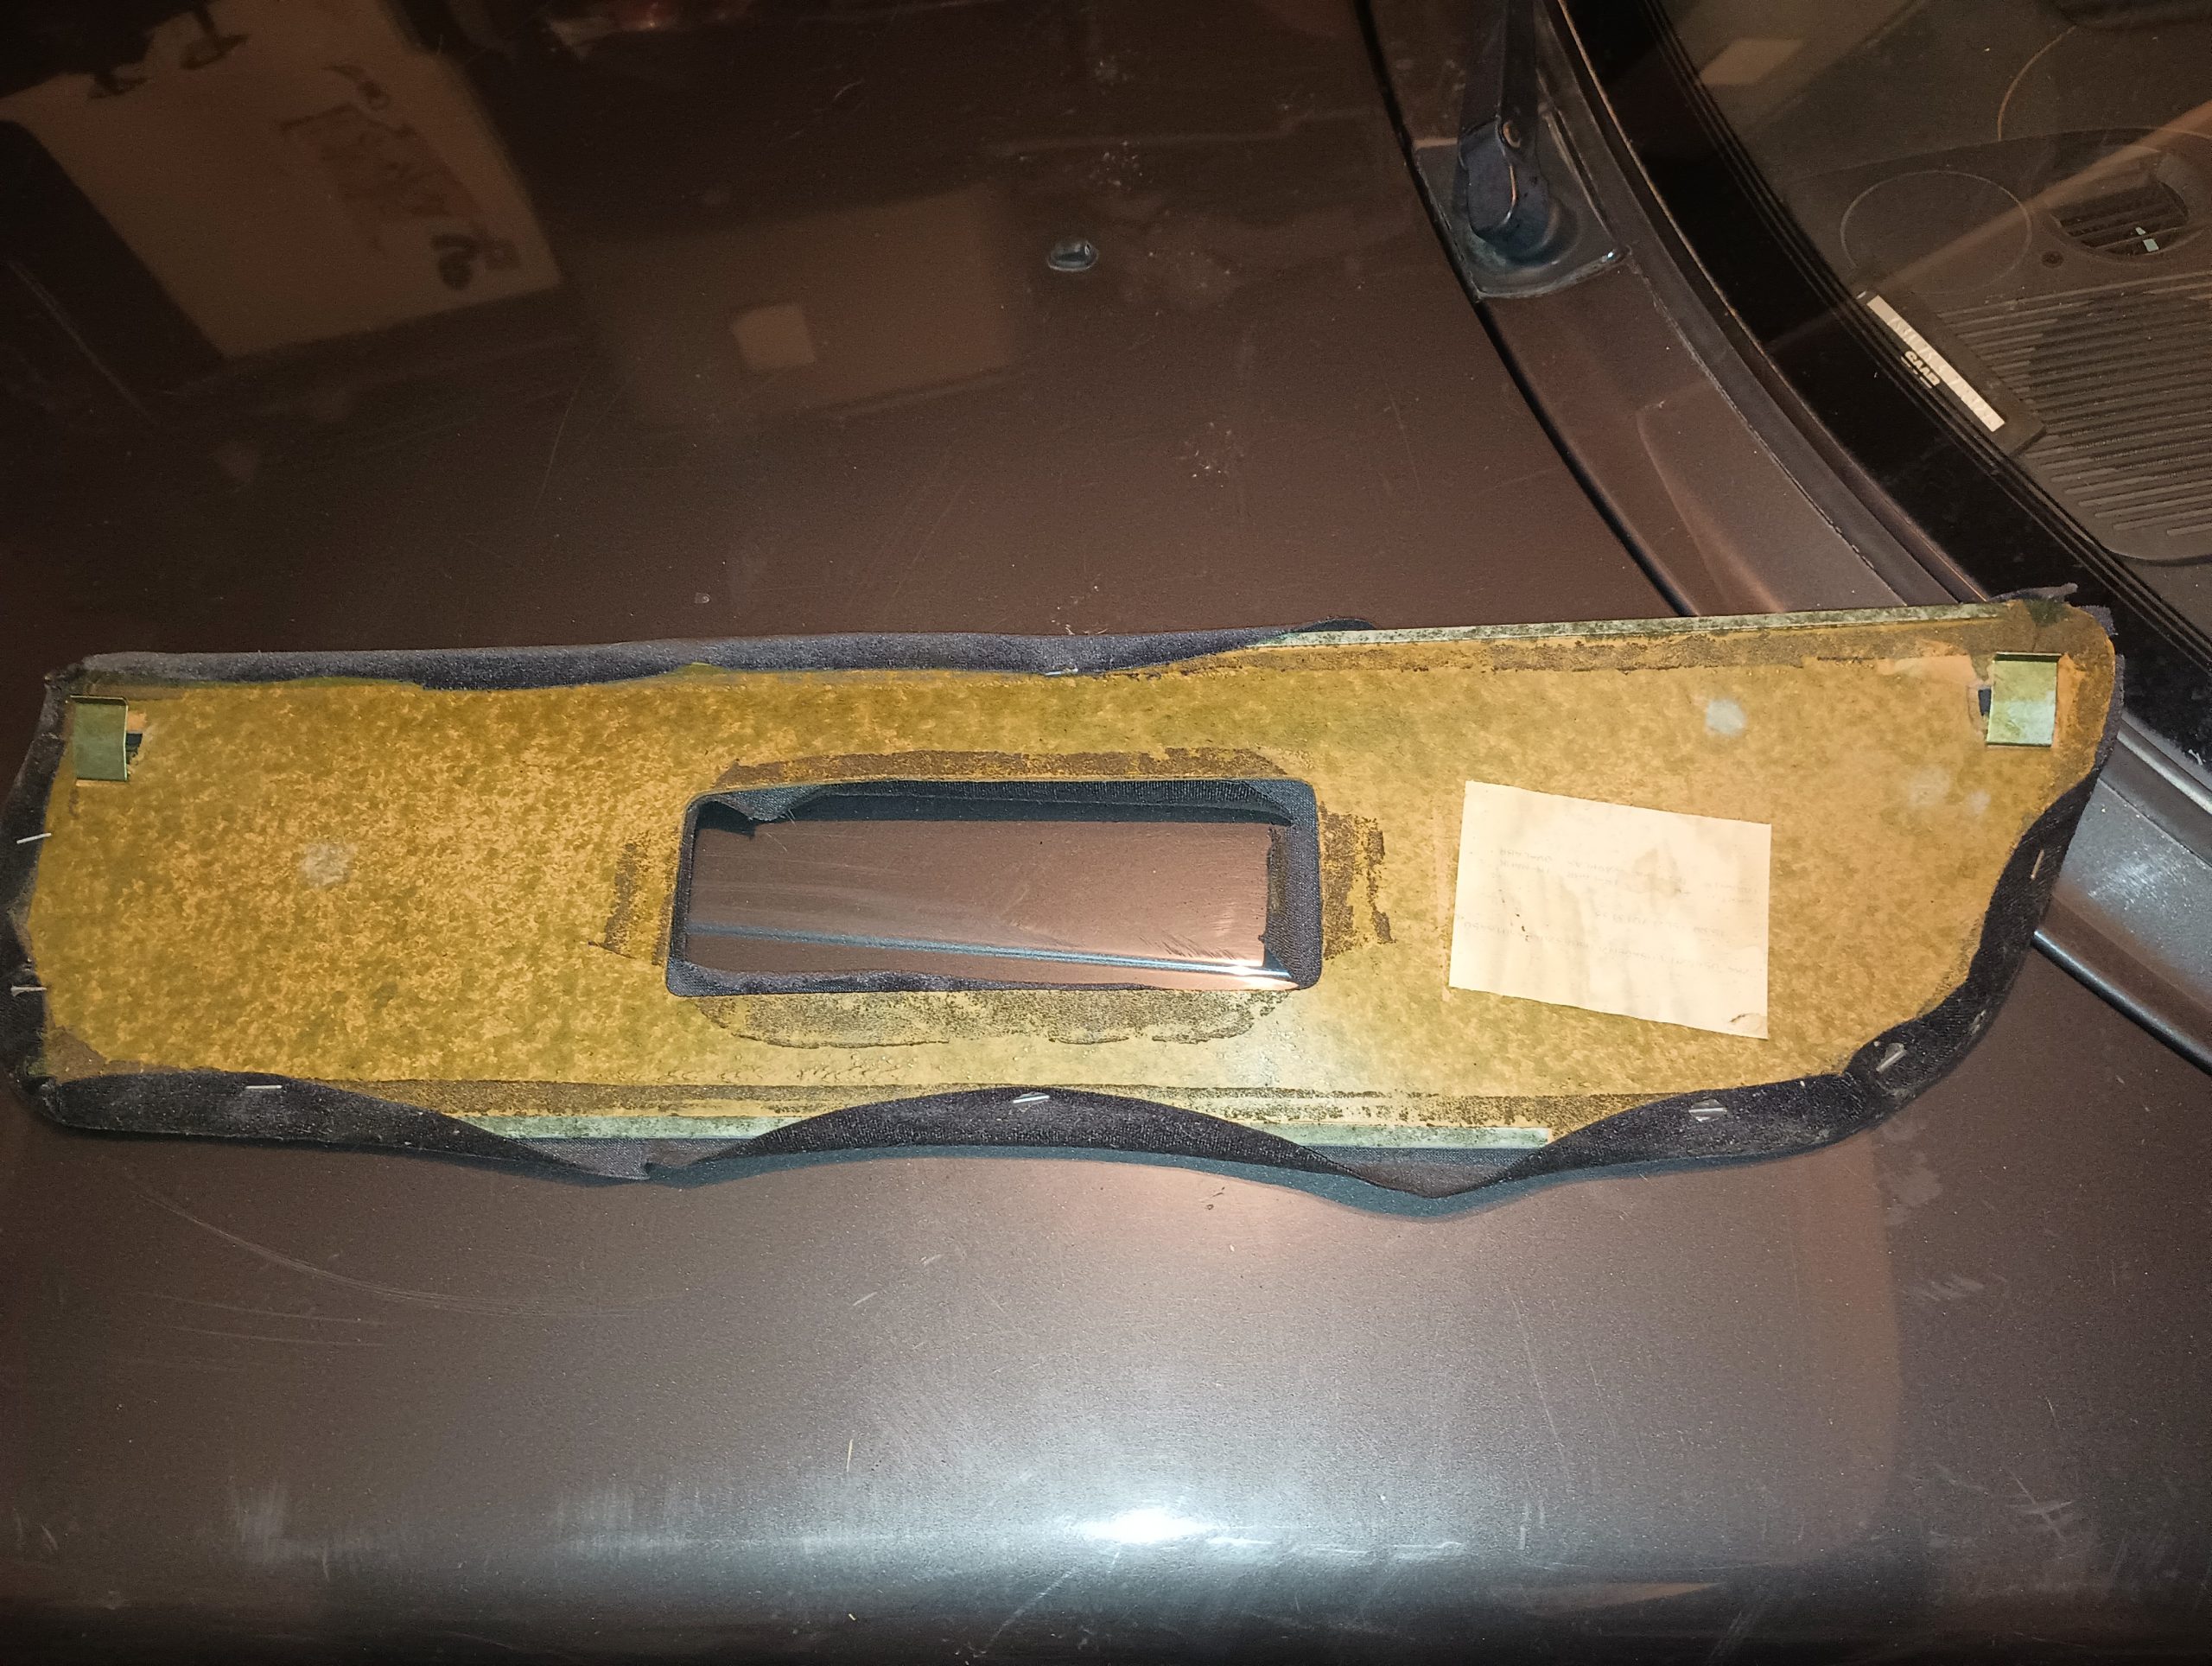
Getting that dash fascia off again was not a task that I was looking forward to, but we were able to pull the radio back out of the dash and reach in through that hole to swap out the three bulbs that are responsible for illuminating the dash controls. We’ll now be able to see the heater controls at night! Nothing that’s necessary to autocross, drag race, or even show the car, but it will make it a nicer place to be.
The last couple steps before we make like the Autobots and roll out are cleaning and packing. We need to use a little degreaser on the engine bay to clean it up a bit and then hit the trunk lid with the polisher. Once that’s done, we’ll pack everything into the car and hit the road.
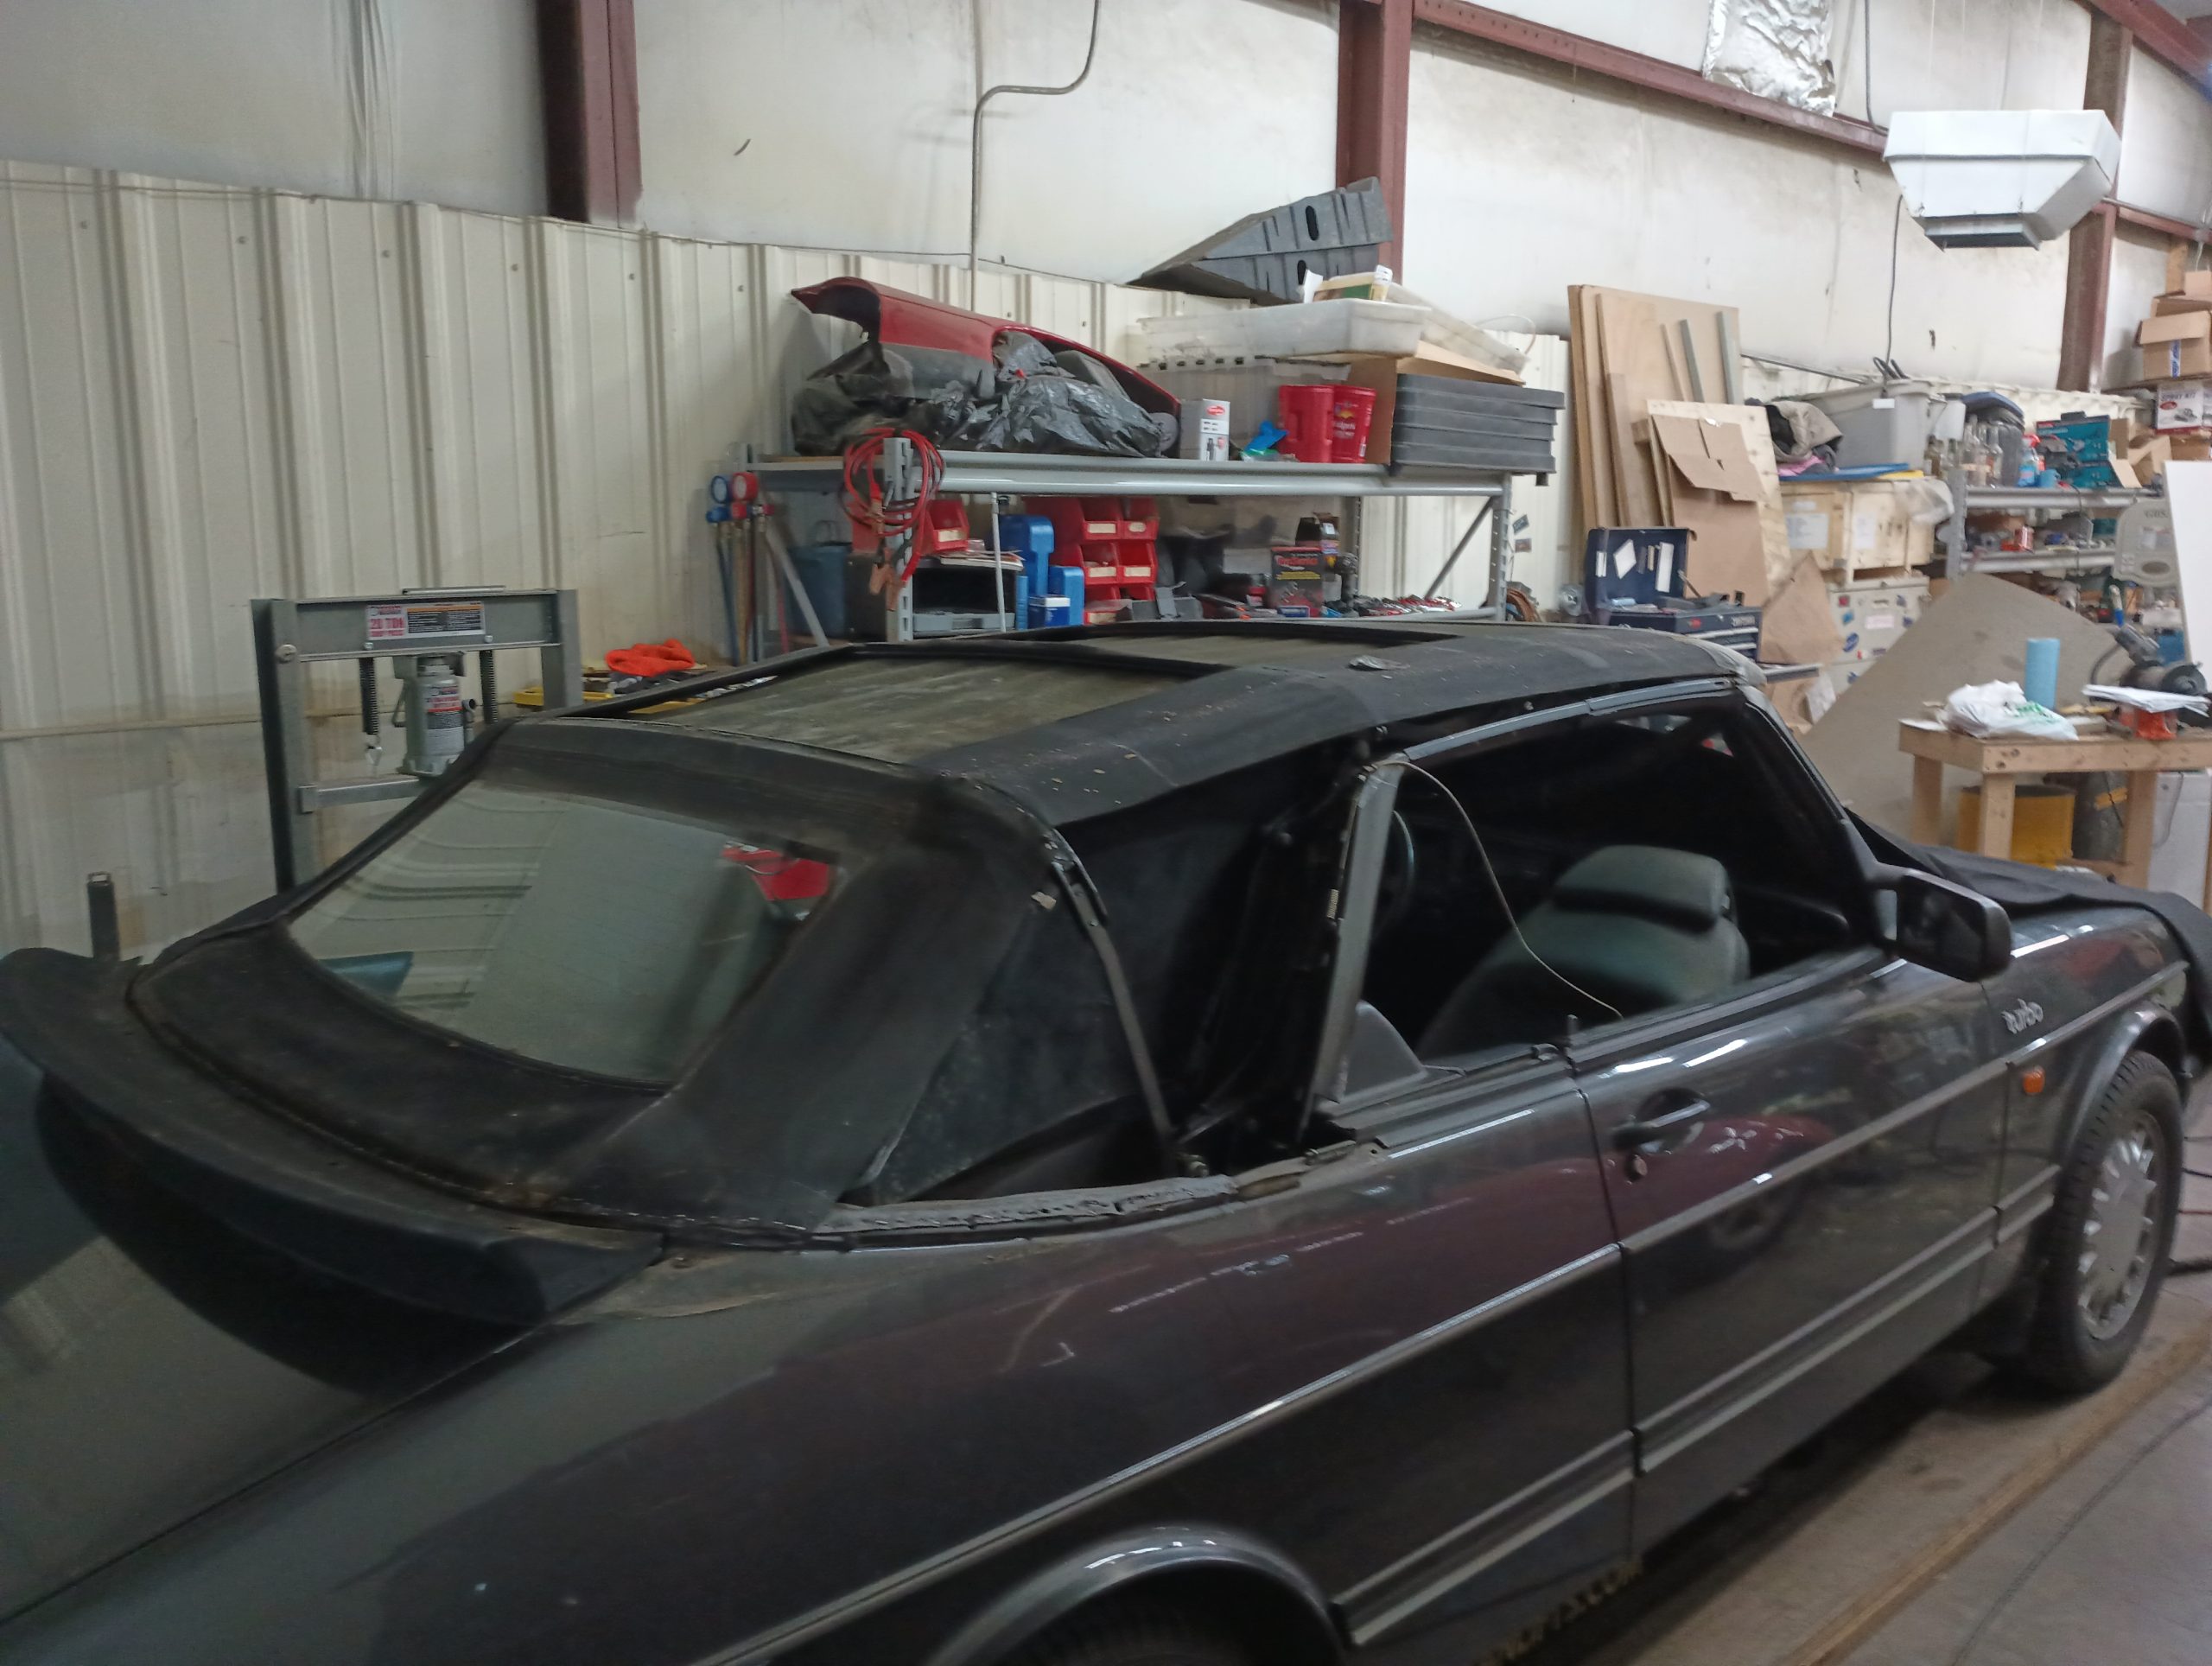
At this point, the major work items to have the car safely on the road are complete. The car has been transformed from a derelict parts car to a running, driving functional vehicle. Unfortunately, I found myself terribly behind schedule at this point due to the extensive troubleshooting that had to be done on the electricals behind the gauge cluster. It was particularly frustrating to have the car in a such a position since my expectation was that I was going to have a fairly small amount of work to do to make the leap to “runner”.
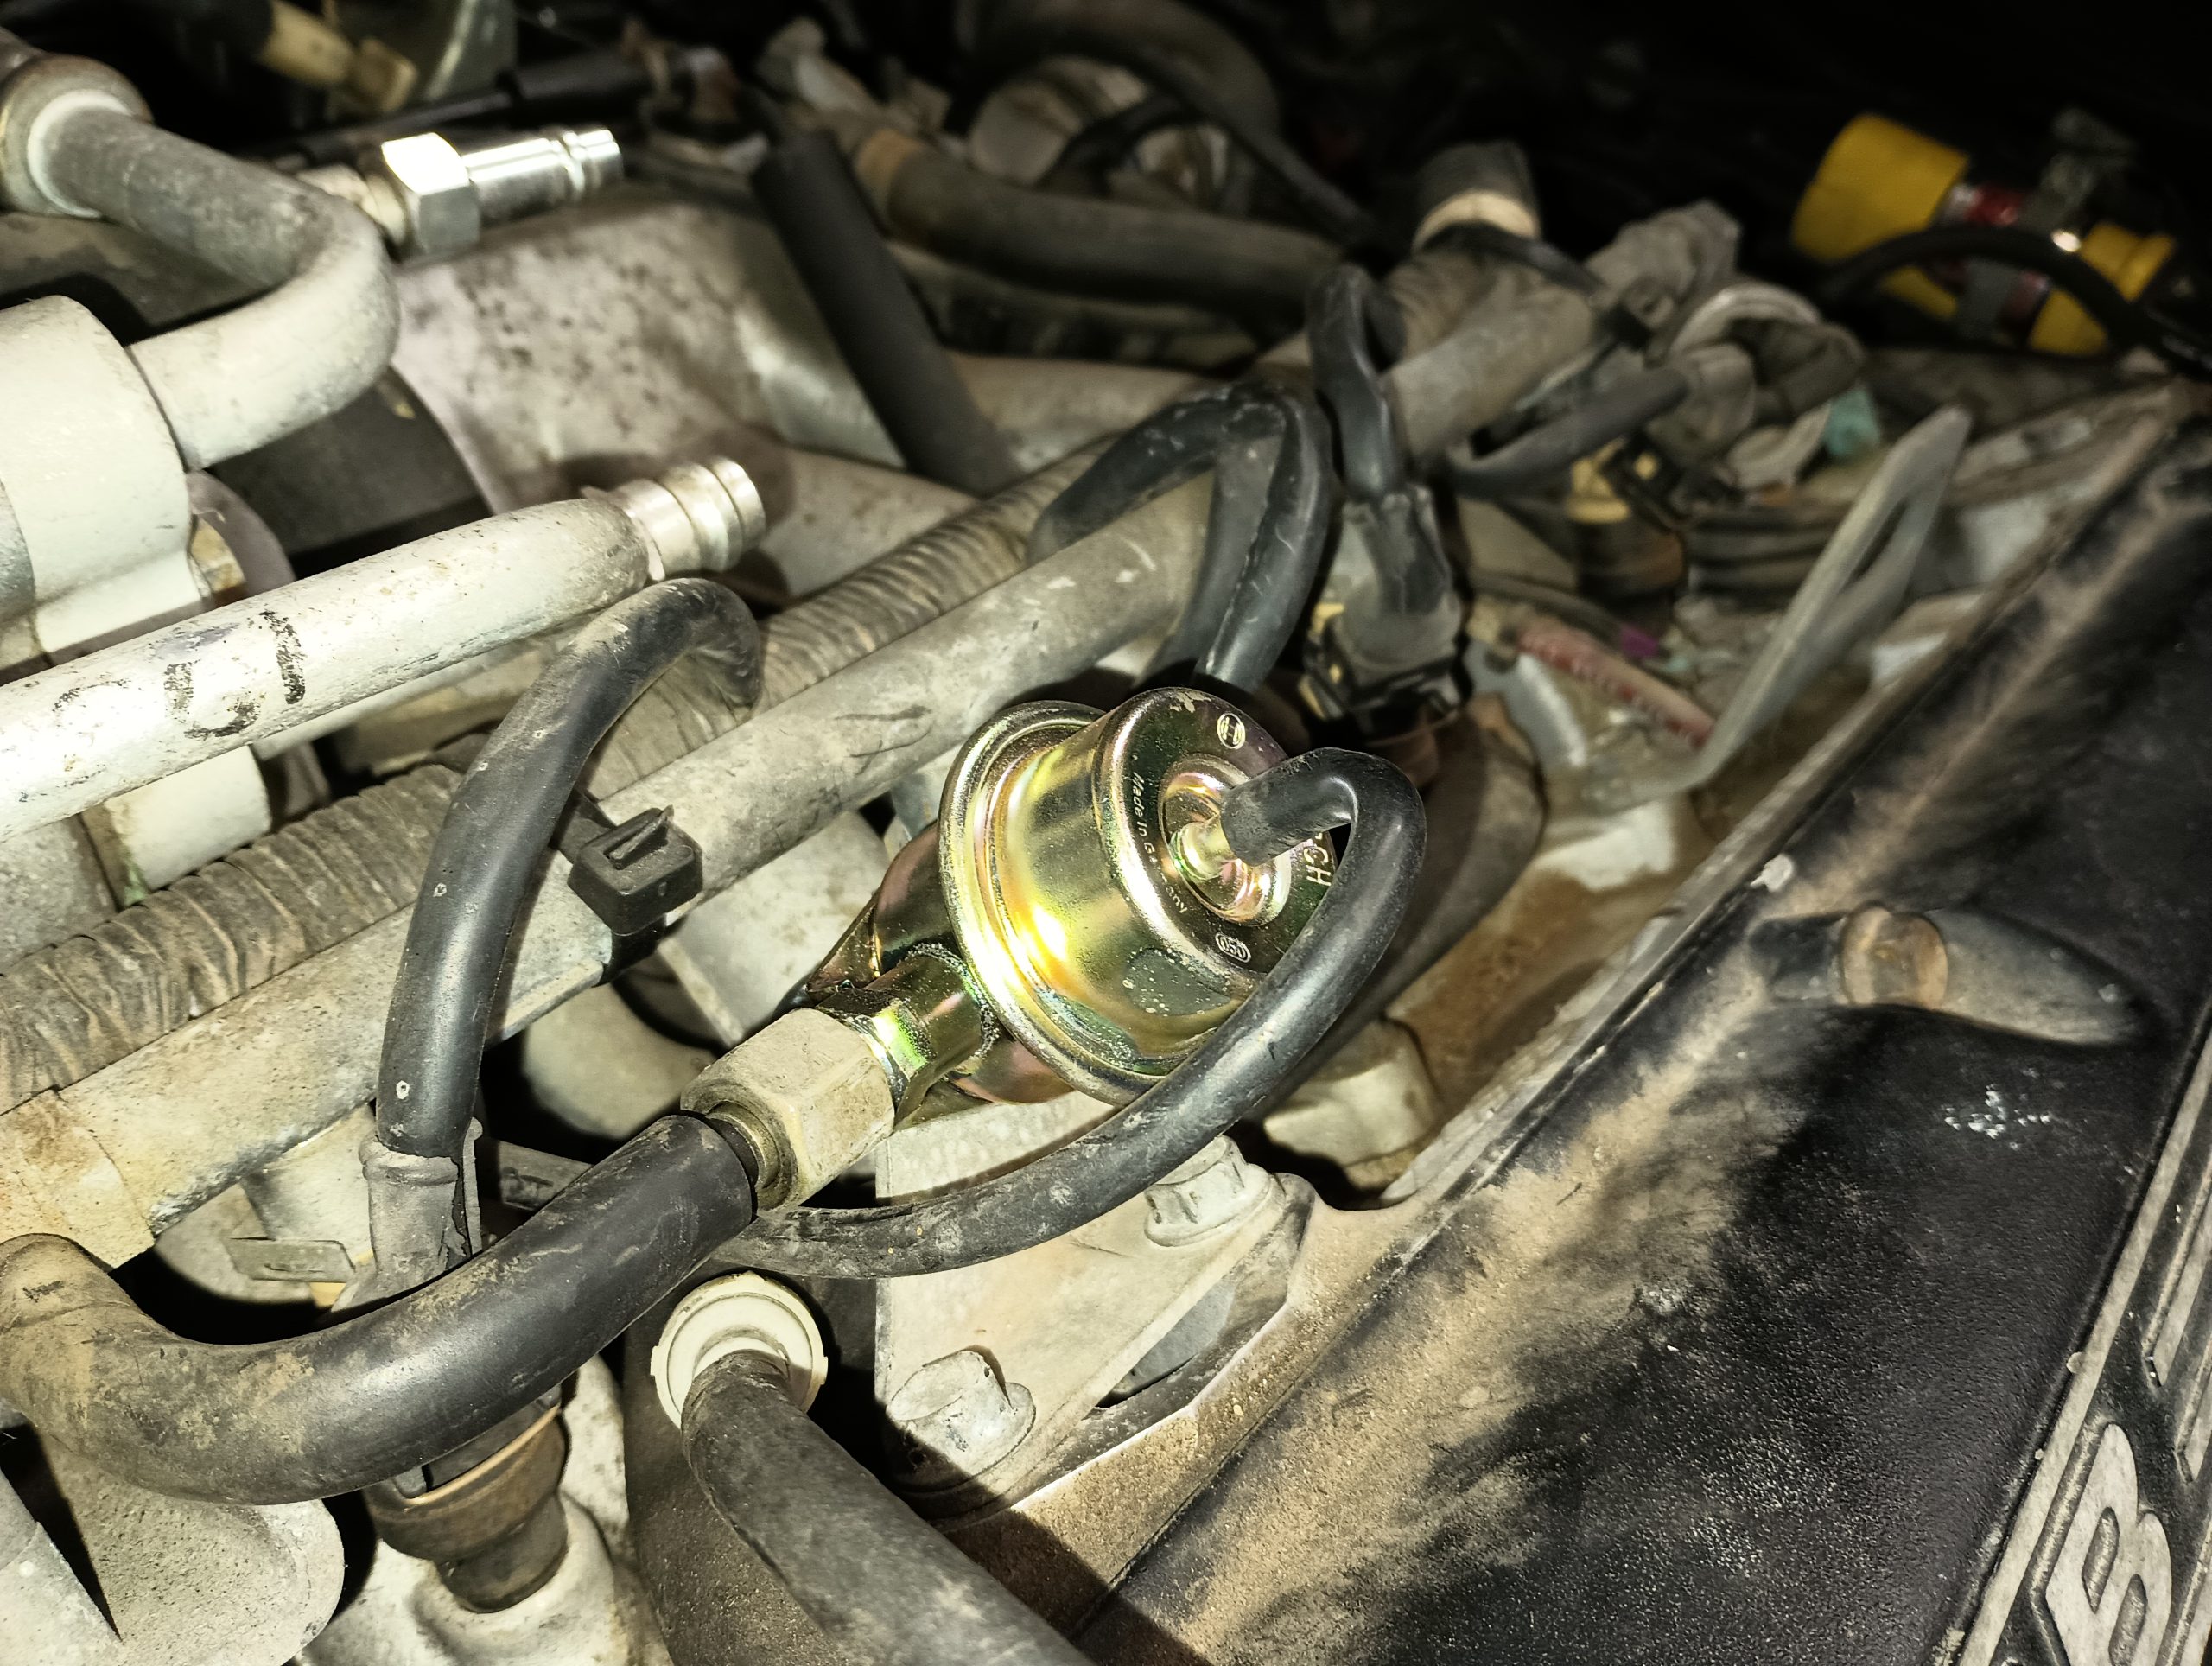
Water under the bridge, though. It was time to start working on some of the odds-and-ends that needed to be done. The first problem to tackle was that the car would flood every single time it was shut down and it was getting terrible gas mileage. I suspected that there was an injector that might have been stuck open, but when we popped the vacuum line off of the fuel pressure regulator there was a significant quantity of fuel that came streaming out. Apparently, the diaphragm in the regulator can fail and it starts to spray fuel into the intake causing it to run rich and to bled off all the fuel pressure by dumping gas into the intake when you shut the car off.
The long term plan is to make a little bit of a tweak to the boost control computer – known as the APC – to allow it to boost a little higher, so this was a good opportunity to make sure there would be enough fuel to make that happen. eBay provided a 3.0 bar pressure regulator – the stock pressure is 2.5 bar – which should provide enough fuel for a couple more psi of boost pressure down the road.
The next issue that the car presented was the alignment. It tracks very straight and true, but the steering wheel is canted about 10 degrees to the right. I knew exactly how to solve this problem: I called Tim. Using a tape measure and some of those flat, rectangular curtain rods, Tim is an absolute genius at performing alignments. I didn’t want to mess with the camber at all, but the toe definitely needed some work and Tim got right to it.
By measuring the distance between the wheels in the front and the back, he was able to determine that there was a little more toe-in than the spec said it should have. Given the measurements that he took, the toe-in specification, and the thread pitch of the tie rod ends, Tim was able to determine that the right wheel needed to be adjusted about 3/4 to 1 turn of the tie rod. We made a slight error the first time around – forgetting that the Saab steers from the back of the wheel not the front – but once we overcame that, it was basically perfect. Just like that.
Turning our attention to some of the appearance items, we broke out the 303 Aerospace protectant and started wiping down the seats and the plastic trim. I had already given the leather seats some treatment with Murphy’s Oil Soap and used the carpet machine on the floor, but hitting the rest of the trim with the 303 made a huge difference in terms of getting the plastics looking shiny again. The dash is basically a lost cause with the amount of cracking that is there, but otherwise we’re trying to make it a nice place to spend some time.
Another trim item that needed to be addressed was the fabric inset on the door cards. It’s supposed to be wrapped around the panel and then glued to the back but that glue had deteriorated over time and the fabric was sort of flapping in the wind. It sounds kind of crazy, but that loose fabric really made the car look sloppy and junky.
With the panels off, we used a Gorilla spray adhesive to re-stick the fabric and then back on to the doors they went. All in all it was a very easy and fast task that really improved the look of the car.
The trim was peeling off of the glove box door as well, so Becca broke out a different Gorilla glue product and a clamp and got that secured. These few appearance things were so minor, but it really changed the character of the car. Just tidying up the trim on the car transformed it from kind of a beater to just an older car and made it a nicer place to sit.
In that same vein, we decided to tackle the seat belts. They are really slow to retract and wind up just sort of hanging about instead of going back where they belong. From what I could find in some internet research, you can take the cover off, give the spring some additional turns to tighten it up, and solve the problem. Easy, right?
For four hours we fought with getting the rear seat out, the side trim panels out, and then taking the seat belt retractor apart. The spring went flying, of course, and I spent a very long time getting it re-wound. In the end, I had it wound as tightly as I could get it. All that time and effort really paid off when I put it all back together and it was exactly the same as it was when I started. I’m assuming that the spring is just sprung.
The next thing we decided the car needed was a better entertainment system. For about a hundred bucks, I got a no-name single-DIN Android Auto / Apple CarPlay head unit and four Pyle speakers. The sound quality isn’t great, but it’s pretty amazing considering the price. It also means that any phone functions will be fully hands-free, so hopefully that will limit the temptation for young drivers to be fiddling with their phone while they drive. And, honestly, you can’t cruise down the highway in a convertible without being able to blast some music. Or, since it’s a Saab, I guess you have to blast NPR?
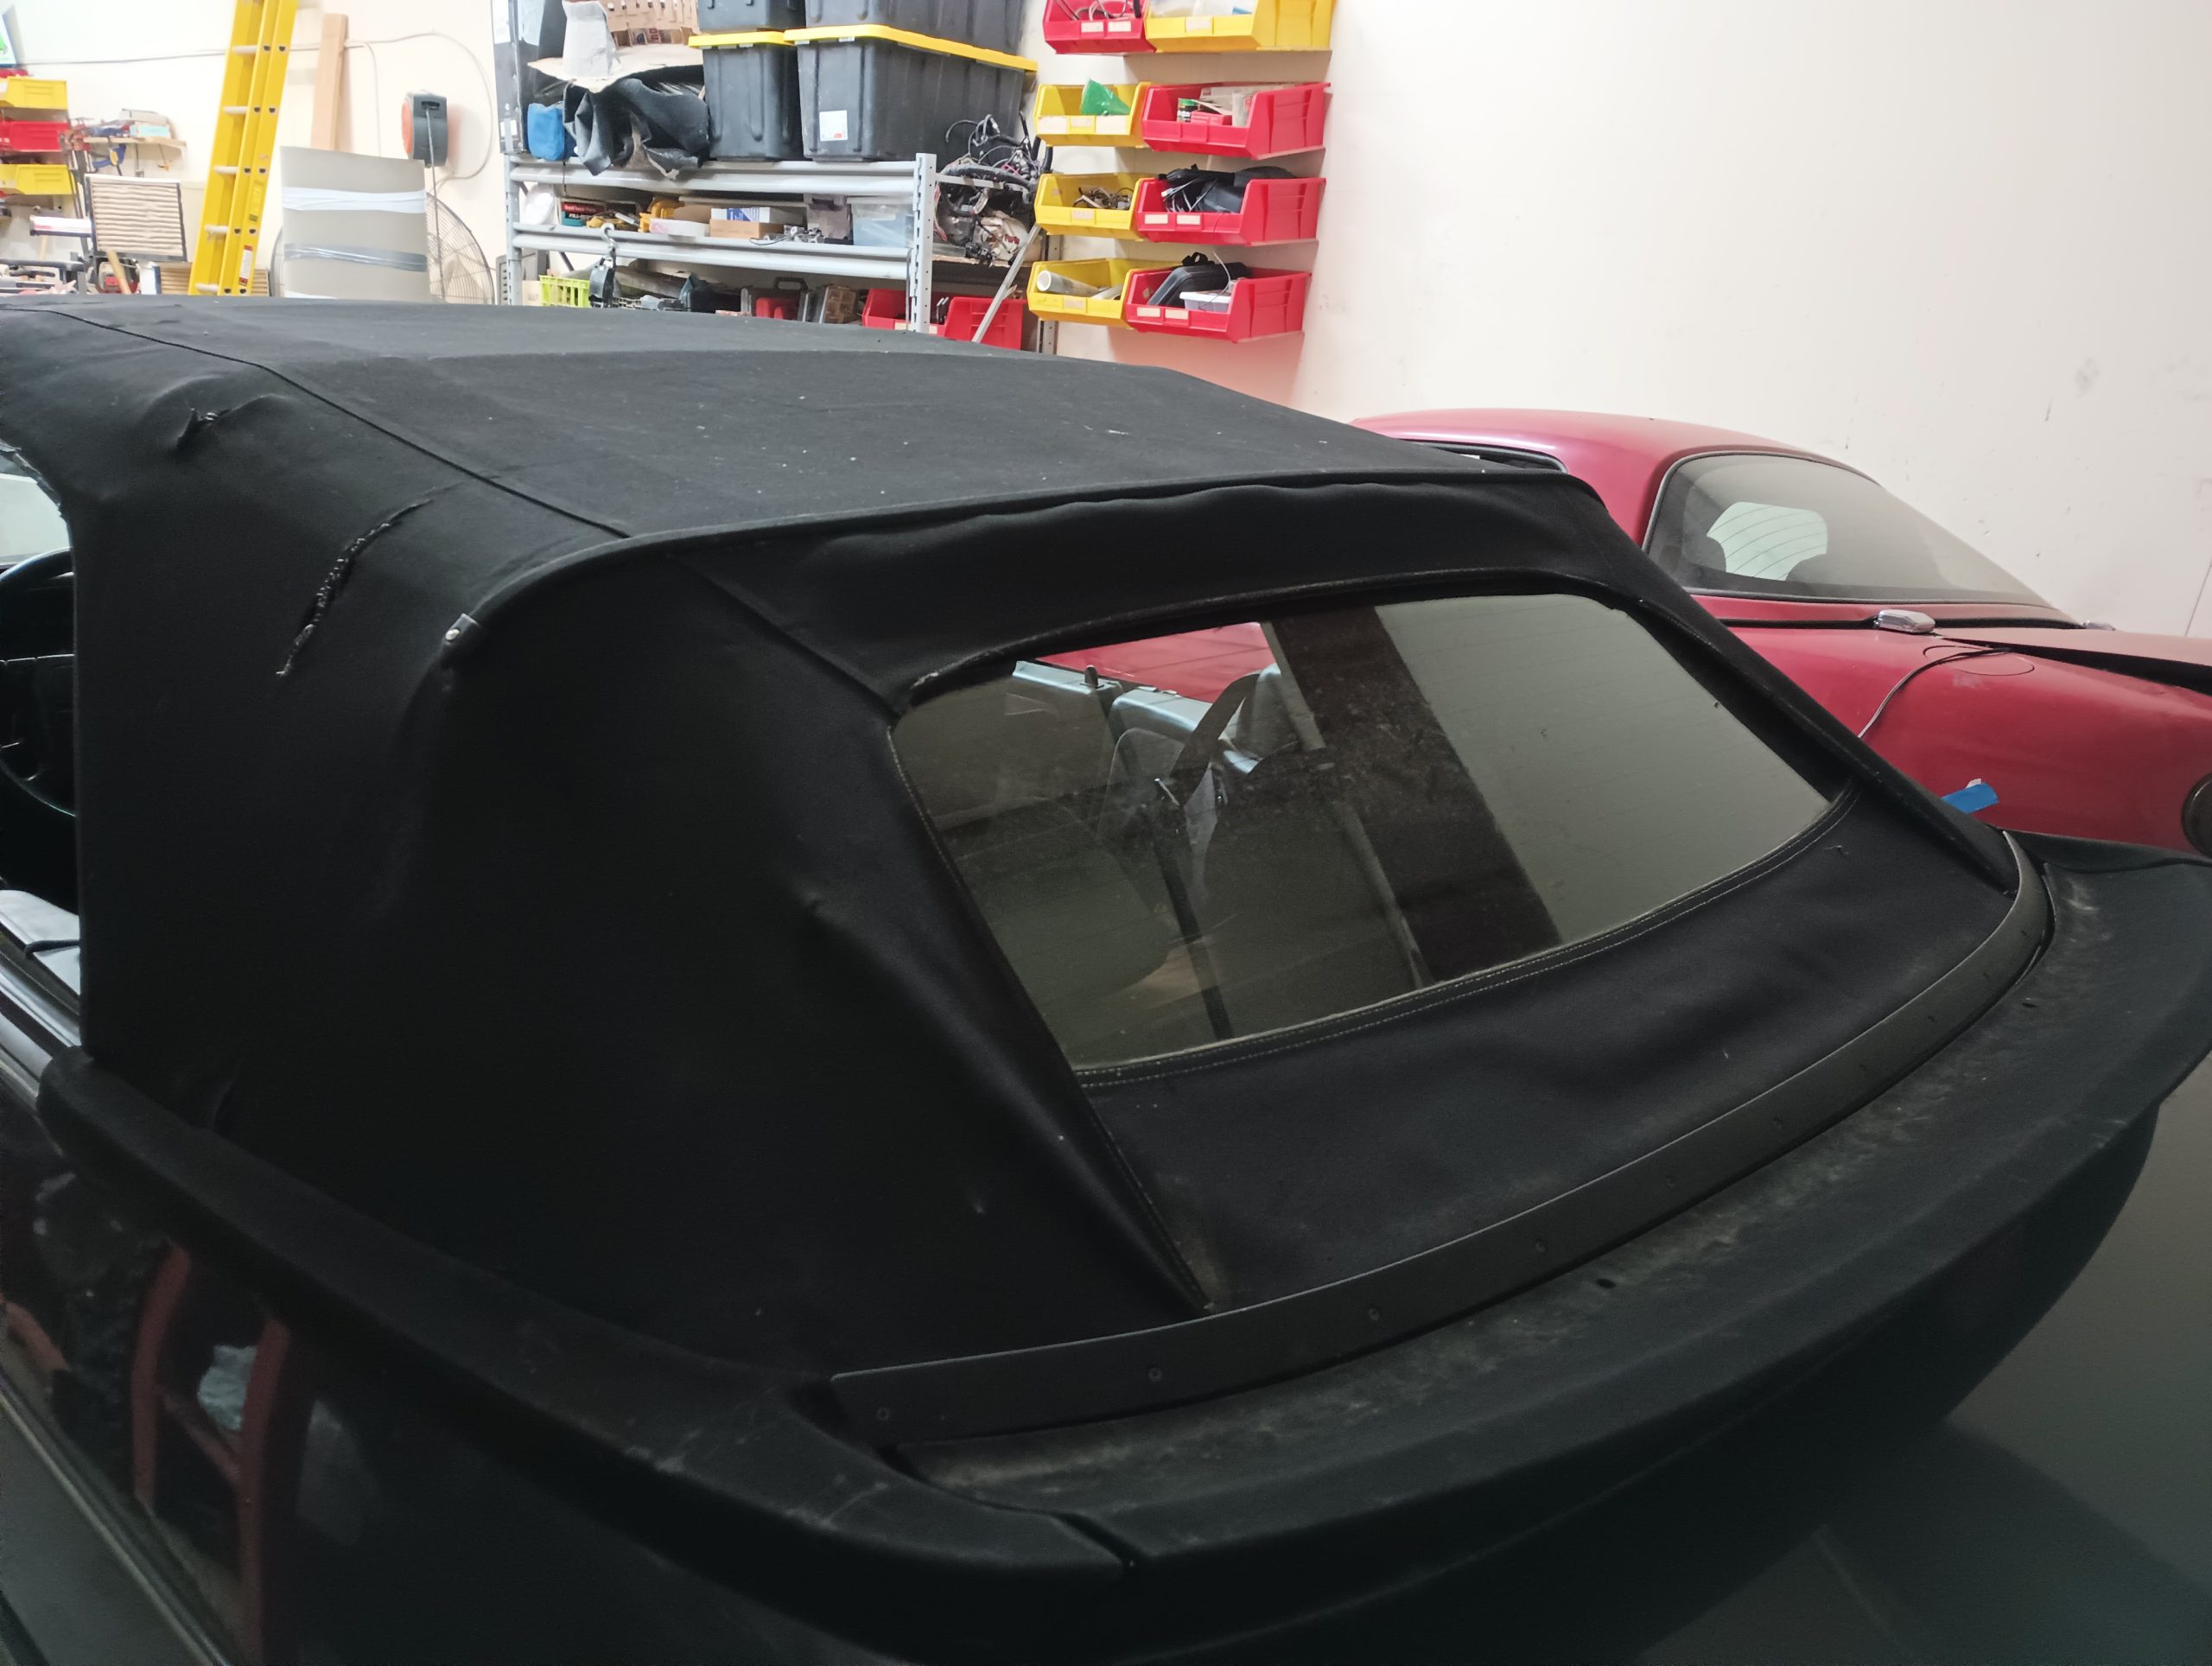
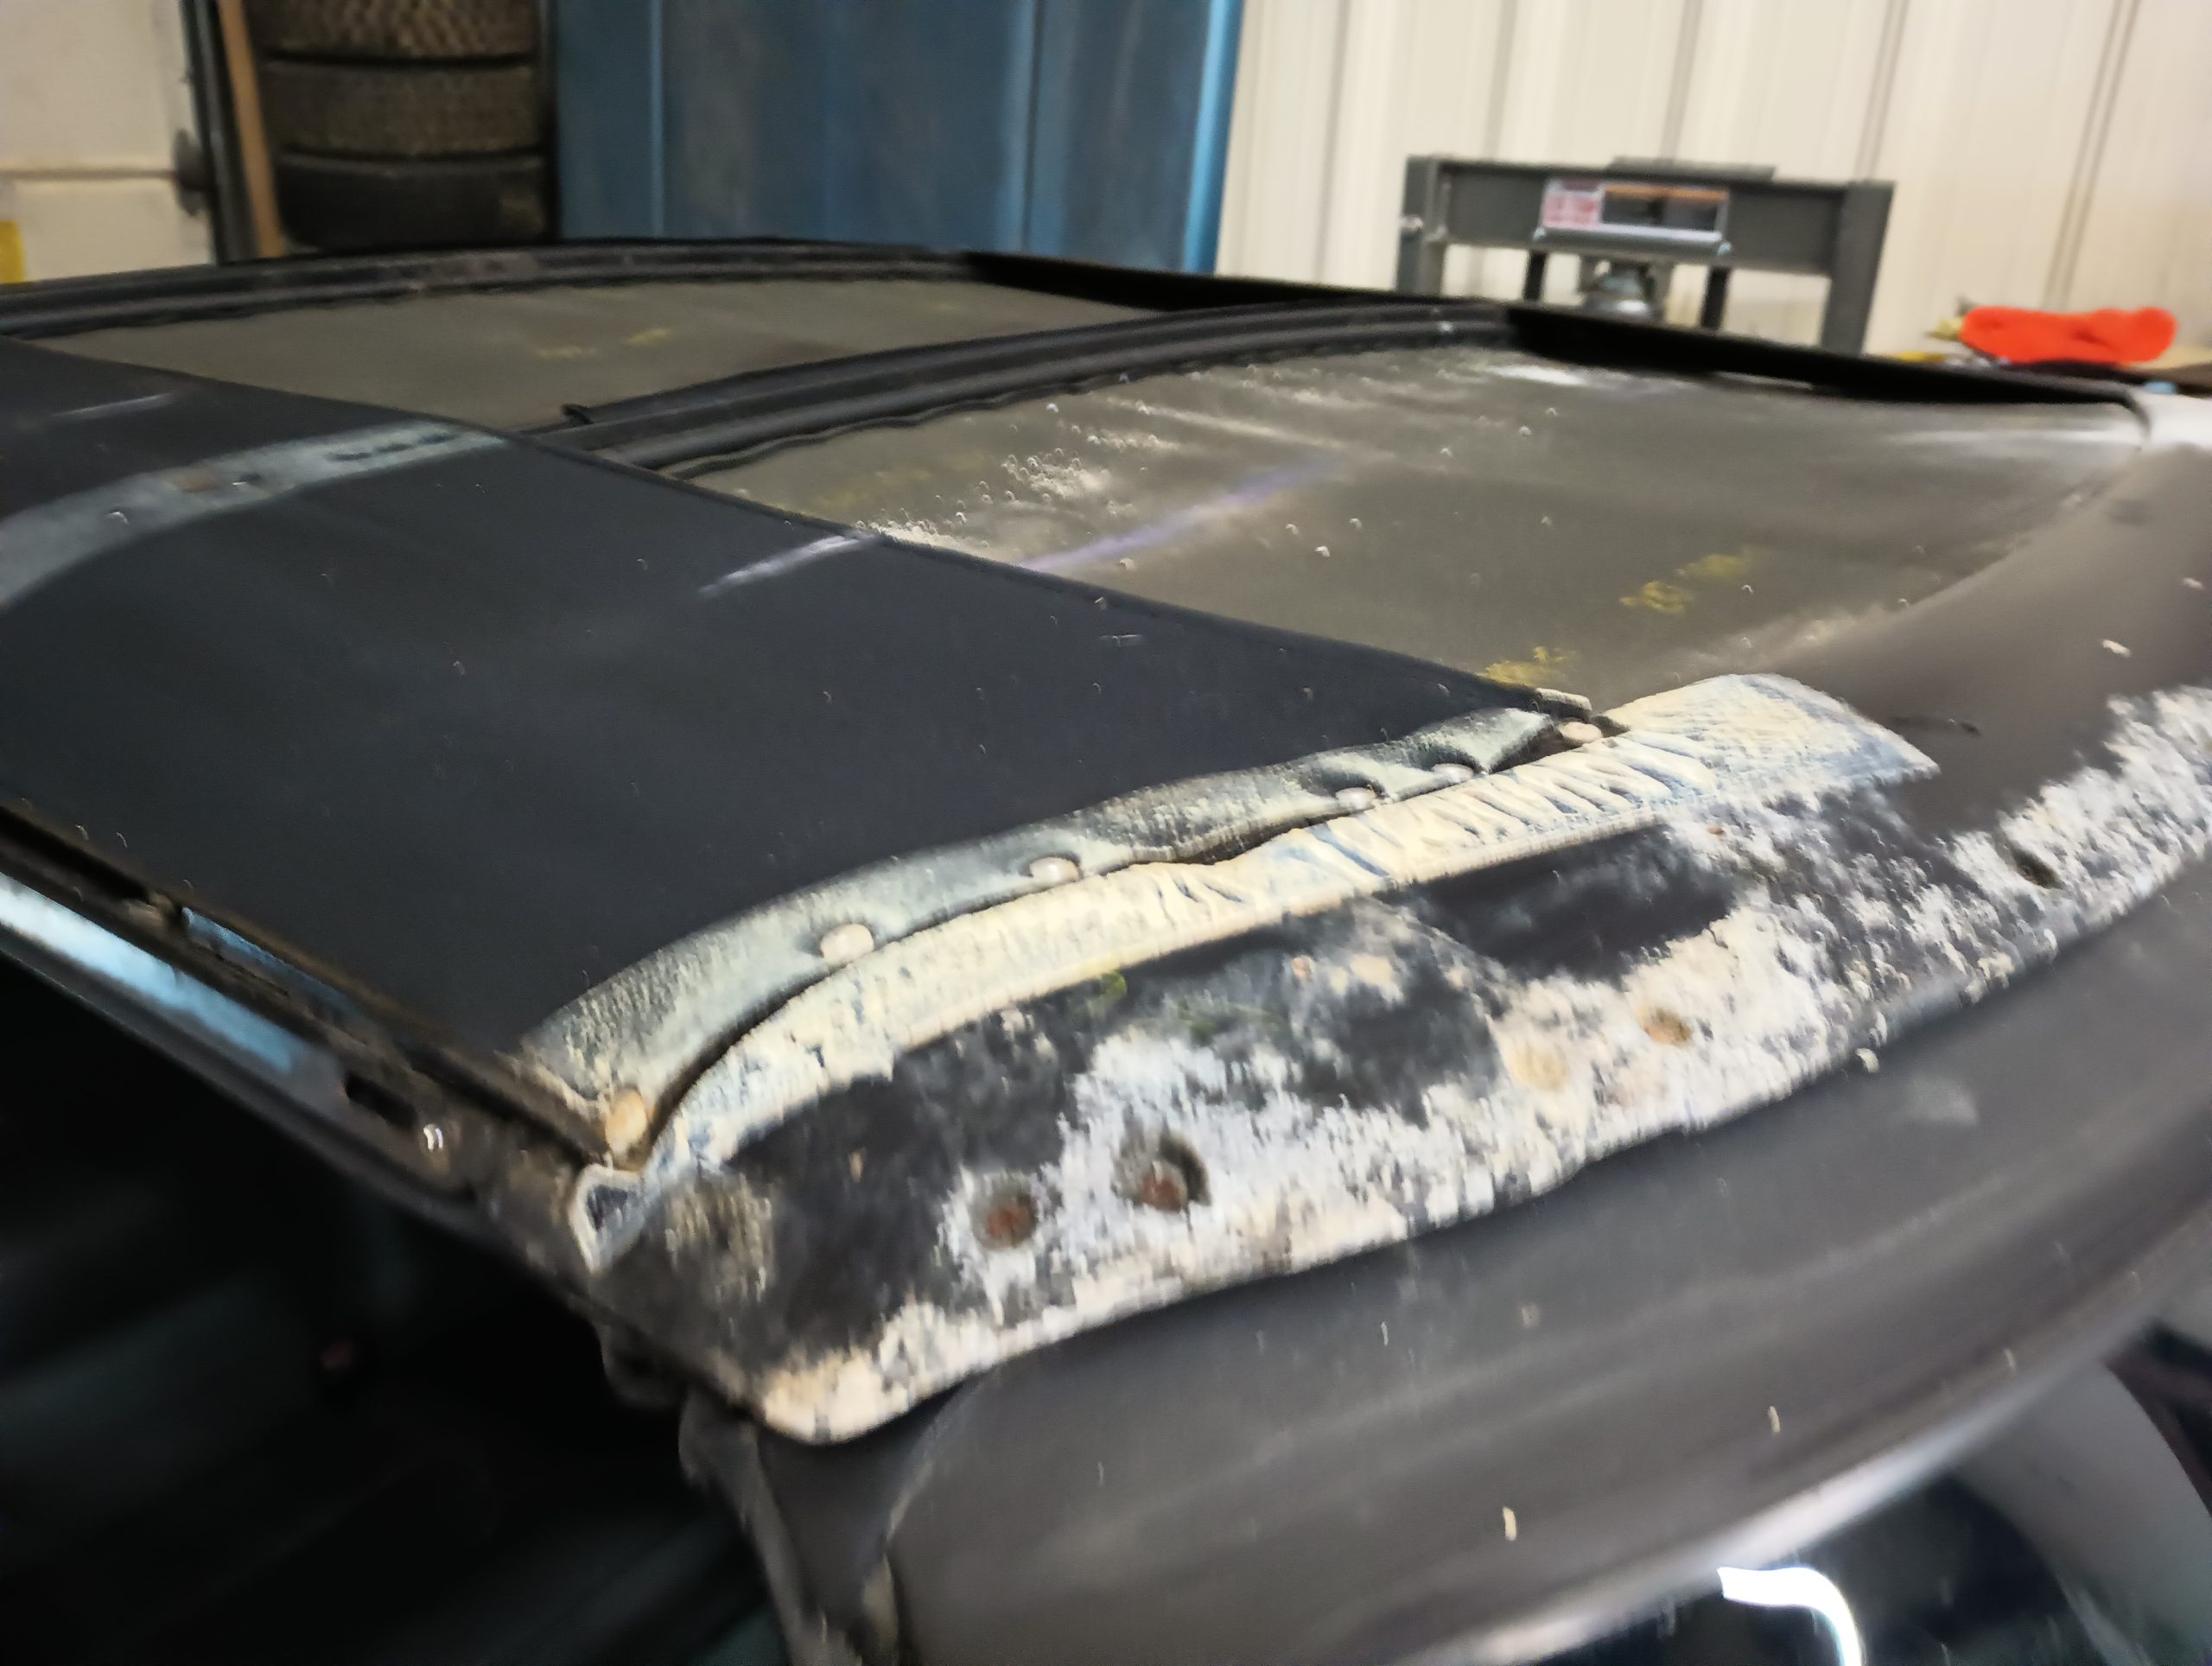
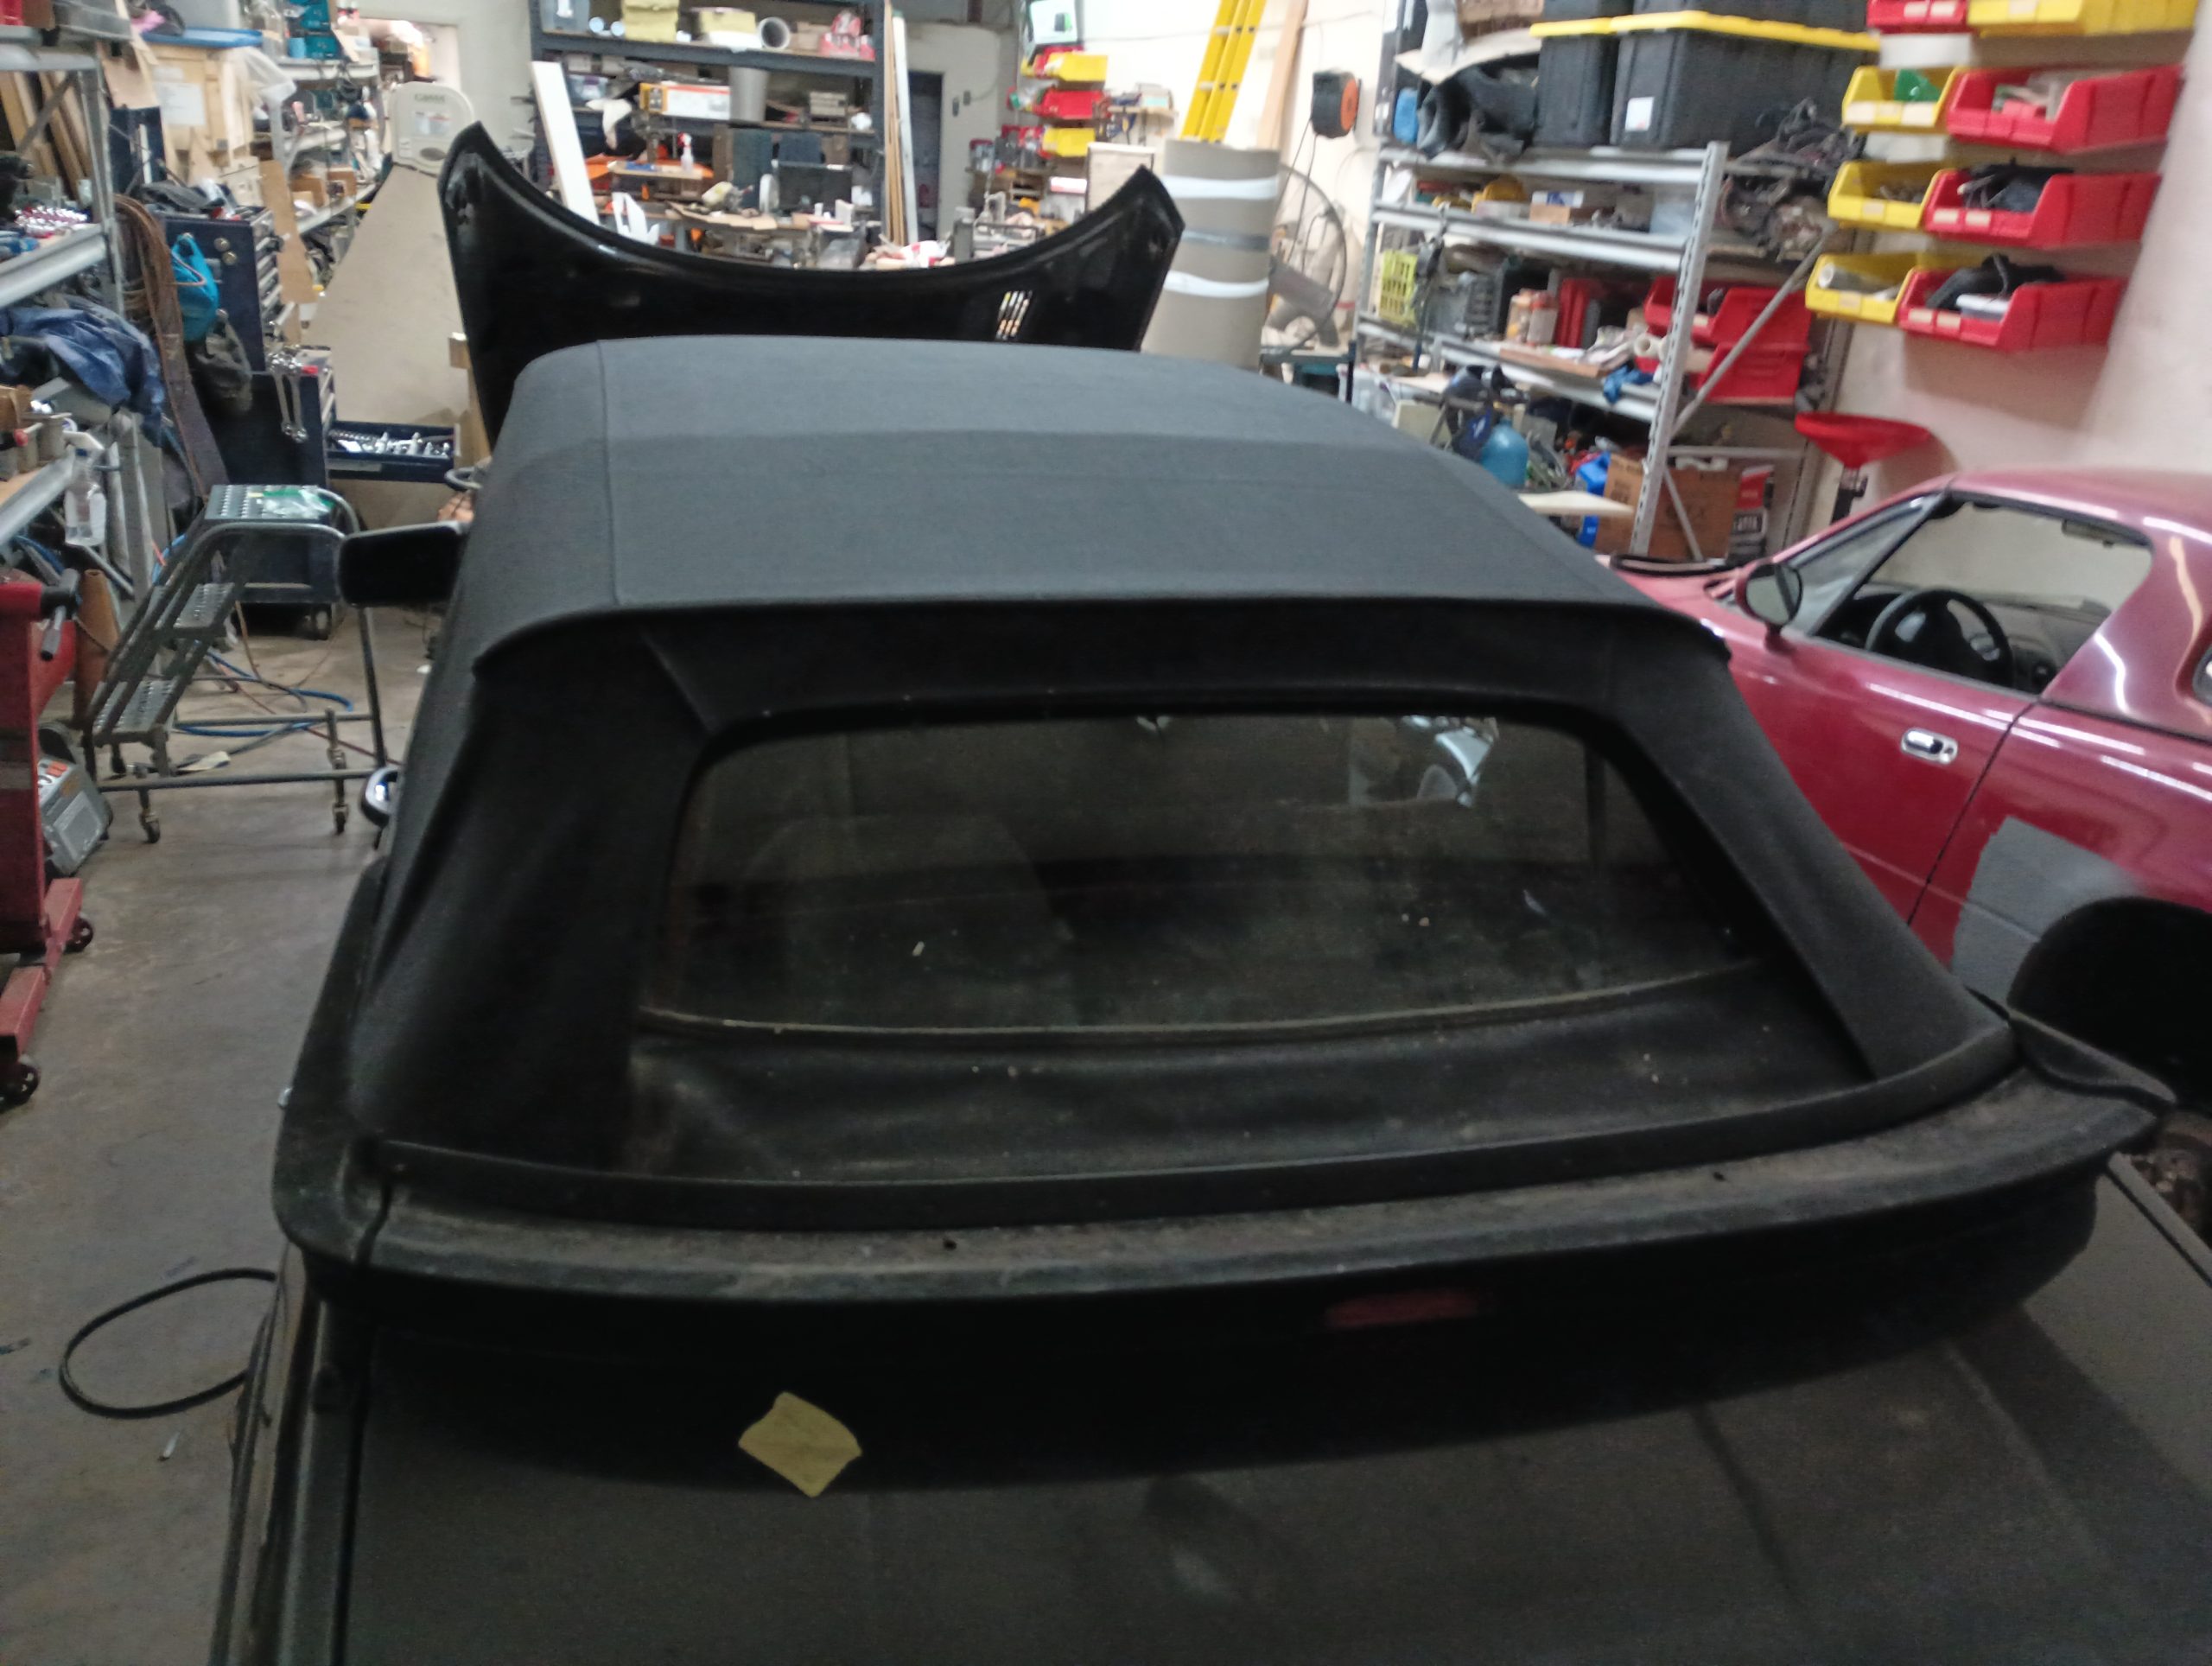
With the car finally doing the running, driving, and stopping bits that are required of it, it was finally time to make it weathertight again. There were a number of holes in the roof fabric that allowed the headliner to get exceptionally moldy and mildew-y and having to constantly throw a tarp over it was getting old and looking pretty janky.
Replacing the top presented me with two major issues: First of all, the car was only $750, so spending more than that on a top for it seemed crazy. Secondly, I’m exceptionally cheap.
Saab used a three-piece top arrangement: There’s the main top which is what was all torn up on this car, the rear window section, and the headliner. Rather than buy all three parts, I decided that the headliner could be cleaned and the rear window section was solid. For $329.00 from Auto Tops Direct, I had a new black Stayfast Canvas front section shipped to my door.
The top didn’t come with any instructions, but I did find some available from another website dedicated to Saabs. Those instructions weren’t perfect and they didn’t include any pictures, but they were good enough to help me.
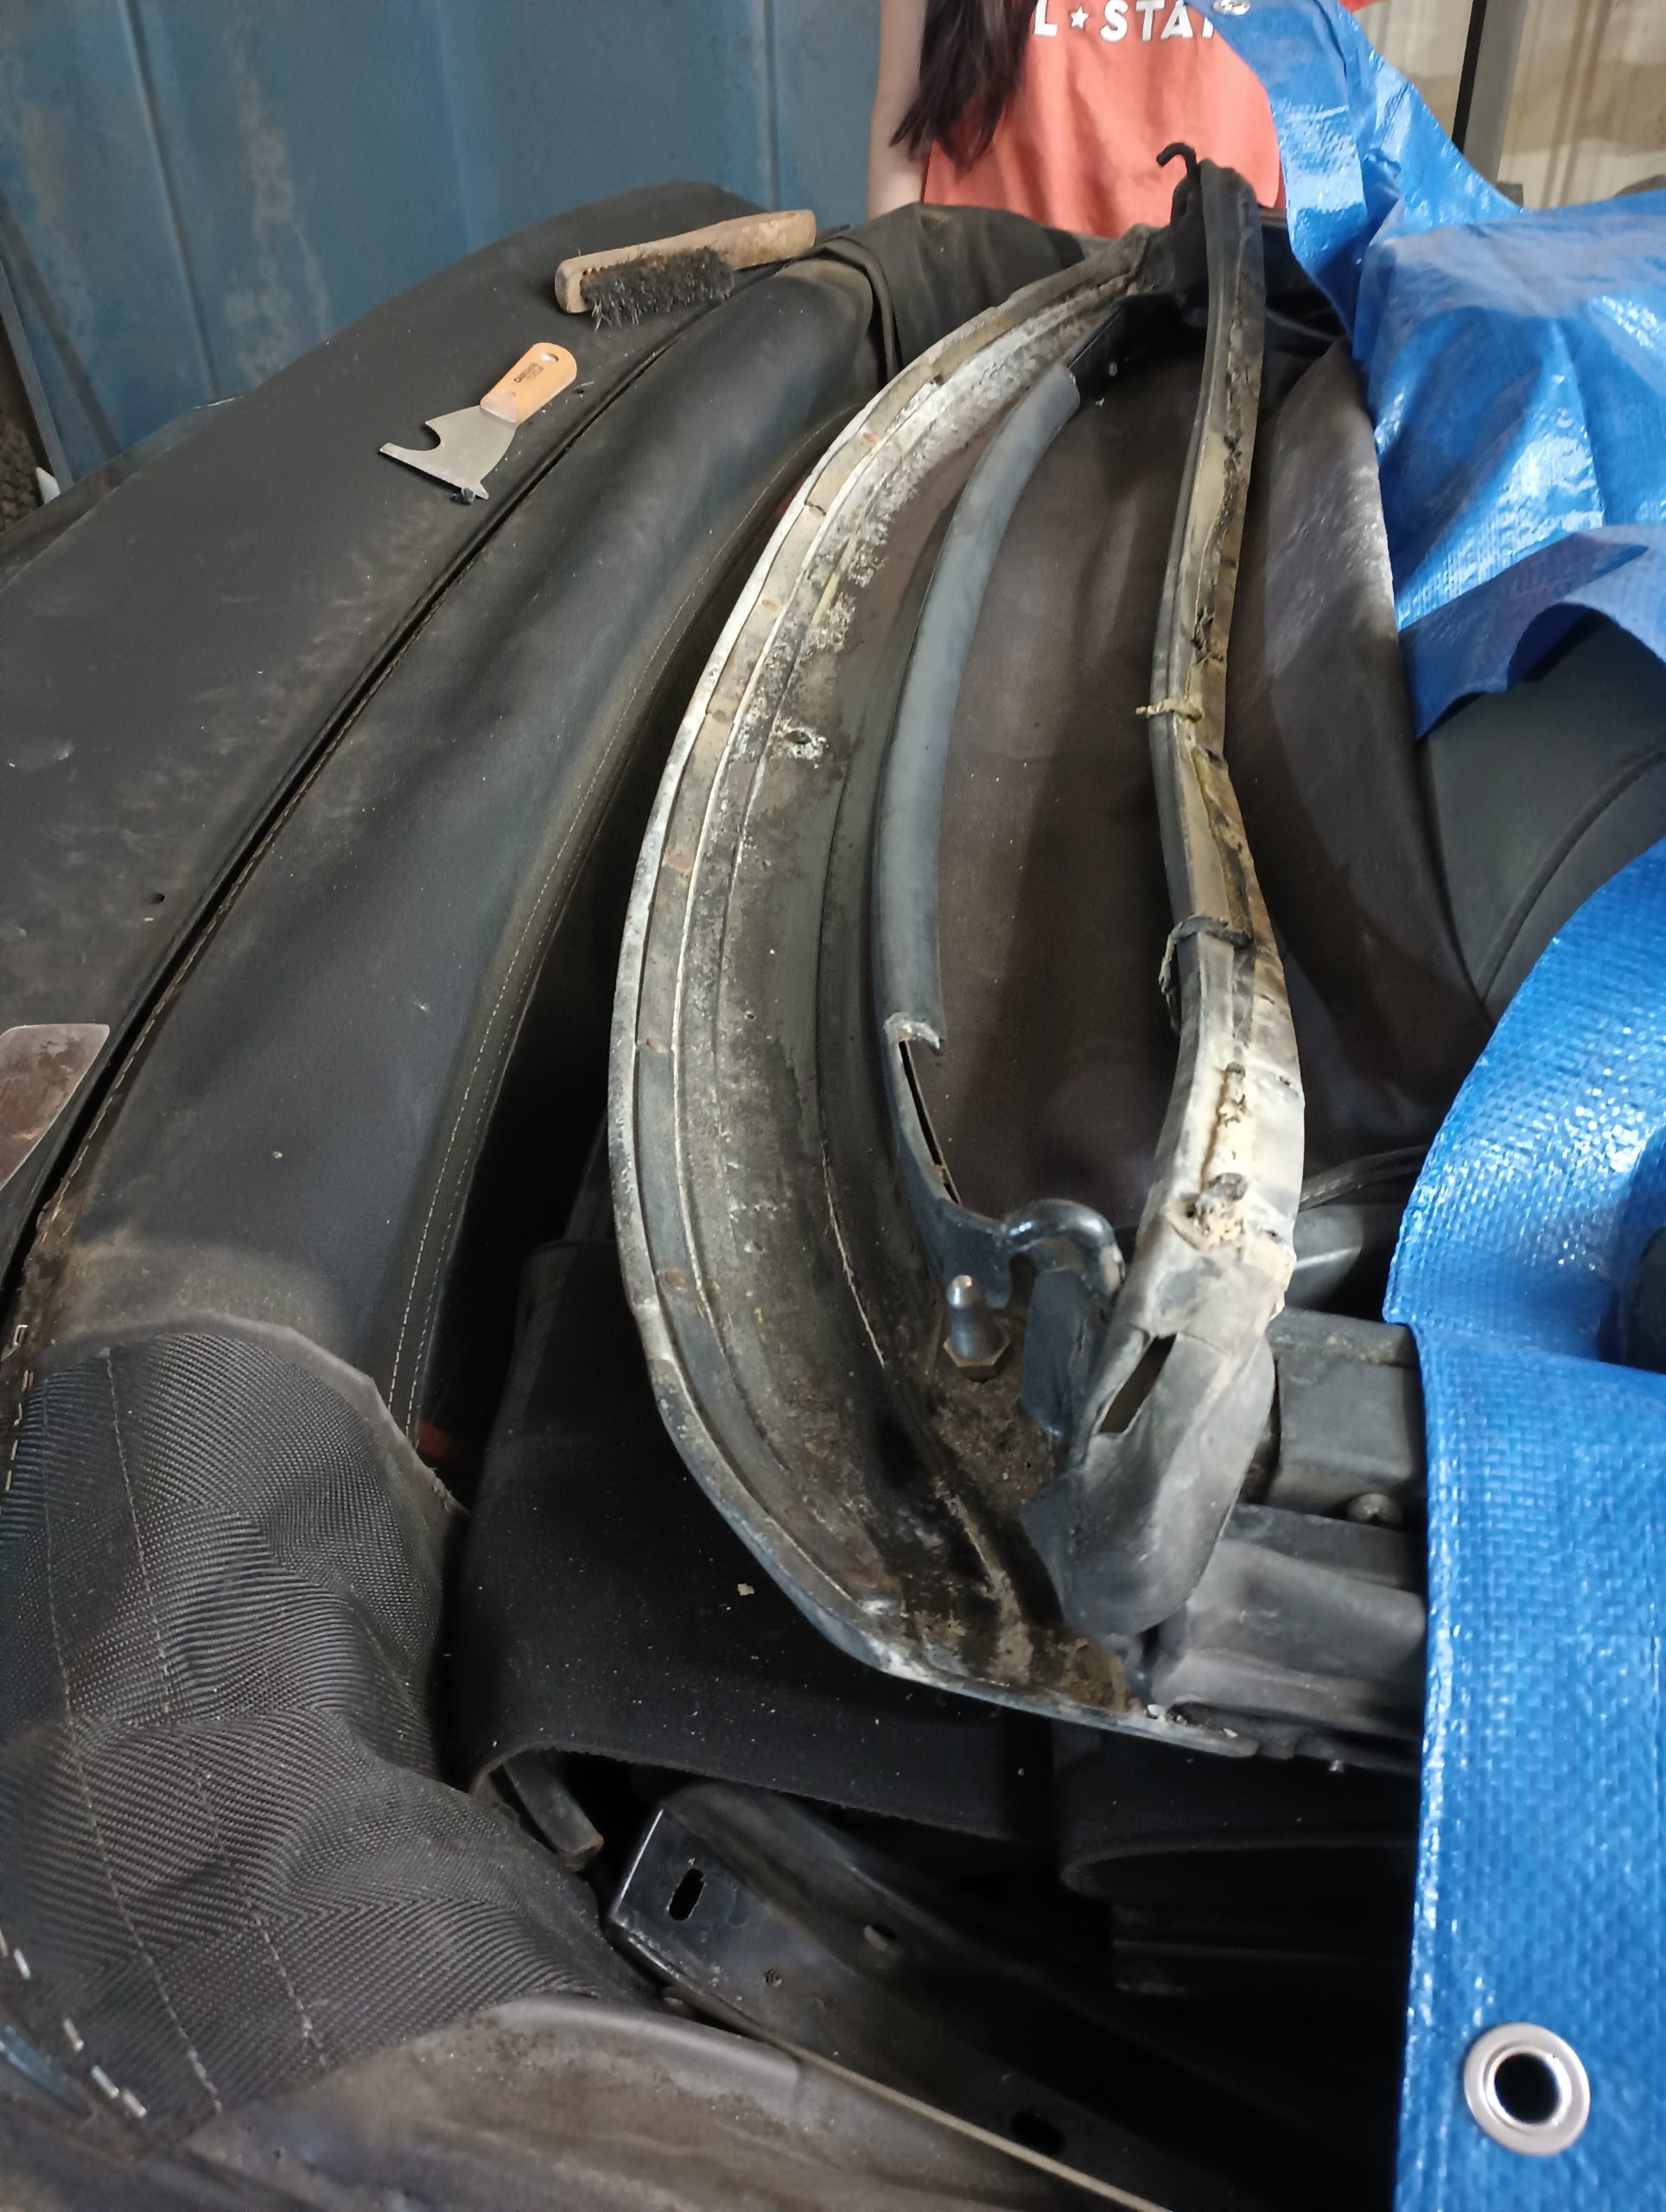
The old top came off without too much drama, revealing the rear section and the headliner. The rear section was as good as I thought it was and the headliner was as bad!
The only real surprise was the condition of the front bow. The aluminum had a lot of corrosion and the tack strip to which the top is supposed to be stapled was disintegrating. Fixing the corrosion was easy with some wire brushing and a little Rustoleum. The tack strip required some thinking.
Since that tack strip didn’t exist anywhere that I could find, I set about trying to make a replacement. I thought I had a really good idea, but in actuality, I would not ever recommend that anyone do what I did. As an aside, that is a common theme in my life: I believe that I am an example to others. Of what to NOT do.
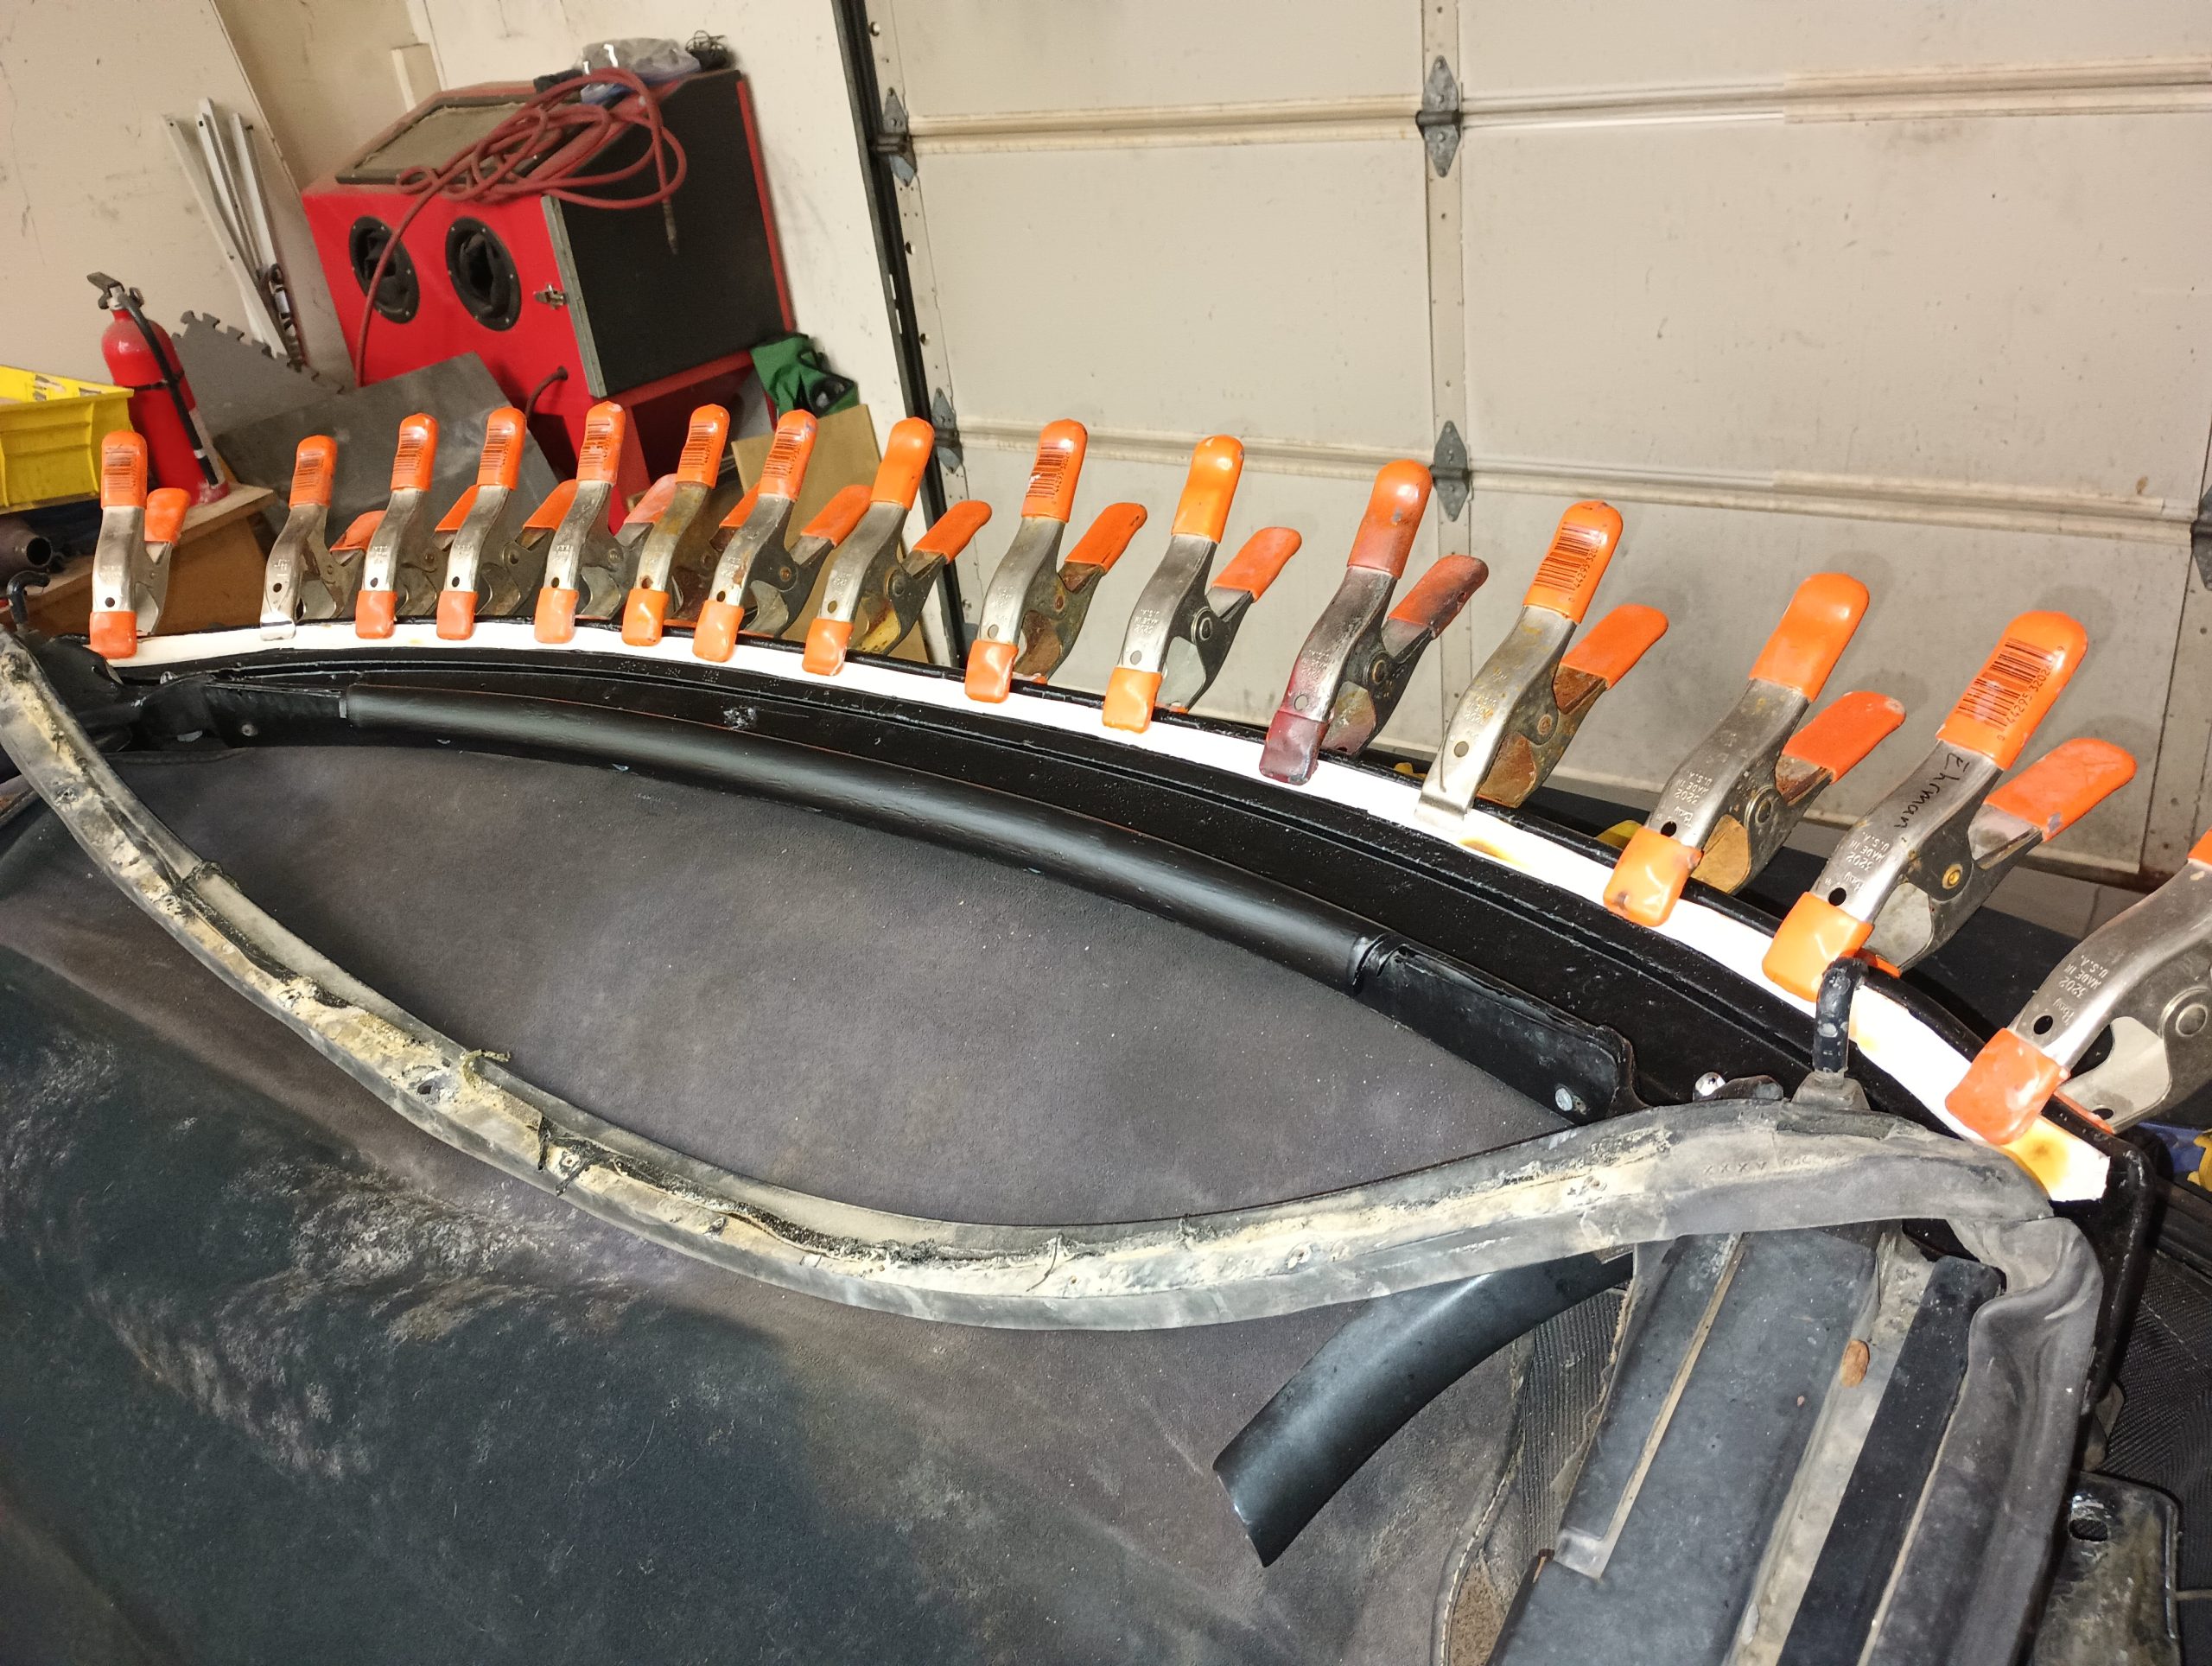
My solution was to replace that strip with PVC plastic sourced from a bit of PVC pipe pulled from the trash pile. I heated it up, split it down the middle, and flattened it out. I cut a section out, bent it to fit, and glued and riveted it into place.
That part was just absolutely fine. Basically, I recycled my cosplay prop building tricks and had myself a nice bit of plastic. The problem, though, was that I failed to answer the most basic question beforehand: Can I shoot a staple through PVC plastic?
The answer to that is “No. No, you cannot”.
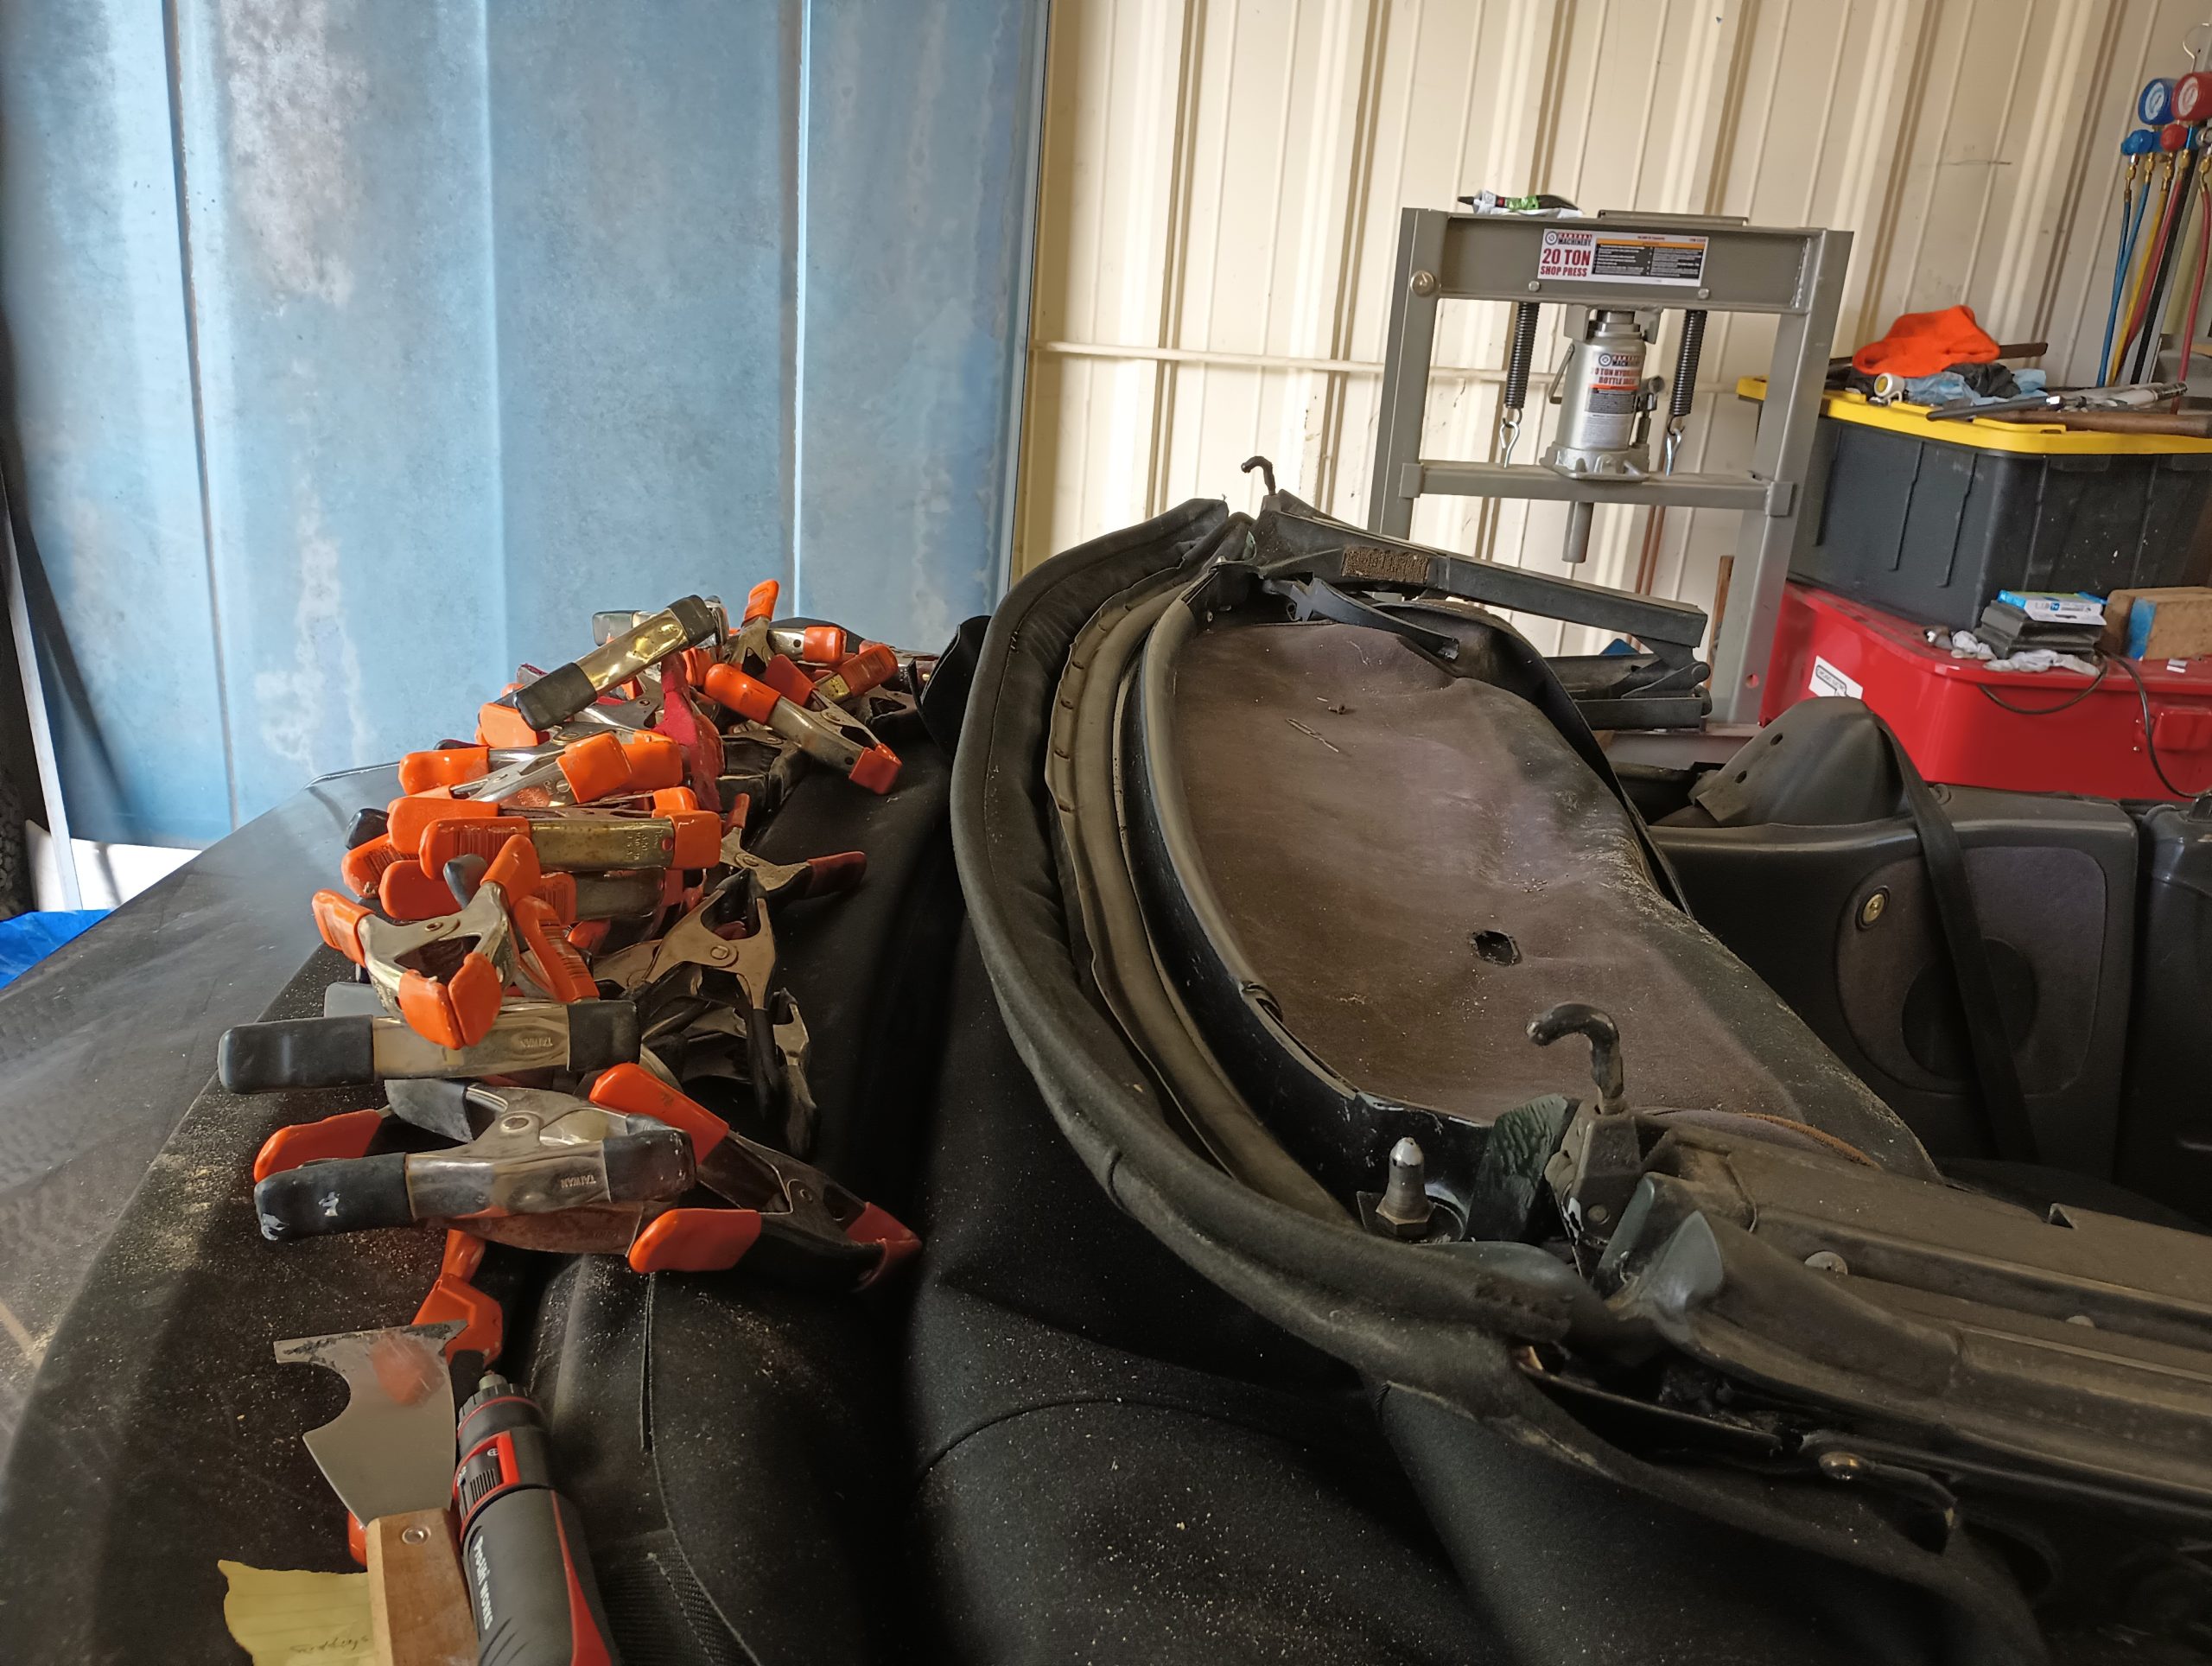
Since it was too late to change course, I had to experiment a little more to try to find a way to get the fabric to stick to the front bow. Fortunately the main ingredient in the front attachment methodology is 3M Weatherstrip Adhesive #8011. Much like in woodworking, the staples are there to hold things in place while the glue cures and to just give it a little extra attachment. After playing around with a leftover bit of the old top and a discarded hunk of PVC, I found that if I glued the top to the PVC, let it cure, then heated it up just enough to soften the plastic a little, I could sink a staple all the way in and everything would remain solidly attached. Putting that in to practice on the front bow, I was able to get the front section of the new top as well as the wind stop strip glued down and stapled.
As you look at the picture, you might notice something that I hadn’t mentioned before. The headliner was in good shape other than being a bit mildew-covered, right? So what’s that hole right there? Stupid. That hole is the physical manifestation of stupid.
Once the fabric is attached, the final step of preparing the front bow is to glue the rubber weatherstripping back down to the bow. In order to do that, the old adhesive must be stripped off the rubber. Heat is a very effective tool for getting that adhesive off the weatherstrip without damaging it, but one must be careful where one is pointing the heatgun lest one melt a giant freaking hole in the otherwise perfect headliner.
Other than that misstep, though, the process of putting the new top on was rather straightforward. The new material seems like it’s pretty thick and of good quality, but of course only time will tell. For now, this part of the project was wrapped up and I could move on to the next job.
So far, our Saab resurrection project was moving along nicely. It had been only a couple weeks and the car was starting and running on its own power. So the next three projects all got kicked off at once: Replacing the ignition switch; Replacing the tires; Performing a tune-up.
The tune up parts were bought from Rock Auto and shipped out. The tires were a gift from Tim. He had these tires that were basically unused that were the right size for me on his S10. He wanted larger tires for it, so if I took his 16″ rims and the new tires he bought and had them mounted up, I could have his old 15″ tires.
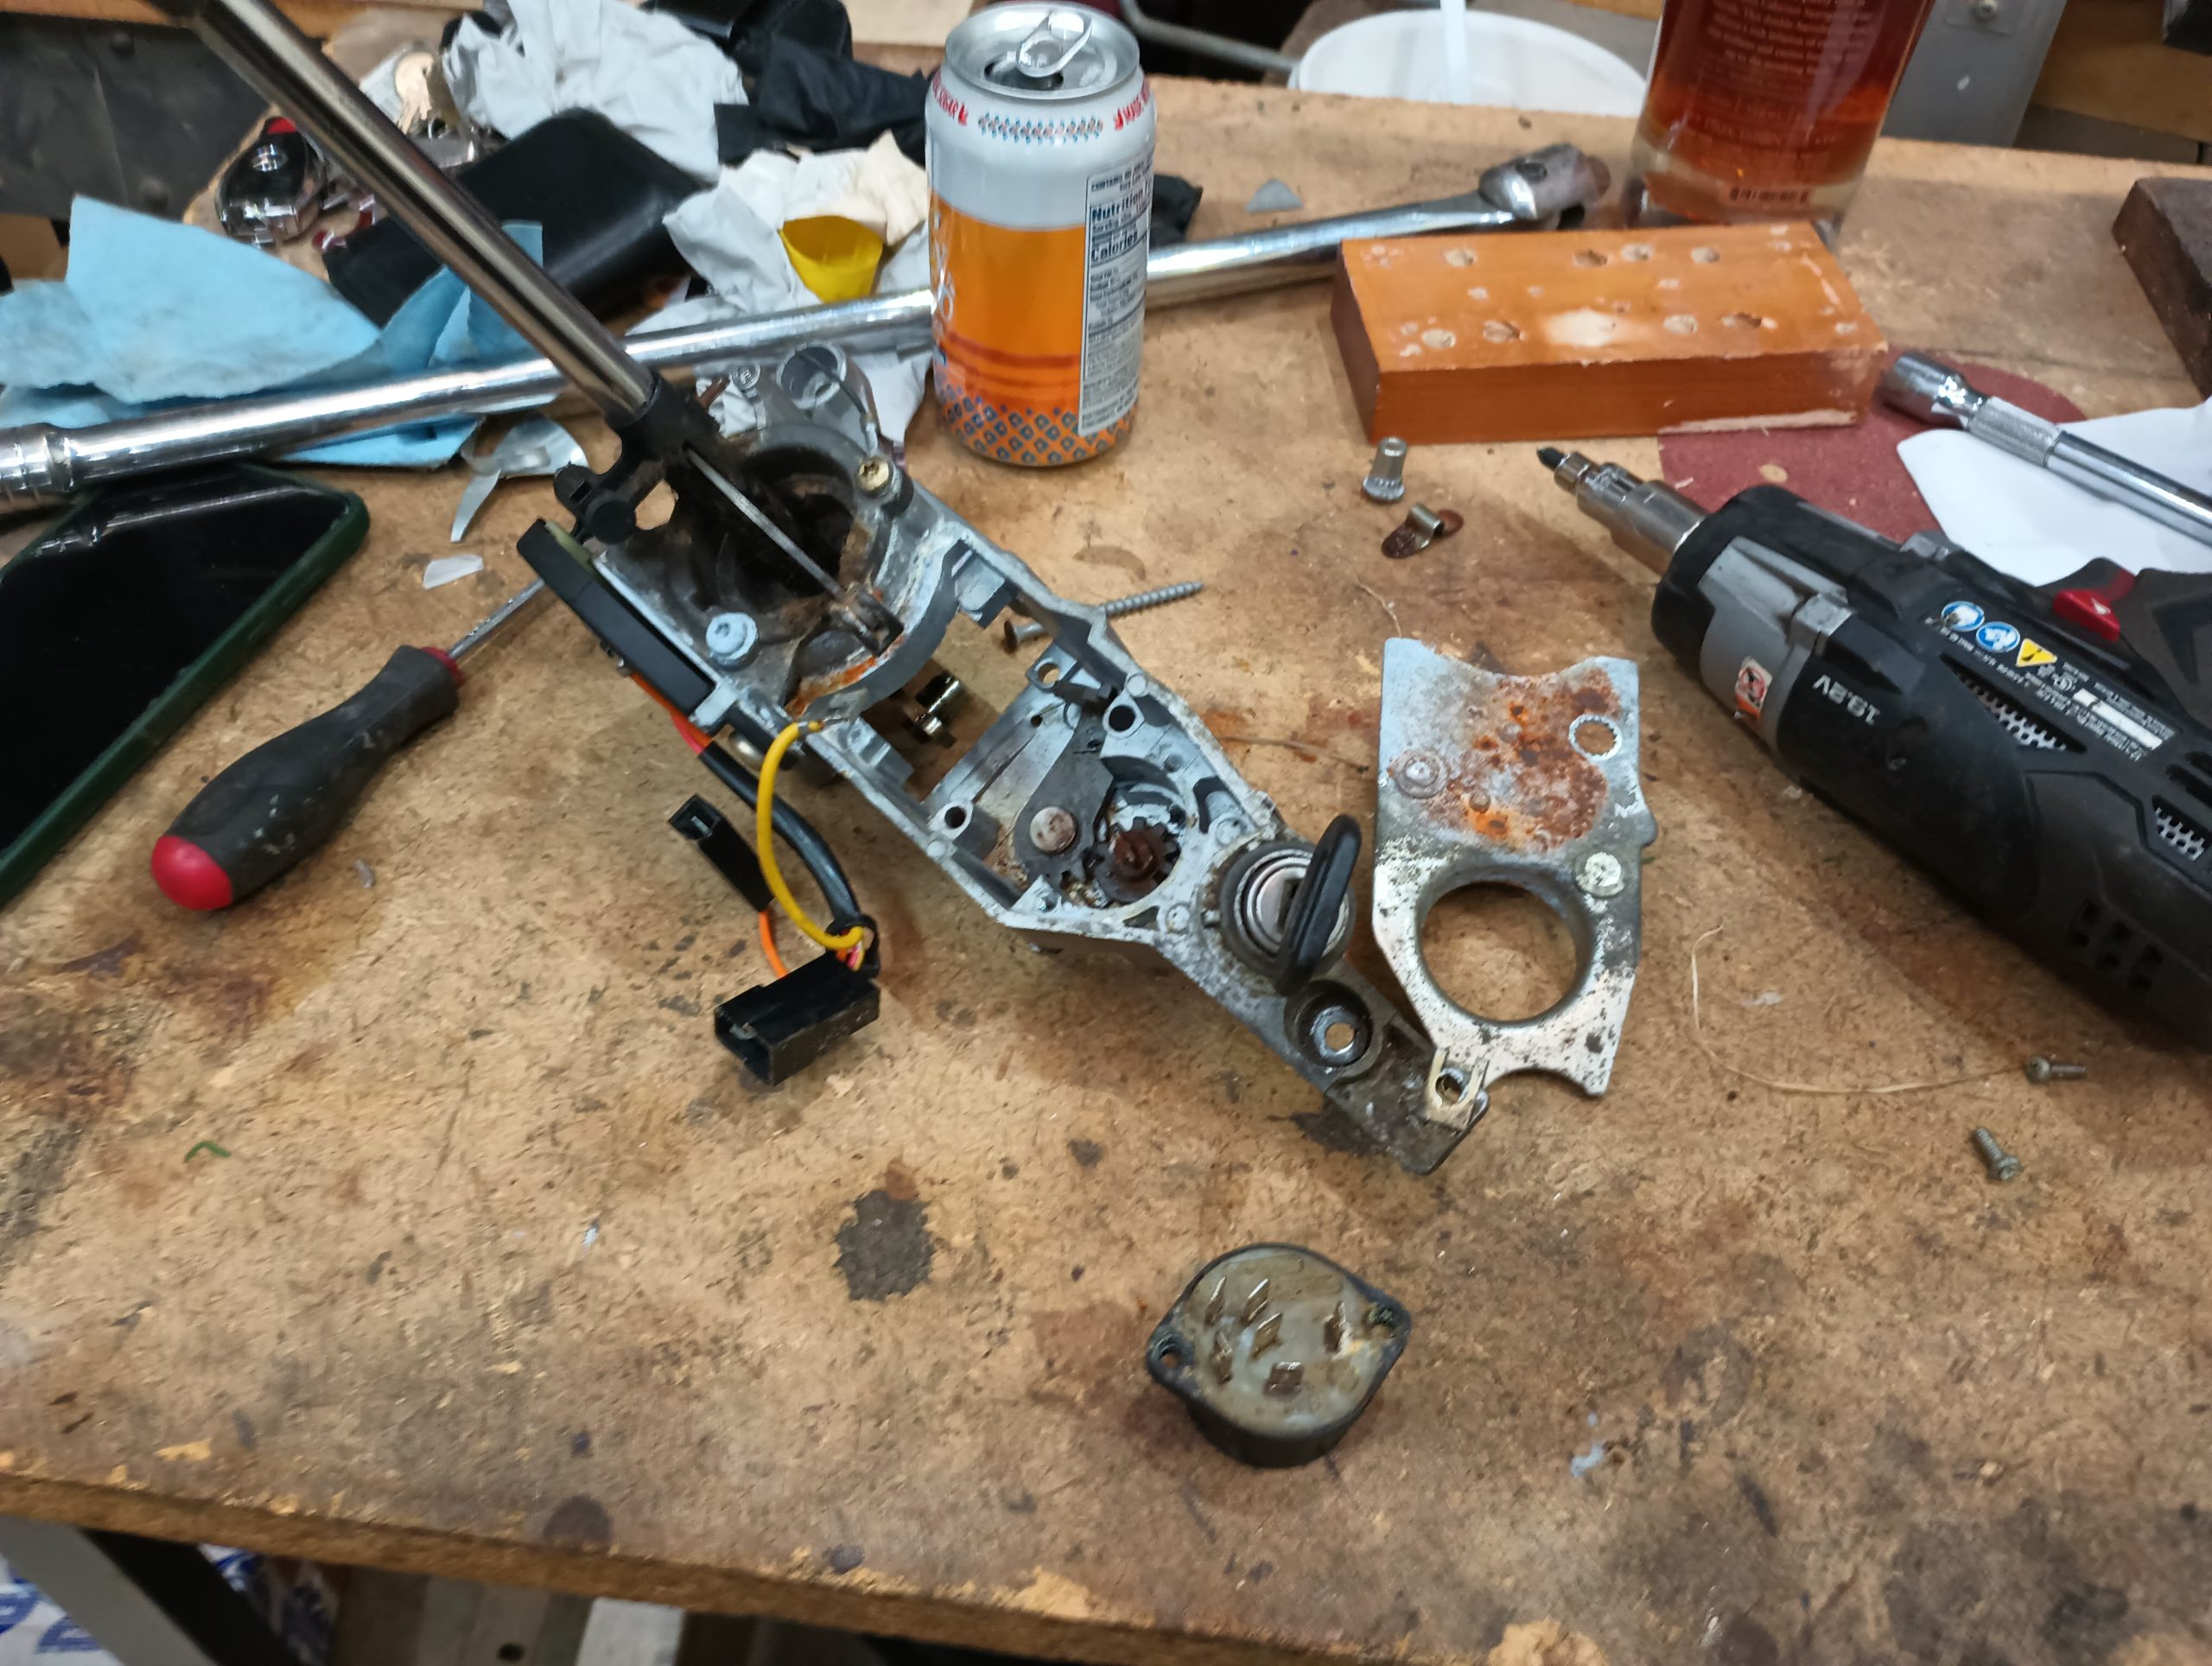
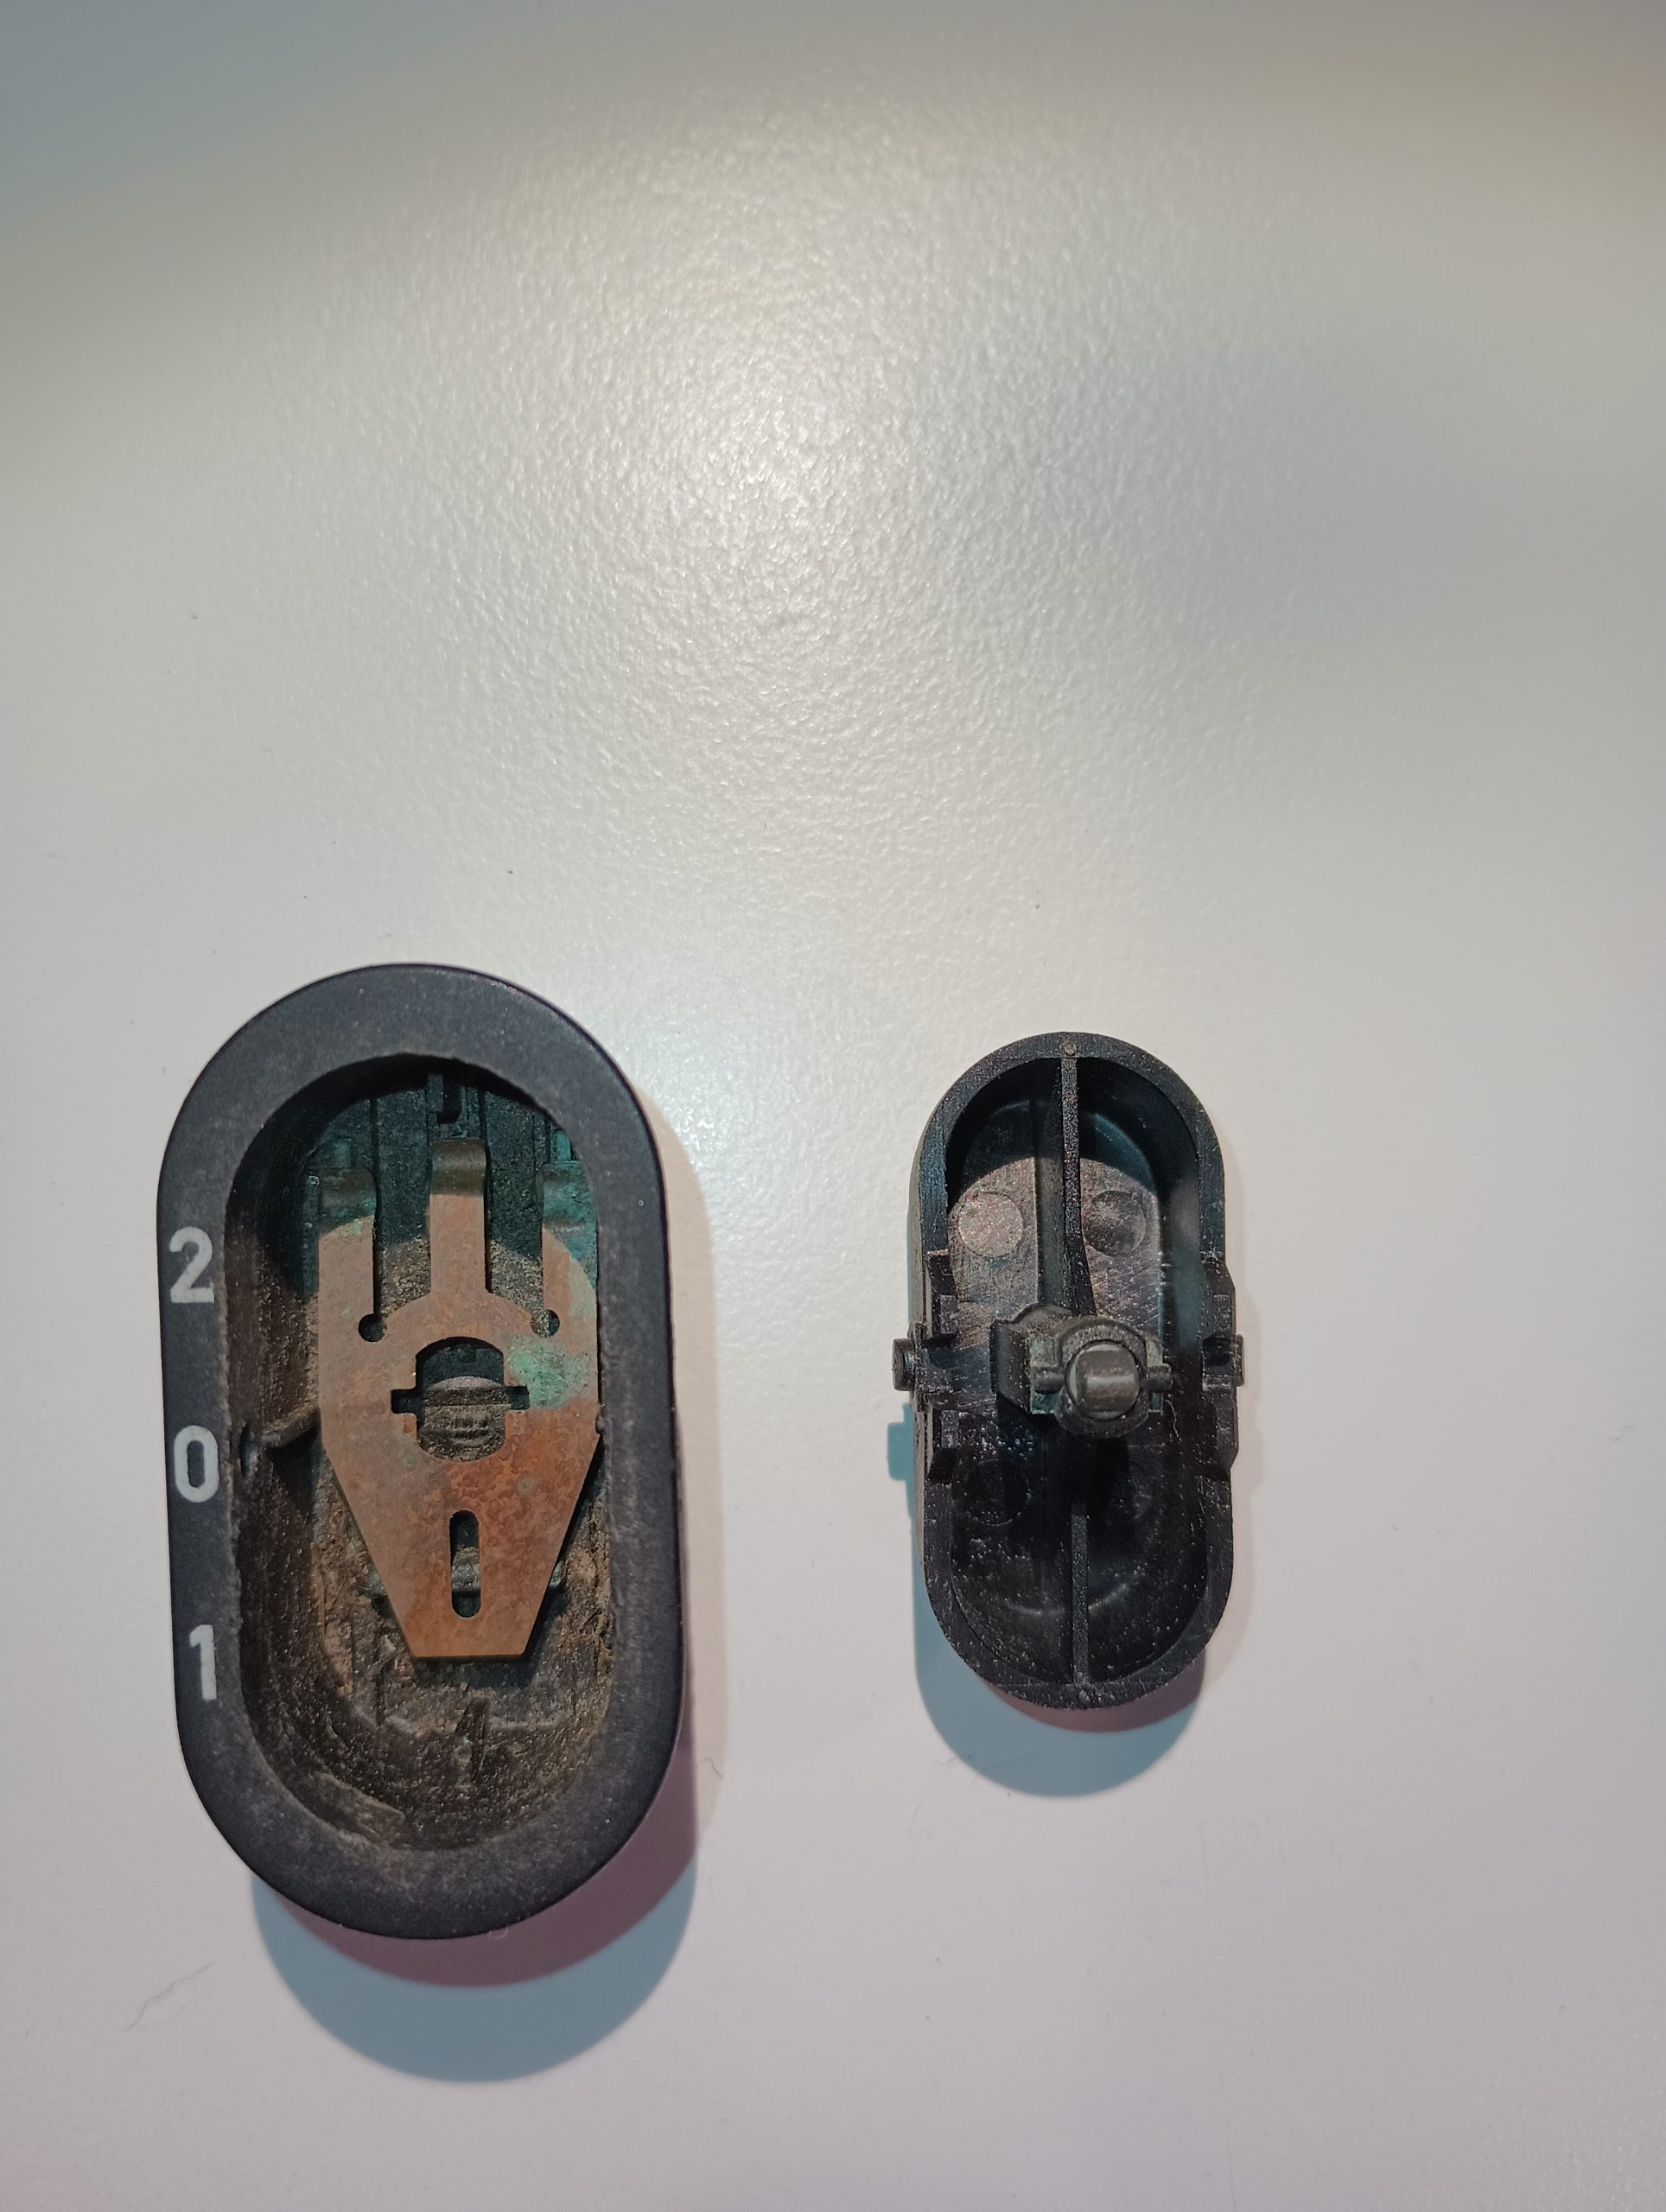
For the ignition switch, I went shopping for a replacement and they needed to use smelling salts to get me off the floor. If you could find one, the going rate was $140. For a relatively simple switch mechanism! Granted, Saab did some weird things with their ignition switch and I wanted to keep it as Swedish Normal as possible. First of all, the ignition switch is down in the center console, between the seats. Then they have a lock cylinder which is connected to the actual electrical components by way of a linkage and gear. And the spring-back from “start” to “run” is managed by a spring inside the electrical bit, not by the mechanical lock cylinder. Whatever we were going to do, the switch was going to have to come out of the car, though, so it was time to dismantle the center console.
Taking the center console apart isn’t as simple as it sounds, though. While the various plastic bits come off as they would in any other car, the bolts for the cover over the switch are located underneath the gearshift assembly. In manual transmission cars, removing that assembly to get to those bolts requires dismantling the shift linkage. At this point, please make sure you are sitting comfortably and the device you are using to read this is secured because the next sentence is as shocking as it is provocative.
I sure am glad this car is an automatic!
That will be the first and likely last time I will use those words all strung together in that manner. In this very specific case, though, the automatic transmission linkage is trivial to disconnect and reconnect, so the whole assembly could be removed from the car and set on the workbench.
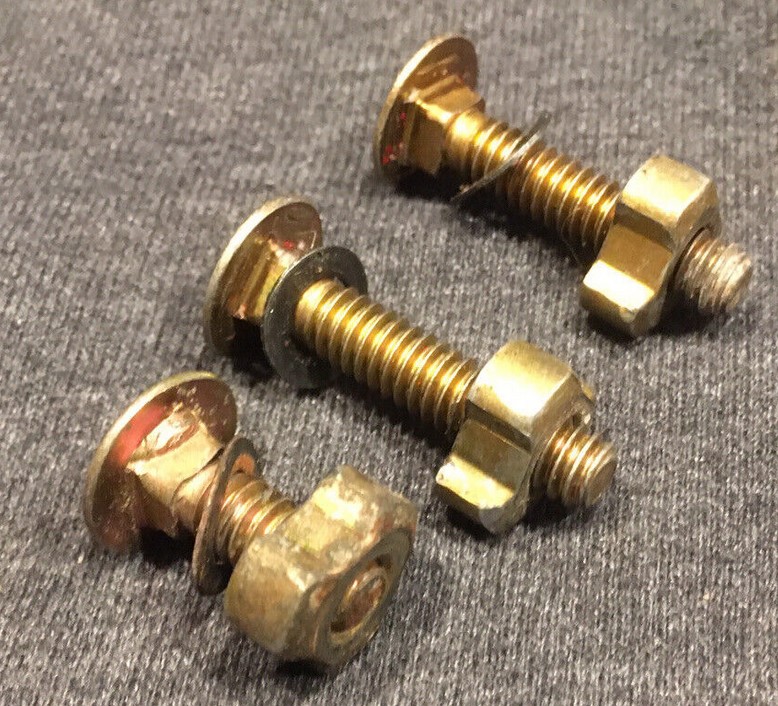
Removing that assembly wasn’t completely without difficulty, however. As a theft-prevention measure, those wacky aerospace engineers at Saab used a trio of carriage bolts fitted with triangular-shaped nuts to hold the assembly down.
No socket sold in stores around town is going to fit that and it seemed foolish to spend money for a tool that I’m not going to use very often at all. A knock-off design of the socket was available from a website I’d never heard of before for about $25, but I had an 11mm socket I didn’t care about and an angle grinder. After a few minutes of grinding away, I had a three-point socket that just barely fit. With the electric impact and a lot of downward pressure – I mean a LOT a lot! – all three nuts came loose. Just like our team motto from the first GRM Challenge we ever did back in 2005: It’s not just good. It’s good enough!
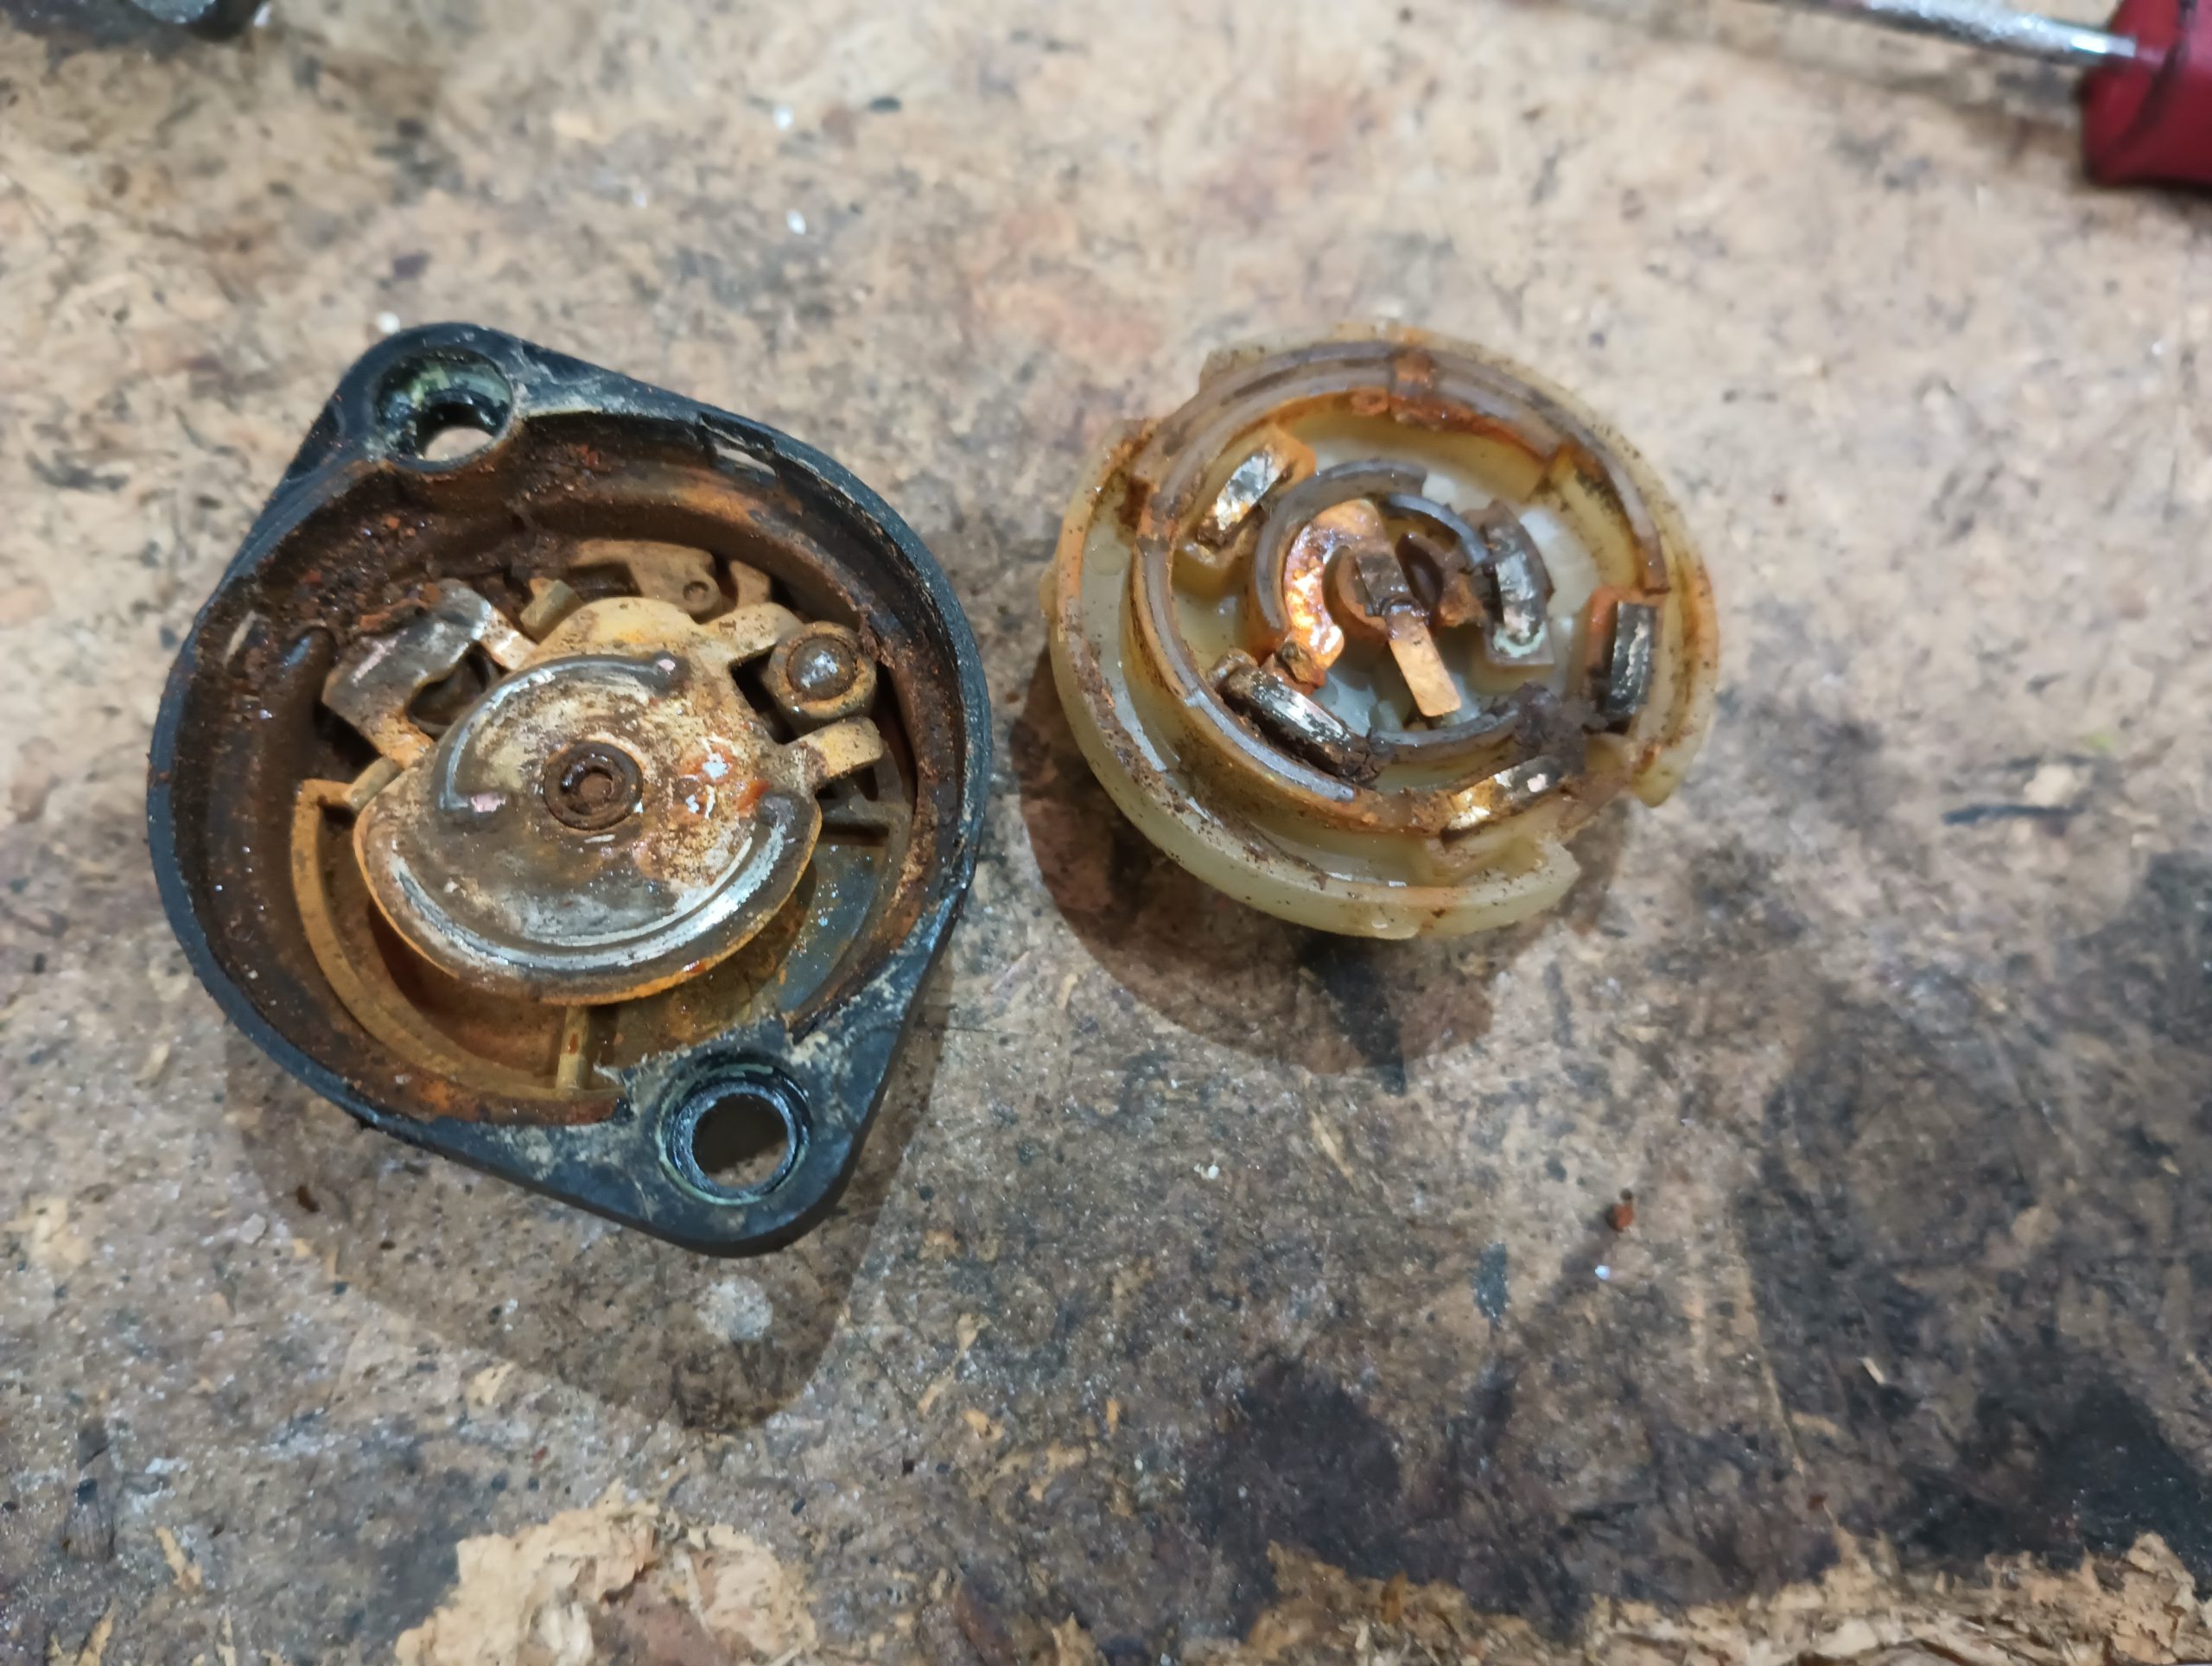
With the switch removed from the car, it was pretty easy to see that it was a plastic housing that had a plastic cap latched in, so it was pretty easy to use a flat-blade screwdriver to open it up and take a look. What a horror-show of corrosion!
The mechanism, however, is actually quite simple. There are the sets of contacts, a spring to push the contacts together, and a second spring that flips the switch back from “start” to “run”. The contact spring had rusted into oblivion, but the rest of the switch could be cleaned up and lubricated. For 89 cents, I sourced a replacement spring from the local hardware store and saved myself about $139.11.
Riding high on the success of that switch repair, I tackled the switch that controls the interior lights and found it similarly corroded.
This switch was a bit less complicated with just a couple copper bits on the inside that provided the contacts as well as the spring function, but a little bit of sandpaper had the contacts gleaming again and I was able to quash the resistance that the corrosion was injecting.
With that done, we were ready to get the tires on, button everything back up, and start worrying about replacing the top, so we got the switches installed and started it up and – oh, that’s not right. There were lights on the dash and no power assist from the brakes. We had all the brake-related lights turned on and the oil pressure and charge lights were on very dimly. The dash lights I could have lived with for the time-being, but the fact that the brake system wasn’t working kind of put a stop to the whole thing. Or rather, it made it somewhat difficult to put a stop to it!
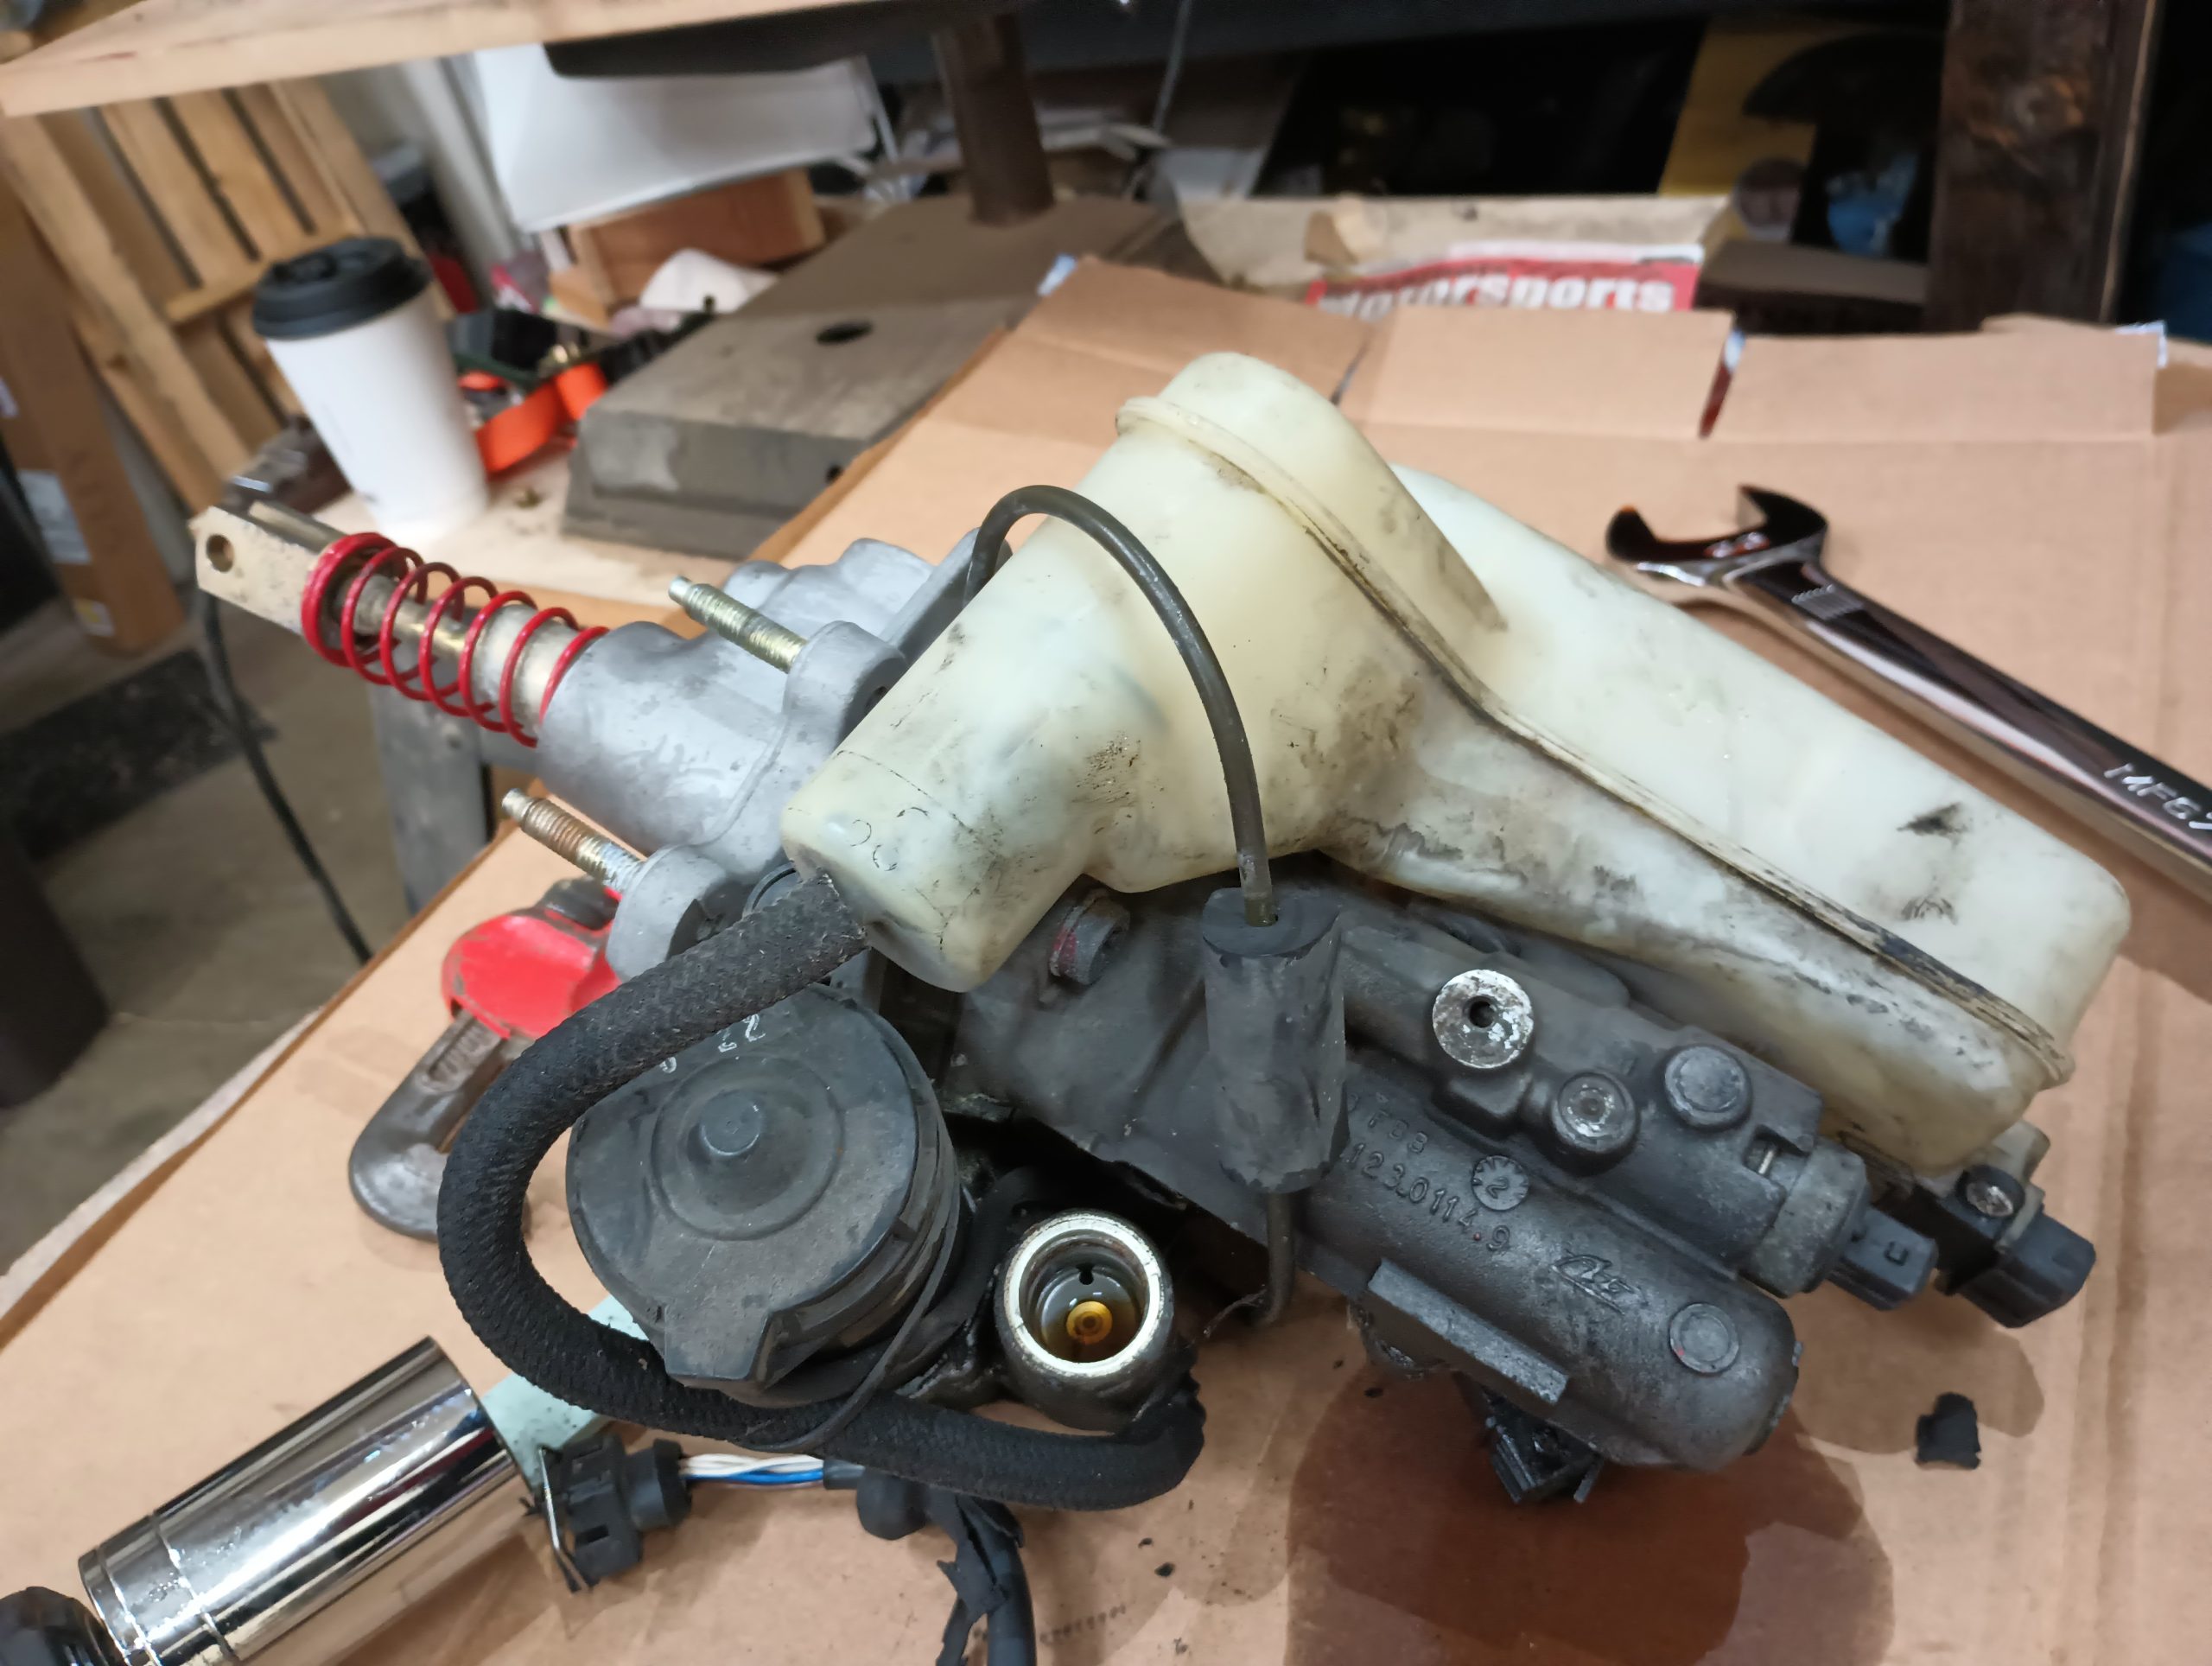
The brake system in the Saab 900 is different from what I’m used to. They have a completely self-contained ABS system that uses a brake master cylinder, an electric pump to provide power-assist to the hydraulics, a brake fluid pressure accumulator, a brake fluid pressure controller, an ABS valve block, an ABS ECU, and a separate ABS fuse block. It’s the same braking system from ATE/Teves – the ATE ABS MK II – that was used in some Fords, Alfa Romeos, Jags, the Buick Reatta, and a bunch of others that I’m forgetting right now.
While the process was a very lengthy one, it distills down to one very important lesson: When you’re trying to fix a problem that someone else already tried to fix, you really never know exactly what symptoms are real and which have been caused by troubleshooting.
Without having an opportunity to speak to the previous owner that tried to repair this – and it wasn’t Powar – I have no way to know for certain, but I believe that someone discovered that the brakes weren’t working and rather than correctly diagnosing the problem as a failed brake fluid pressure switch, they managed to destroy most of the electronics in the brake system. My first discovery was that the relay that was in the socket for the Brake Pump Relay was completely incorrect. While most standard automotive relays have the #85 pin located directly opposite the #86 one, ATE decided on a special relay for their brake system where the #85 and #30 pins were swapped. Thus a standard relay – which is what I found in the pump socket – was not able to properly trigger the pump. My original plan was to simply re-wire the socket so that a standard relay would fit in there, but another GRM forum member, Procainestart, had a spare relay and offered to send it to me as a gift.
While I waited on that, I did some additional checking and troubleshooting and discovered that the two diodes in the ABS system were also failed, so I ordered replacements for those as well. The day before the package from Procainestart was to arrive, I happened to be walking past the main fuse and relay box and touched my hand to the cover. A half-step later, I froze in place realizing that something wasn’t right but taking an extra beat to discern that I felt something warm. Odd that something in the fusebox would be warm when the car hadn’t been started for some time! Stepping back, I removed the cover, felt around, and immediately found that the fog light relay was rather toasty. Not to a temperature that would be dangerous, but certainly warmer than a relay for lights that don’t exist on a car that has the circuit for those non-existent lights turned off should be! A closer look revealed that the relay was the missing pump relay! At some point, someone must have decided to swap relays since there weren’t any fog lights anyway and they both had the same type of plug.
With that mystery solved – and the gifted relay returned with much gratitude! – I was able to read through the wiring diagrams to determine that the brake fluid pressure switch was faulty. Unfortunately, these are not easy to come by and appear to be priced in the $500 range. In a junkyard down in Louisville, however, there was a 1993 convertible that – if intact – should have had the same brake system with the same pressure switch. It was time for my daughter to be introduced to the joys of the junkyard!
We returned with the entire brake master cylinder assembly that included the pump, switch, and accumulator for the low price of under $20. While there we also scored a new ignition switch and a spare brake pump relay – both of which went on to the spares shelf. The accumulator was as non-functional as the one that was already on the car, but a new one from FCP Euro coupled with the pressure switch gave us functioning brakes!
But the dash lights were still acting up and the ABS light was on with no ability to show any codes. So still not good.
It is at this point in our story that the reader is going to need to close their eyes and imagine a common trope from TV and movies. Think of the character that everyone knows is a lunatic who has disorganized notebooks with cut-out newspaper articles and nonsensical scribbling all over. Their house has every flat surface overrun with stacks of papers, diagrams, books, and drawings. A wall is covered with pictures and clippings that have push pins tied with strings connected to other push pins. Their gaze is unfocused and off into the distance while their stubble is unchecked and their hair is unkempt. You have that image? That was me for about a month.
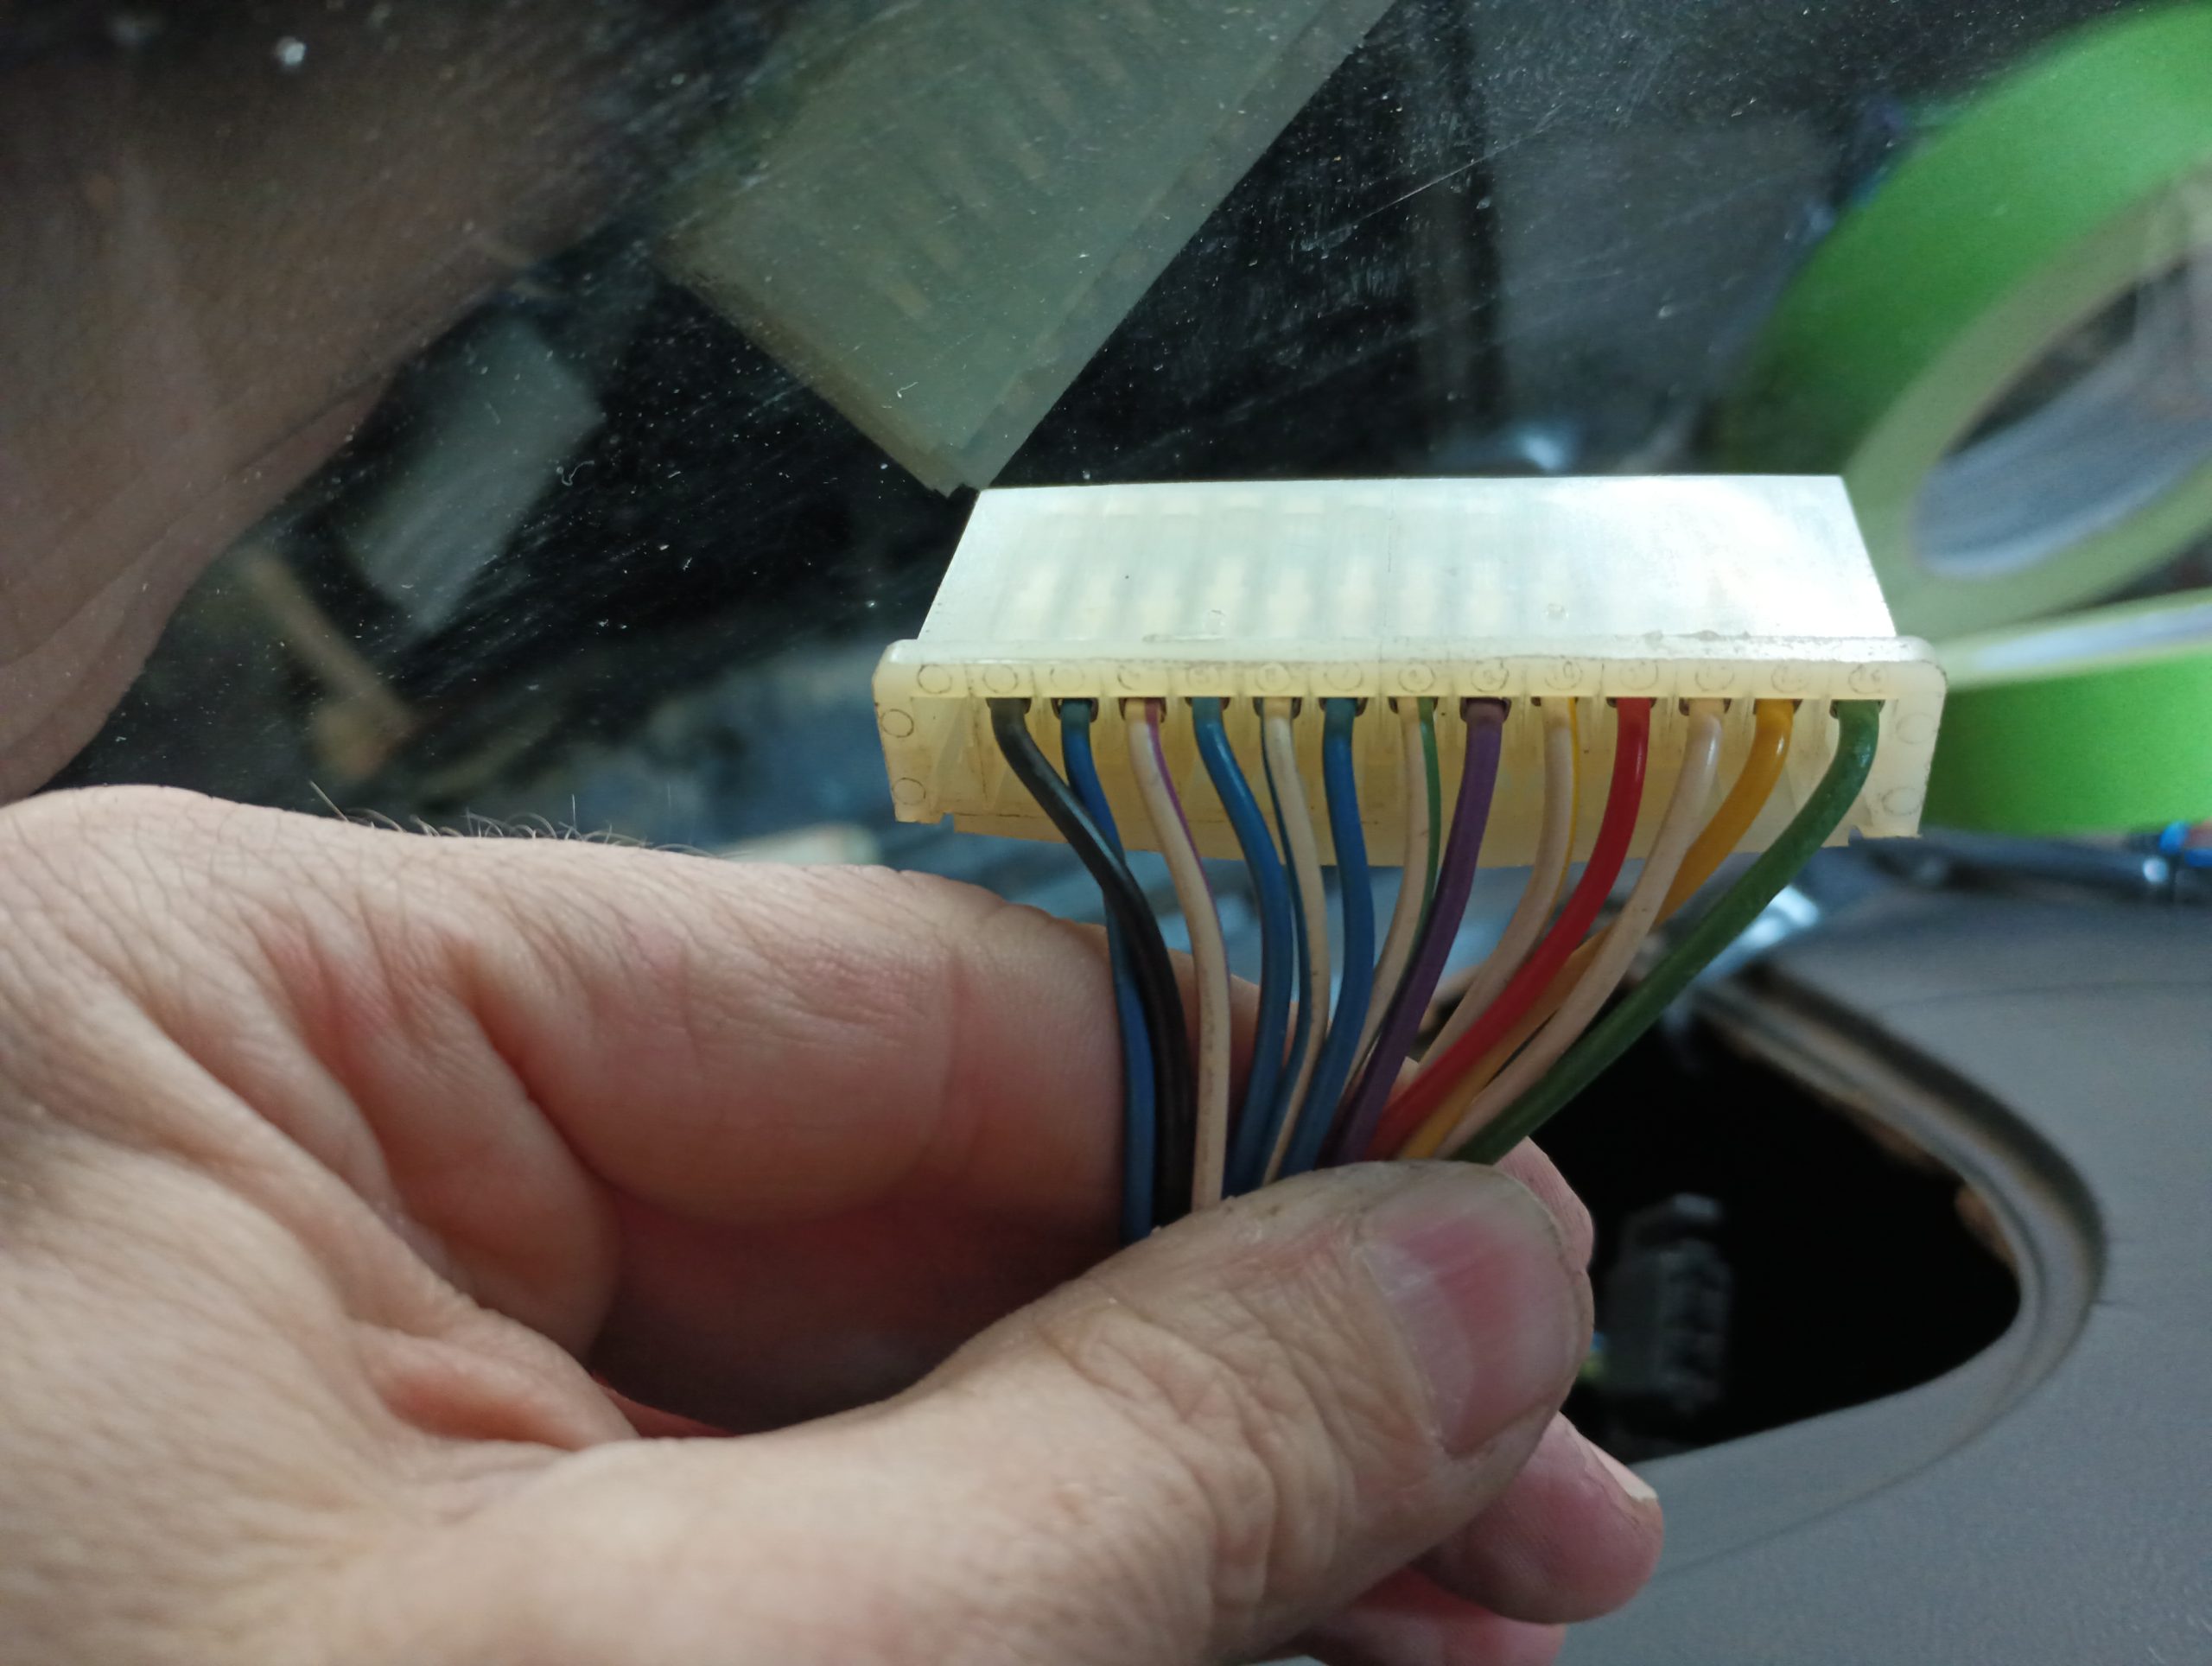
We tried so many different things and so many experiments to try to determine why the lights on the dash were acting the way they were. I spent my evenings poring over the wiring diagrams trying to follow the current. There were sheets and sheets of scribbled notes about what components were connected to what other components and what tests had been tried. I had pages and pages of the service manual printed out, some with several copies so I could mark them up or have a copy to stay on my desk, one on the dining room table, one in my backpack, one at the shop, and another couple copies that I had abandoned in various places by accident. My family began referring to the giant sheaf of paper as my “crazy-person papers” and I was in no position to argue the point. I was nearly to the point of being ready to just get rid of the car but I decided to try one last test – de-pinning all of the connections on the gauge cluster’s left-side connector and pinning them in one-by-one.
It was during this test that I finally discovered what had been vexing me for an entire month. The oil pressure and charge lights get their positive voltage from a fuse box connection that runs through one of the pins on the left side gauge cluster connector. That pin was relaxed just enough to not make contact with the cluster. Without that connection, the voltage was back-feeding through the other side of the cluster through the connection to the brake fluid and parking brake lights, causing them to light up. Now that the pin was bent back a little bit and it had good contact, the only light left on the dash was the ABS light. That was a simple problem solved by installing a replacement ABS ECU. My assumption is that during their troubleshooting efforts, they managed to put voltage somewhere it shouldn’t have been which toasted the diodes as well as the ECU itself.
The final step was to plug the MAF sensor back in – someone at some point had unplugged it for “reasons” – and to put new belts on. The initial drive was mostly successful – by hitting a pothole, I discovered rather suddenly that one of the clamps for the boost pipe was completely loose – but a quick roadside fix had everything running 5×5. Finally!