For my most recent attempt at a prop weapon, my wife decided that she wanted to go as the Jinx character from the League of Legends video game and that character carries a couple weapons including Fishbones. Shaped like a shark, Fishbones is a rocket launcher with a hinged jaw and fins. This was also going to be my first opportunity to walk around with the prop all day to really get an understanding of how it would hold up and where stresses would be applied.
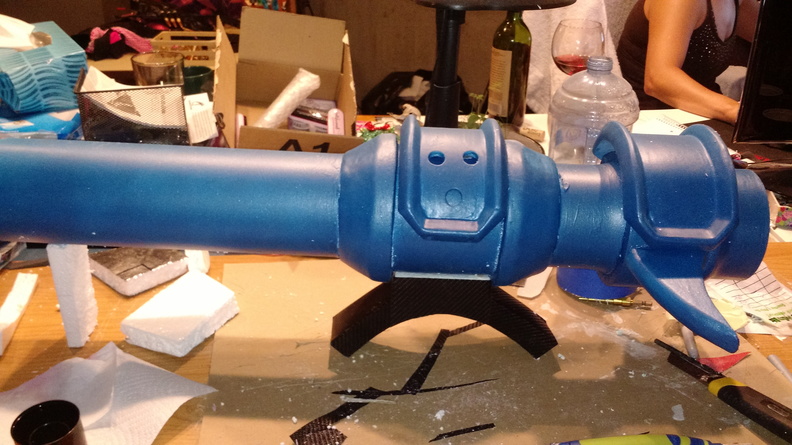
The base of the prop was a length of 4″ PVC pipe with a gasketed end that I happened to have laying around from a drainage project a few years back. It was about an inch shorter than I really wanted, but it did have a neat bulge at the gasket joint that I thought I might be able to incorporate in to the design. Once I had that, I found an image of an artist’s interpretation of the prop which I used to make several measurements.
In retrospect, it was a bit of a mistake to start off with the image that I used since it was someone else’s interpretation of Fishbones, but it did give me a starting point. I broke the prop down into component parts and used the drawing that I had to generate the proportions and sizing of the various parts.
The first part that I completed was the center bulge in the pipe. Using an old sleeping bag mat, I put a couple layers of foam on the pipe and cut it down to bevel the edges. I stopped using that material after this part, though. While the foam was great to work with and could easily be melted together, it isn’t as solid as the floor tile foam.
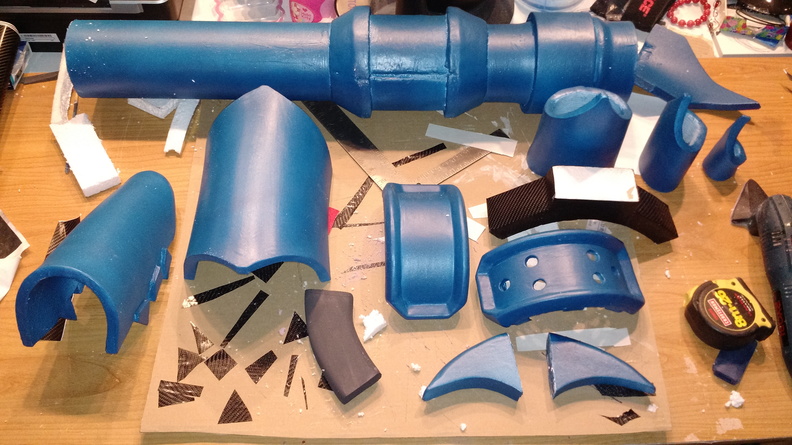
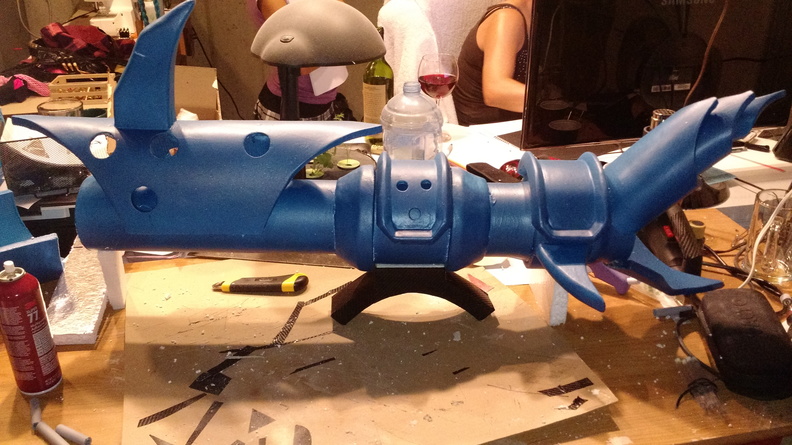
Once that part was complete, I used paper and cardboard to make templates of the other pieces and then transferred those to the media I used for sculpting. Most of the parts were made of EVA foam from Harbor Freight interlocking floor tiles. Other parts were made from generic styrofoam and pink foam insulation. I tried carving some parts out of expanding foam, but that stuff just had too many air bubbles.
This is what the prop looked like before paint and assembly. The thicker parts – the fins – were made by gluing multiple squares of foam together with Liquid Nails and then carving. Once the parts were shaped, I coated them in gesso, but the presented me with a pretty serious problem: that stuff is supposed to be sandable but I had to do a lot of sanding to try to get the brush marks out. I used blocks, air sanders, power sanders, and it was a huge effort to get that to an acceptable smoothness.
Another part that was really perplexing me was the beveling on the edges of the heatshields. I tried a number of methods to shape the heatshielding, but nothing was working. I finally wound up using a band saw to cut the foam in to strip and then cutting each strip at an angle. After cutting those to fit, I use more Liquid Nails to put them on to the heatshields and filled in the gaps with flexible spackling compound.
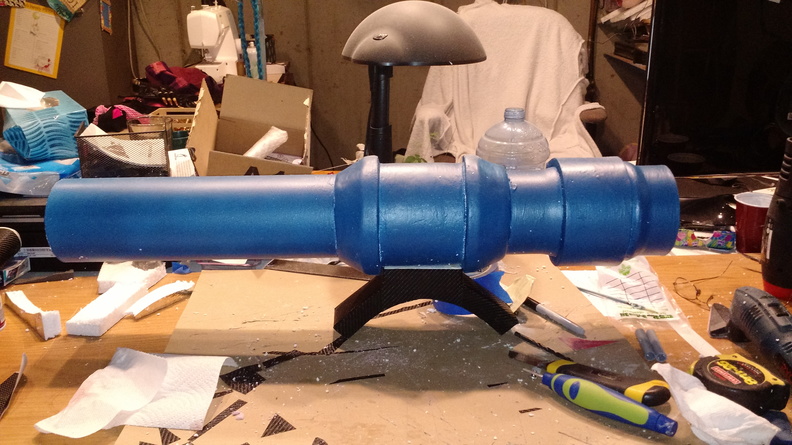
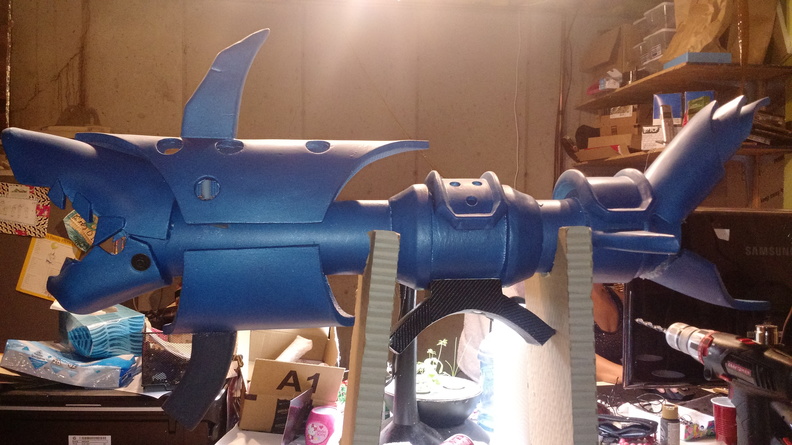
To color the prop, I used five and a half cans of DupliColor plastidip in matte blue metallic:
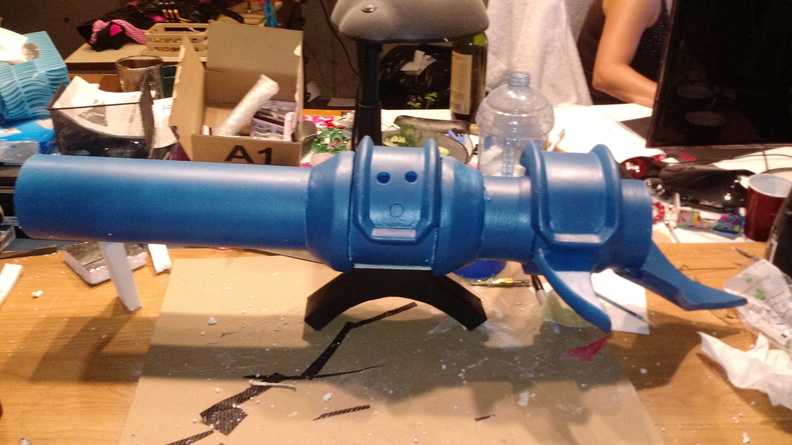
Once it was all painted, I began assembly. To stand the front shroud off the inner body, I found some plastic tubes that were supposed to be for gutters. I also used some of the locking nubs off the floor tiles to build smaller standoffs. Hot glue and liquid nails and 3M Super 77 were used to put it all together.
The shoulder brace was bolted on with carriage bolts using more of the gutter bits as bolt spacers to keep the styrofoam from getting crushed. I used some carbon fiber pattern vinyl wrap to cover the brace once it was bolted up.
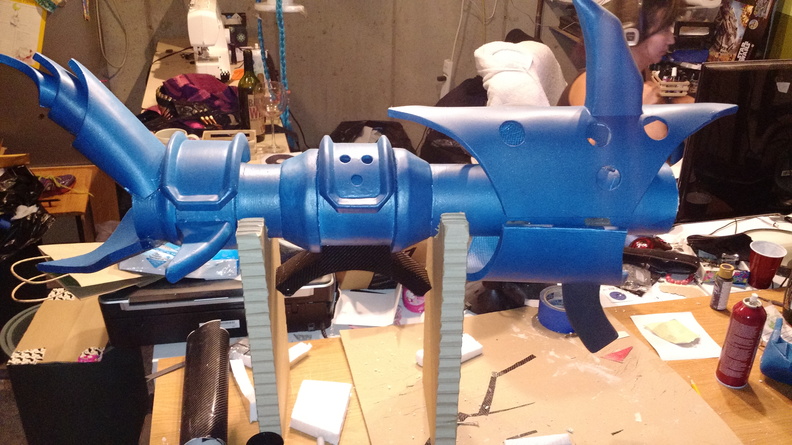
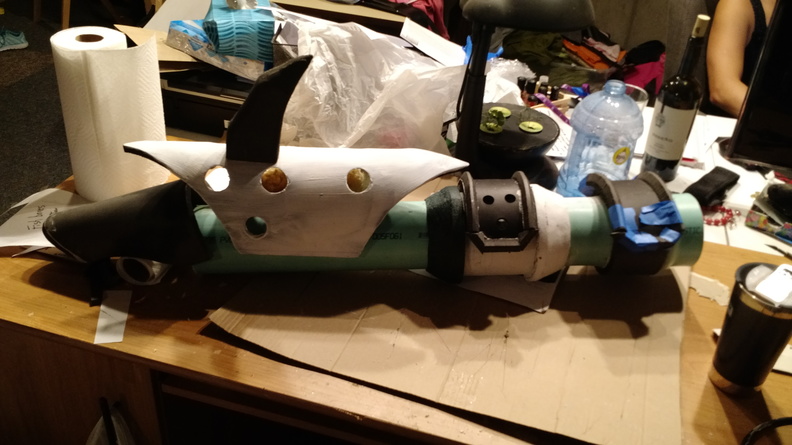
The last bit to do was to put the eyes on. I made a pattern, traced it on to the upper jaw with dry erase marker, and then painted it by hand. Once it was dry, I put a couple small holes in to the eye areas and used hot glue to mount a couple LEDS glow earrings to use as the light up eyes.