So far, things hadn’t gone to plan, so it shouldn’t be surprising that the finally-released product wasn’t quite right.
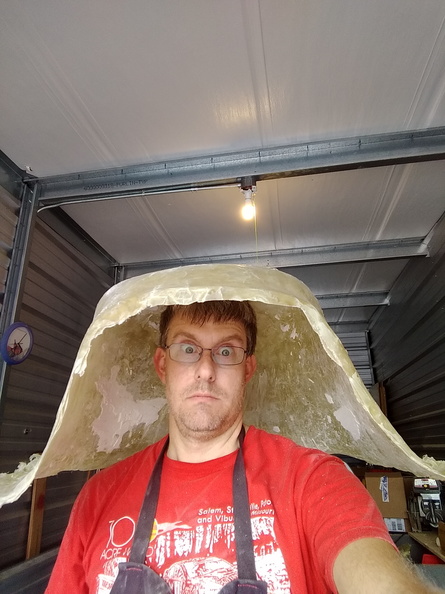
First of all, there is far more flaring around the bottom than there needs to be. That isn’t a huge problem as I will trim that off and can easily add new fiberglass if necessary. More concerning is that the left side of the helmet (that would be on the right side of the picture) flares out way more than it should and is very uneven. When I was making the plug, I noticed that the proportions were off a little bit, but I couldn’t quite put my finger on it. Off of the plug, the difference was painfully obvious. I kicked this around for a bit before deciding on a course of action that involved cutting the shell in a couple places. Since I didn’t have a plug any more and the deadling was rapidly approaching, it took a while to build up my nerve to touch the cutting wheel to the helmet.
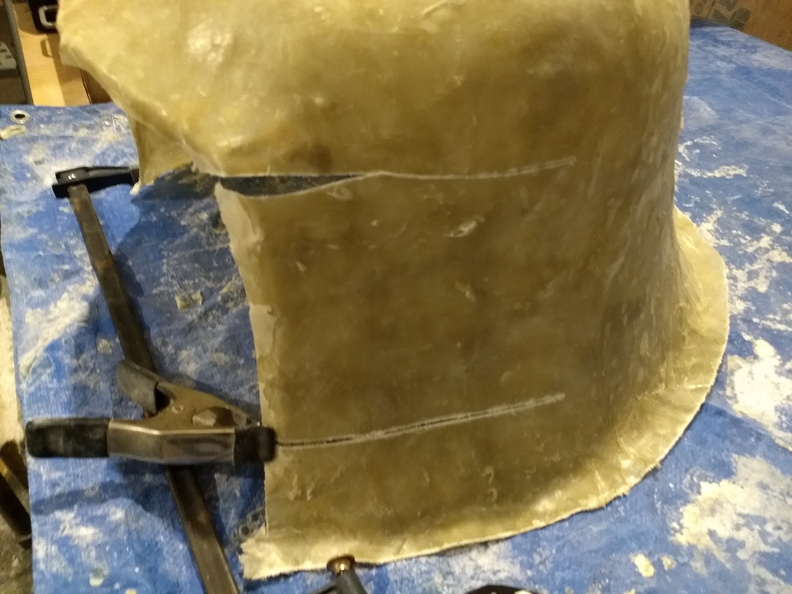
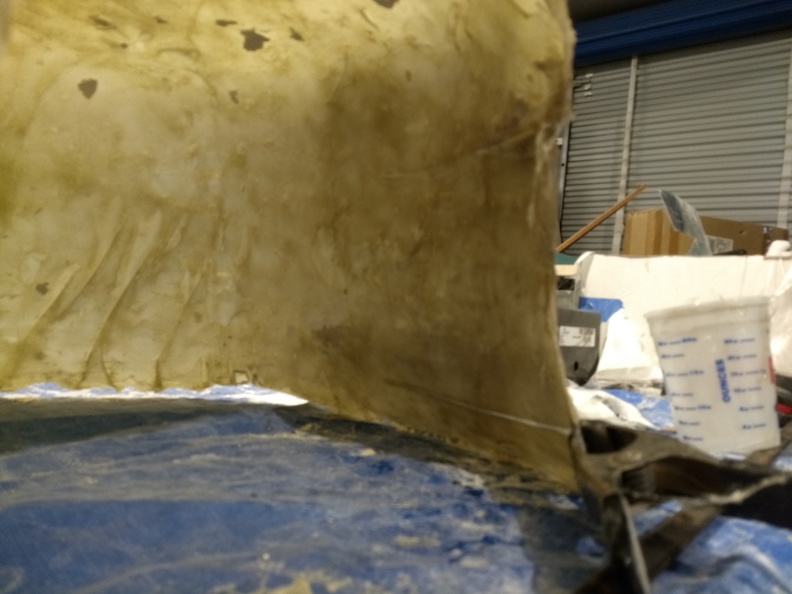
I put two slices into the side so that I could tuck in the side and reduce the flare to match the other side. Clamps held everything in place while I laid down some glass and let it cure. When everything hardened, I was left with some ugly bumps, but the shape was much better.
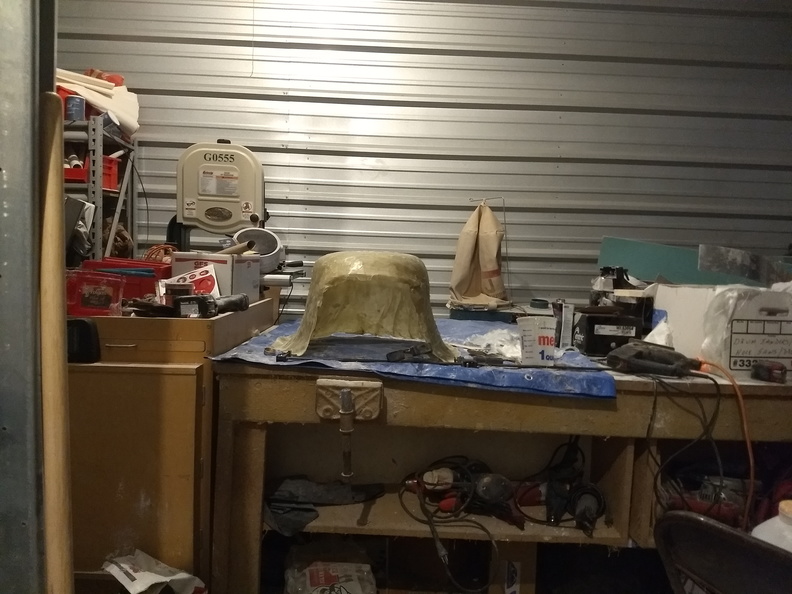
The basic shell was completed, but it needed finishing work. More on that later, since those problems are labor-intensive, but don’t require any real creativity. The big parts now are creating the face mask and creating a way to get the helmet to sit on a head. Of those two, the face mask sounds harder so that will be put off until later. Solving the hat part, however, was easy to start on: Step one is to make a hat and I have a ton of fiberglass supplies, so that was the way to go. I “should” have gotten a bowl or something that was roughly head-shaped, but impatience is my virtue so I looked around the shop for something that I already had right there. I grabbed an old ballcap, stuffed it full of packing paper to give it (a very lumpy) shape, covered it with plastic wrap, and hit it with fiberglass.
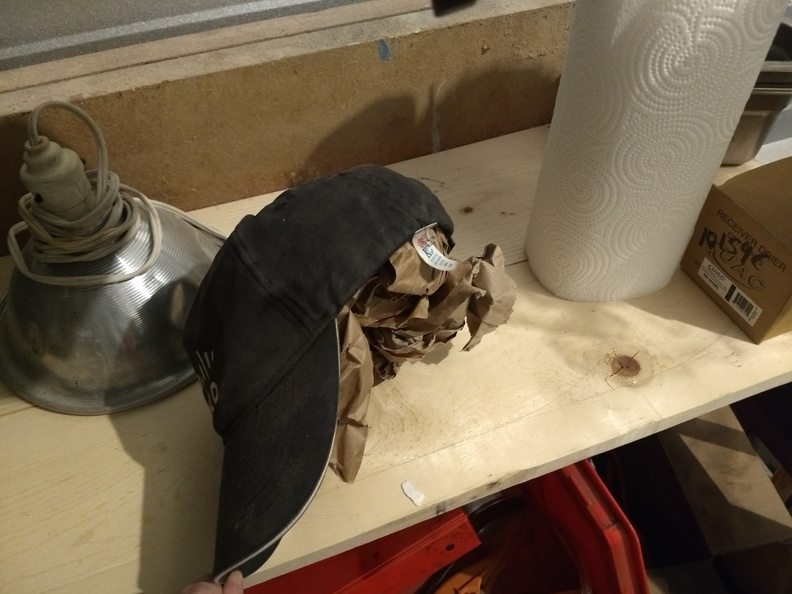
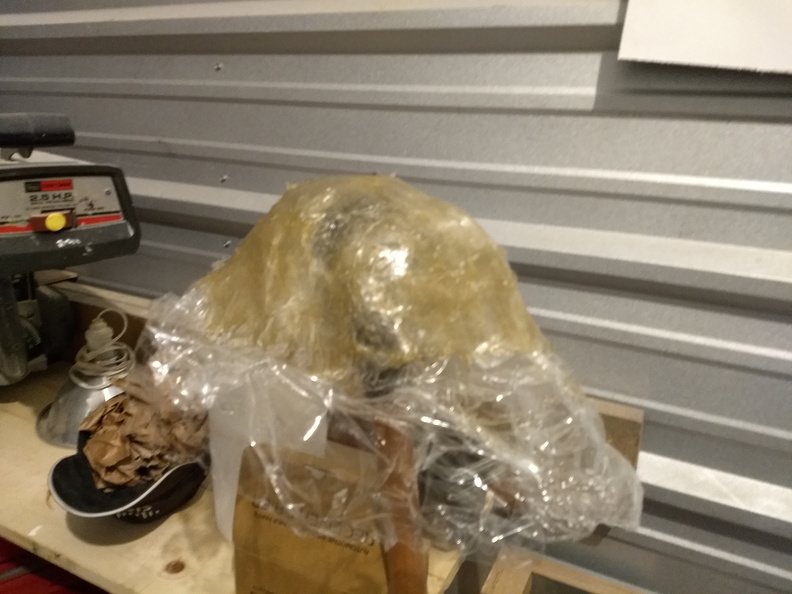
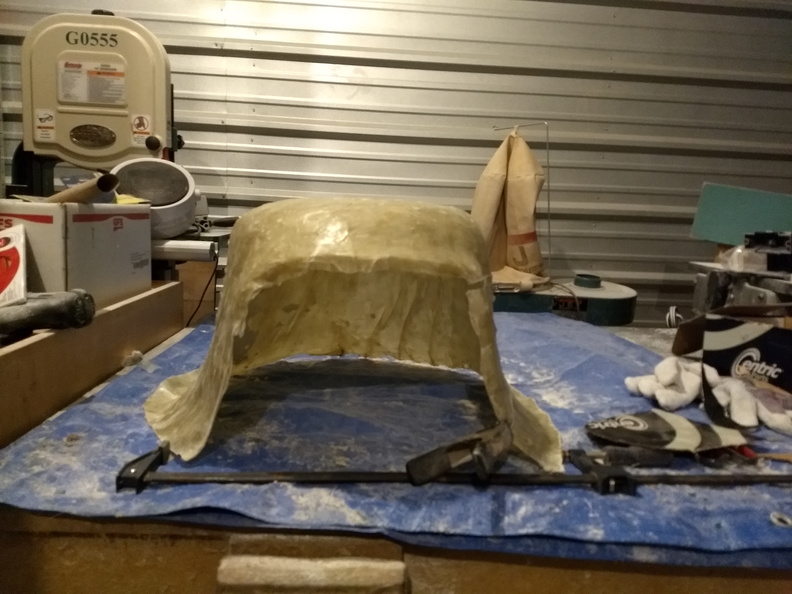
Once that cured, I pulled it out and trimmed it down to a basic hat shape. It isn’t very smooth, but it is very oversized. It will get self-adhesive foam weatherstripping in order to ensure a firm fit and to be a little more comfortable. If the helmet seems unstable, a chinstrap could be added to stabilize it, but we’re not there yet. In order to attach it to the shell, I was originally going to make fiberglass tubes that I would cut to length and attach to the hat and the shell with resin, but there were a couple challenges with this. The biggest challenge was that there needed to be room above and in front of the hat for the face mask to rotate up and store. That means that the supporting mechanism would have to be off to the side which would put some shear load on the supports – likely more than they would be able to support. So, plan B:
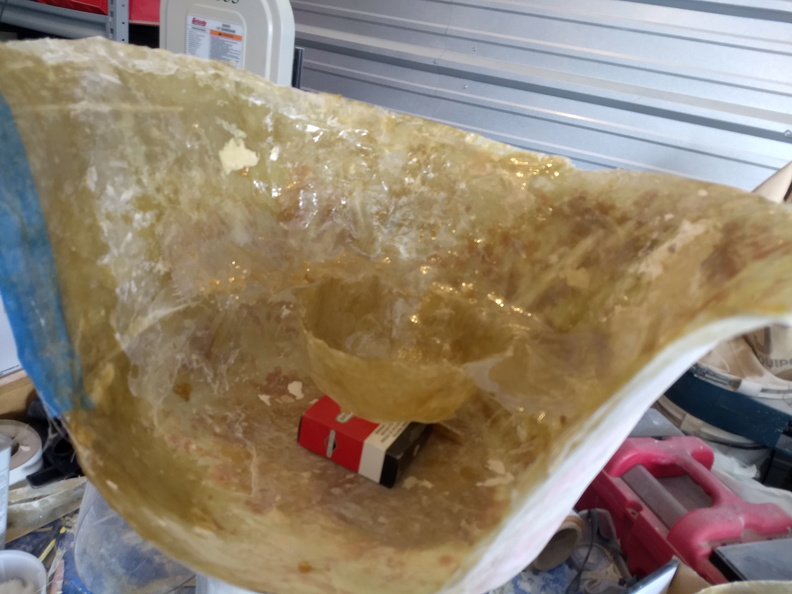

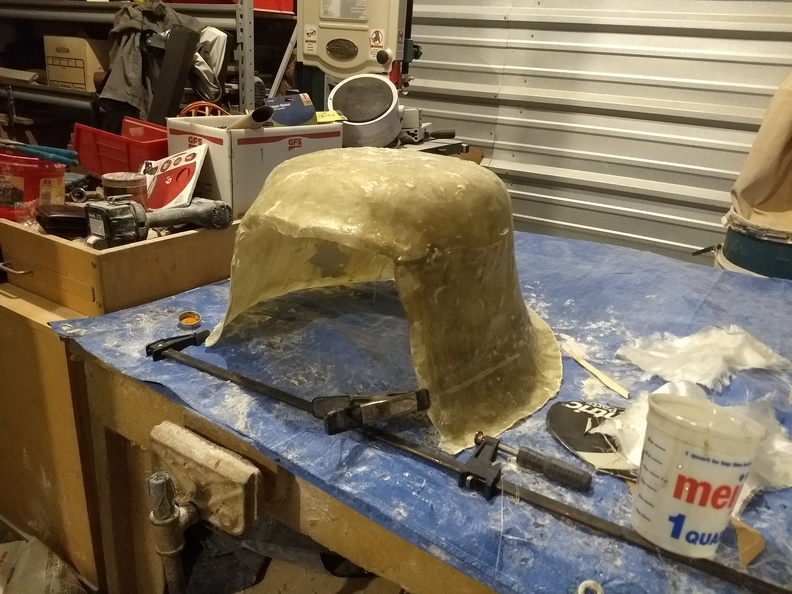
With the whole operation inverted, I rested the hat on a small box to space it out from the shell and then laid fiberglass in to attach the hat to the inside of the shell. After a couple layers, I had a pretty solid platform. Now that this is figured out, it was time to turn my attention to the face mask.