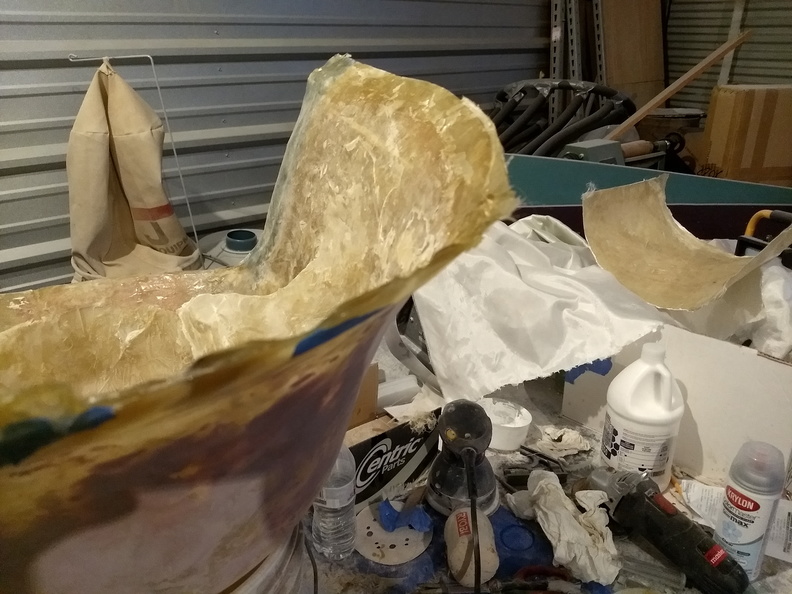
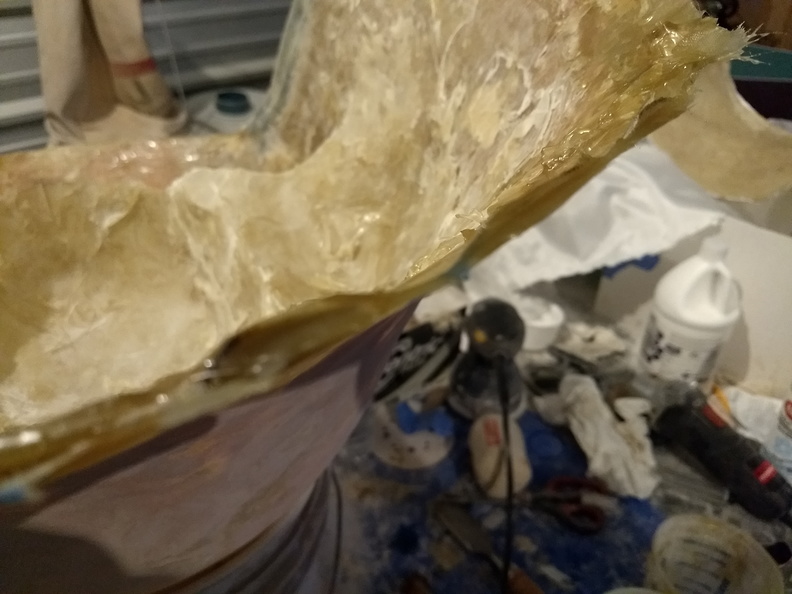
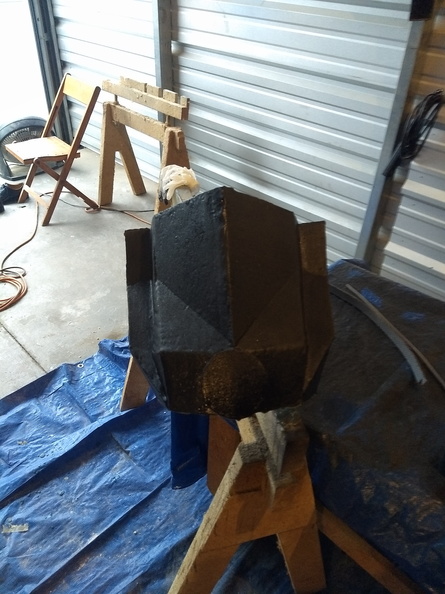
The part that seemed like the easiest has turned out to give the most trouble. The flare at the bottom edge of the shell has been very difficult to shape properly despite adding layer upon layer of new fiberglass. The basic problem is that it is too wavy, so I’ve been attempting to build up the inside and outside so that I can sand it smooth without creating any holes or gaps, but we’re talking about needing to add about 3/4 inch of fibreglass. Last night, however, provided a lightbulb moment.
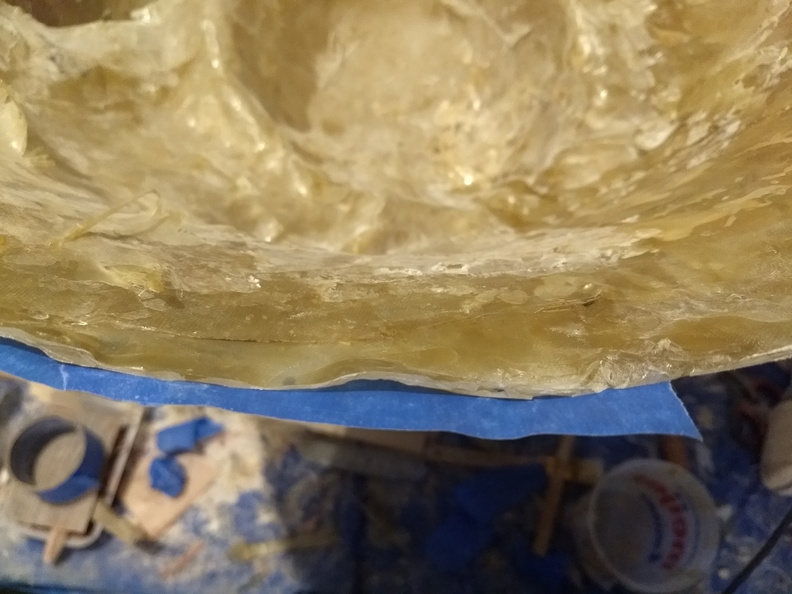
I inverted the shell and used painter’s tape to approximate what I wanted the outside level to be. It needs to bump out so it can be sanded smooth, but not by much. Once the tape is in place, resin was poured into the gap between the fiberglass and the tape. After the resin cured and some quick sanding, there was a nice smooth curve where previously it was super-wavy.
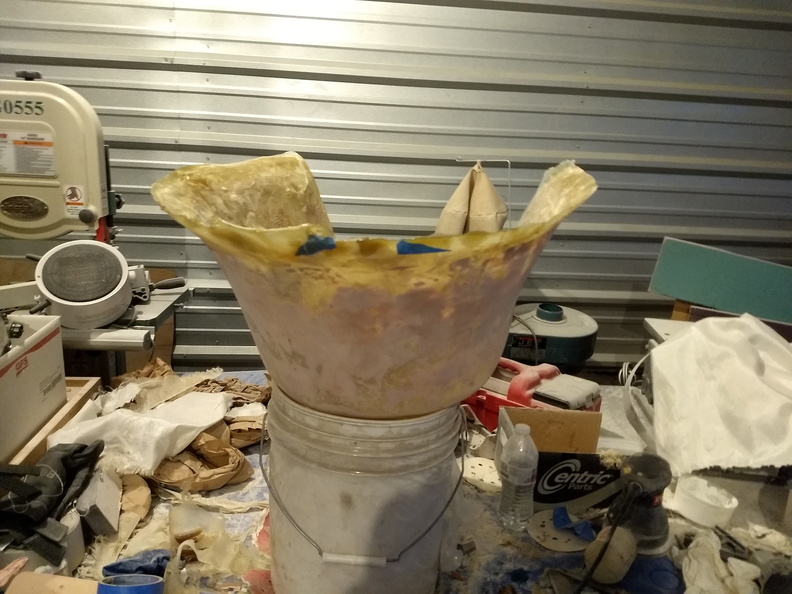

Early this morning, I hit the workshop and finished things up, getting some resin into a gap that I missed last night. The shell is on target for getting paint tonight. On my way home from work, I’ll stop by the shop to sand down the resin patches and put a final coat of Bondo over the helmet. After dinner, I’ll give it a final sand and then start applying paint.
The face mask has already gotten its first two coats:
So far, so good, although I can see some of the artifacts of the cardboard construction still. I might cover that with trim. Speak of trim, the band saw made quick work of the foam floor tile that will make up the trim bit that goes down the middle. I need to cut the parts that will make up the grill at the bottom and then get it all attached and painted.